44
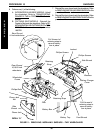
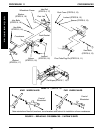
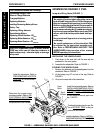
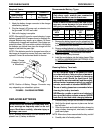
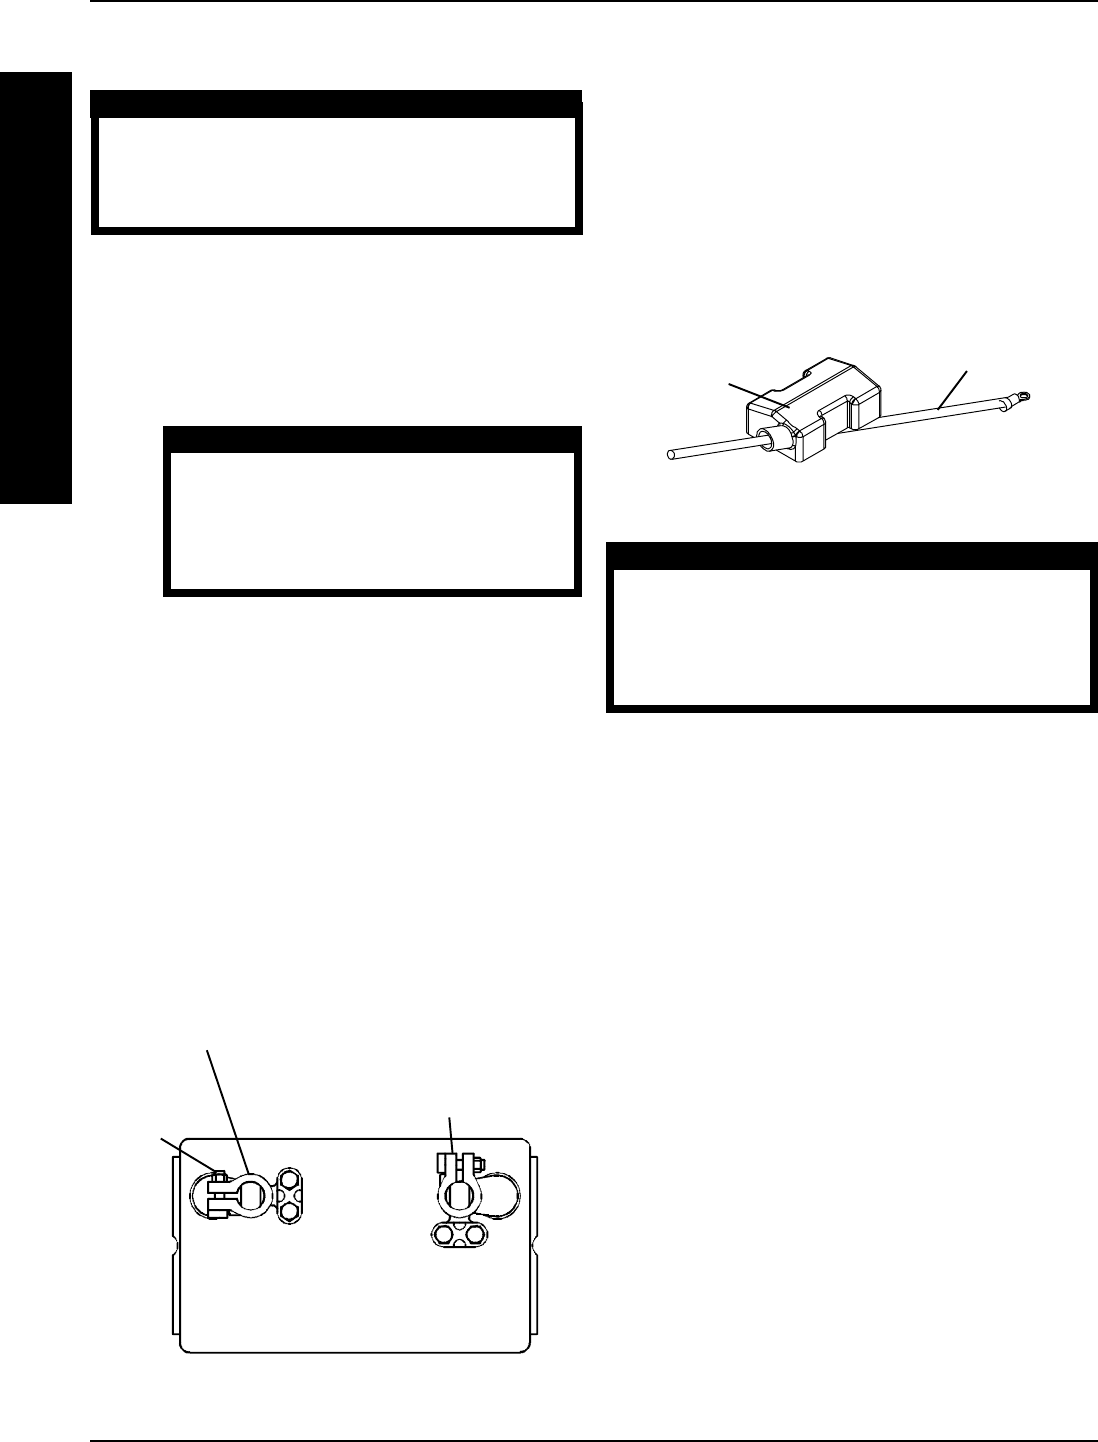
Battery Cable
Battery Clamp
Cover
2. Install battery clamp covers onto battery cables as
follows (FIGURE 5):
A. RED battery clamp cover onto RED battery cable.
B. BLACK battery clamp cover onto BLACK bat-
tery cable.
NOTE: Only one (1) battery cable and battery clamp cover
are shown for clarity. Both battery clamp covers install in
the same manner.
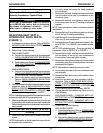
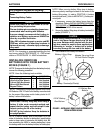
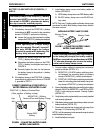
BATTERY CLAMP METHOD (FIGURES 4, 5
AND 6).
WARNING
The battery clamp of the POSITIVE (+) battery
terminal/post MUST be mounted in the posi-
tion shown in FIGURE 5, otherwise the battery
box top cannot be installed properly.
1. Perform one (1) of the following:
A. If the battery clamp of the POSITIVE (+) battery
terminal/post is NOT mounted in the orientation
shown in FIGURE 5, perform the following:
● Loosen the hex nut that secures the battery
clamp to the POSITIVE (+) battery terminal/post.
CAUTION
When tightening the clamps, always
use a box wrench. Pliers will “round off”
the nuts. NEVER wiggle the battery
terminal(s)/post(s) when tightening. The
battery may become damaged.
● Remove the battery clamp from the POSI-
TIVE (+) battery terminal/post.
● Reposition the battery clamp on the POSI-
TIVE (+) battery terminal/post as shown in
FIGURE 4.
● Securely tighten the hex nut that secures
the battery clamp to the positive (+) battery
terminal/post.
B. If the battery clamp on the POSITIVE (+) battery
terminal/post is positioned as shown in FIGURE
4, proceed to STEP 2.
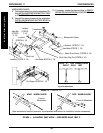
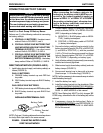
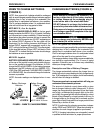
NEGATIVE (-) Battery
Terminal/Post and Battery Clamp
POSITIVE (+) Battery Terminal/Post
(Note position of battery clamp)
FIGURE 4 - CONNECTING BATTERY CABLES -
BATTERY CLAMP METHOD
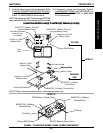
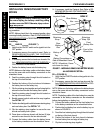
Group 22NF
Battery
Hex
Nut
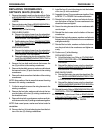
FIGURE 5 - CONNECTING BATTERY CABLES -
BATTERY CLAMP METHOD
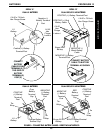
CAUTION
When connecting the battery cable/ring terminal(s)
to the battery(ies) clamp(s), the battery cable(s)
MUST be connected in the position shown in DETAIL
“A”, otherwise damage may occur to the battery
cable and/or battery clamp covers.
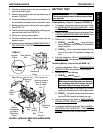
3. Connect battery cable(s) to battery(ies) terminal(s)/
post(s) as follows (DETAIL “A”):
A. NEGATIVE (-) BLACK battery cable/ring termi-
nal between the mounting plate and battery
clamp of NEGATIVE (-) battery terminal/post.
B. POSITIVE (+) RED battery cable/ring terminal be-
tween the mounting plate and battery clamp bat-
tery clamp of POSITIVE (+) battery terminal/post.
4. Secure the battery cable(s)/ring terminal(s) to the battery
clamp(s), BLACK to NEGATIVE (-) and RED to POSI-
TIVE (+), with exisitng hex screws. Securely Tighten.
(DETAIL “A”)
5. Verify battery cable ring terminal(s) are correctly installed
and securely tightened.
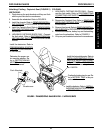
6. Slide battery clamp covers down battery cables and onto
battery terminals. (DETAIL “B”)
7. Secure each terminal cap in place with a tie-wrap (Use
tie-wraps 11-1/2-inches long). (DETAIL “B”)
NOTE: It will be necessary to trim excess tie-wrap in order to
install the battery box top(s).
8. Install the battery box top(s).
CORRECT ORIENTATION OF THE POSITIVE (+)
BATTERY TERMINAL/POST BATTERY CLAMP
INSTALLING BATTERY CLAMP COVERS
PROCEDURE 12 BATTERIES
B
A
T
T
E
R
I
E
S


