


7
8
EMERGENCY OVERRIDE KEY/BATTERY
REPLACEMENT
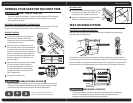
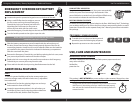
1
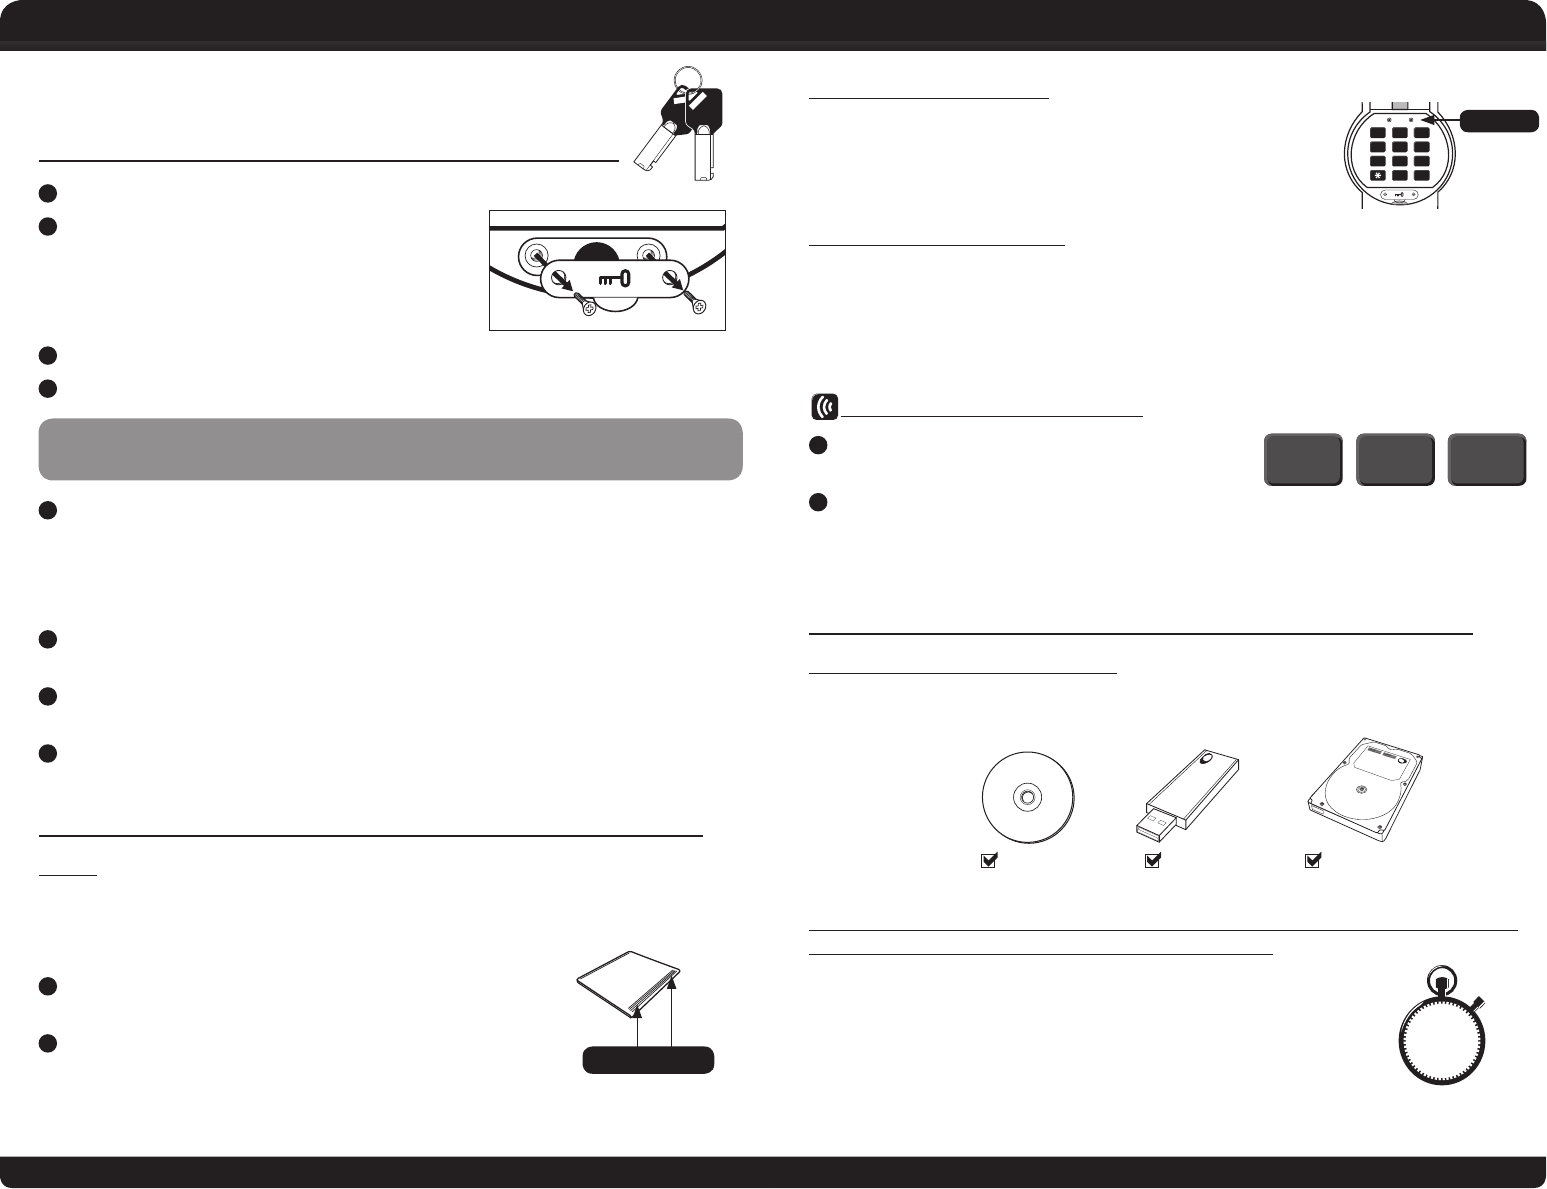
Locate and open the protective keypad cover on the front of the safe.
2
Using a small Phillips head screwdriver, remove
the two screws securing the small Emergency
Override Key lock cover located just below the
digital keypad. Pull forward on the cover to
remove and set aside with the small screws.
3
Insert the Emergency Override Key into the lock and turn clockwise to the right.
4
Turn the handle upwards to the right to open the safe.
NOTE: IF BATTERIES NEED REPLACING, PROCEED WITH STEP 5.
OTHERWISE, PROCEED TO STEPS 6-8.
5
Slide the battery compartment cover (located inside the safe at the top of
the door) forward and remove. Remove and properly dispose of the four (4)
nonworking batteries. Install four (4) new AA batteries. Make sure the batteries
are installed in the proper direction as indicated in the battery compartment.
Slide the cover back into place.
6
Remove the Emergency Override Key, and before replacing the lock cover, enter
your personal passcode to make sure the safe will open.
7
Replace the lock cover using the two small screws and return the Emergency
Override Key to a secure place away from the safe.
8
Close and lock the safe door by turning handle downward to the left.
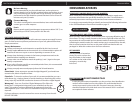
ADDITIONAL FEATURES
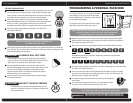
SHELF
To allow for greater exibility and further accommodate your
particular storage needs, this safe includes one (1) adjustable/
removable shelf.
1
Position shelf so that the gripping ridges are on the top
and towards the front of the safe.
2
Locate the approximate position in the safe where you
would like to place it and, using the guides molded into
the walls of the safe, slide the shelf into place.
Emergency Override Key / Battery Replacement / Additional Features Use Care and Maintenance
LOW BATTERY INDICATOR
Every time the keypad is activated, the system automatically
checks the power level remaining in the batteries. If the
power falls below a certain level, the red light will ash every
two seconds to indicate the need for new batteries.
BOLTING DOWN YOUR SAFE
For added security your safe can be bolted to the oor. With Ready-Seal™ Technology
you are able to bolt your Fire Safe to the oor without compromising the re or water
protection. Please refer to the separate Ready-Seal™ Mounting Instructions included in
this package.
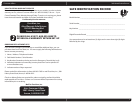
DISABLE / ENABLE SOUND
1
To enable (turn on) the sound during normal
operation, press the following key sequence:
2
Repeat the process to turn the sound o.
USE, CARE AND MAINTENANCE
APPROPRIATE USE OF YOUR SAFE
First Alert® Waterproof and Fire Resistant Safes protect paper records and
many other valuables.
Veried re
protection for:
This product is NOT INTENDED to protect audio or video cassettes, oppy discs, data
cartridges, lm and photos or photo negatives from re.
Testing shows that the interior temperature of the safe remains below
350°F for one (1) hour during a re up to 1700°F when used properly.
Your safe must be closed and latched in order to properly protect the
contents from re.
L-10-XZ
L-10-XZ
1
4
7
2
5
8
0
3
6
9
#
Red Light
#
*
#
1TB HARD DRIVE
MODEL: HD12234451231
SERIAL: 123.444.345.677
CDs & DVDs USB Drives External
Hard Drives
USB 2.0
1
4
7
2
5
8
0
3
6
9
#
1
HOUR
Gripping Ridges