


4 After the separator has dried and your shelf is cool,
you can smoothen the separator further by rubbing
your hand lightly over the shelf. The smoother the
separator,thesmoother the backsideof theglass.
A coat of glass separator will usually last several firings.
The lower the fusing temperature, the more firings you can
get from one application of separator.
Using Ceramic Fireclay Posts
Ceramic posts support ceramic fireclay shelves inside a
kiln.
■
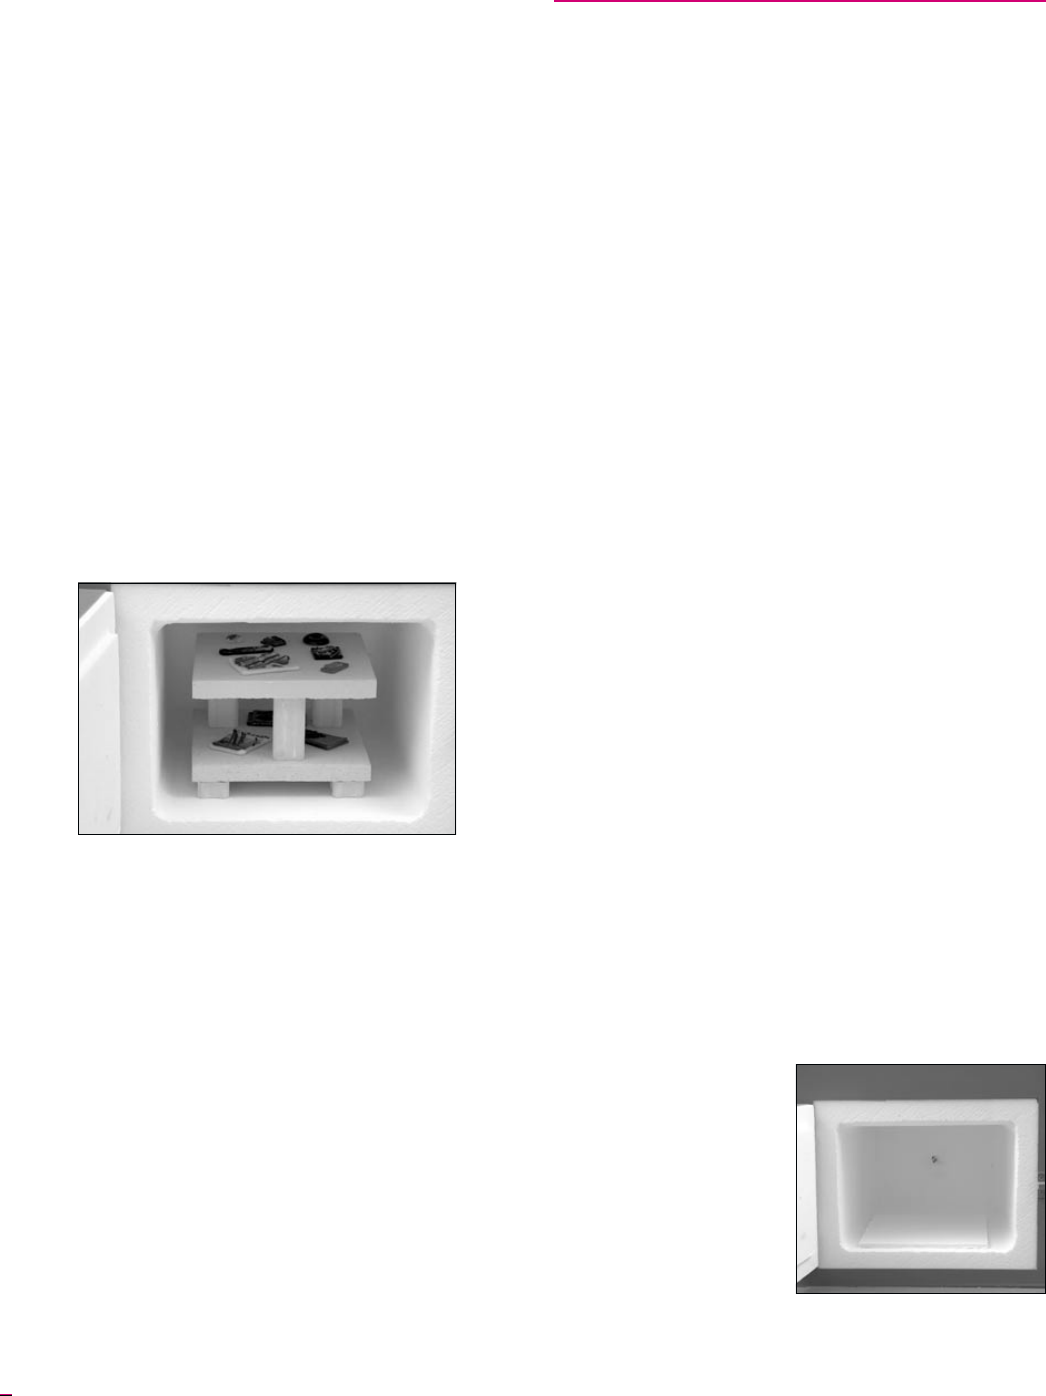
Do notuse posts underthe ceramic fibersoft shelf. Place
the fiber shelf directly onto the bottom of the firing
chamber.
■
Place three ½” posts under the ceramic hard fireclay
shelf. This aids air circulation, preventing heat built-up
under the shelf.
■
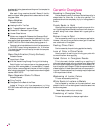
Youcan firetwoor moreceramicfireclay shelvesina Par
-
agon jewelry kiln. Support the bottom shelf on three ½”
posts. Separate the shelves with taller posts. The length
of the posts and the number of shelves you can fire de
-
pends on the size of the kiln. When you load multiple
shelves,fireat aslowerrate.Thisaids heatdistribution.
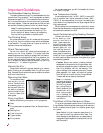
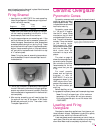
Venting the Kiln
Some types of ware, such as glass and ceramics, contain
impurities that burn off during firing. These impurities
mustbe releasedfromthe kiln.Otherwisethey canaffectthe
quality of the ware.
Silver and gold clay need no venting unless you are firing
themwith amaterialthat burnsoutfor ahollow shape,oryou
are combining them with another material such as glass.
If thekiln hasa venthole, open thevent. Ifit doesnot have
a vent hole, open the door about ½”. Venting will be ex
-
plained in greater detail in sections on glass and ceramics.
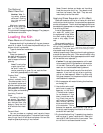
Silver & Gold Clay
With silverclay, it is possibleto shape intricate,free-form
silver jewelry in minutes—even as a beginner. (The clay is
also availablein gold; forsimplicity wewill refer toboth met
-
als as “silver clay.”) At the time of printing, the silver clay
brands available were Art Clay Silver and Precious Metals
Clay.
Silver clay looks and feels like modeling clay. It is formed
with simple tools such as a tooth pick, small knife, and razor
blade. Its surface is pliable and accepts impressions from
objectssuch asleaves,coins,and coarsefabrics.Afterthe sil
-
ver clay is formed, it is fired in a kiln. The recommended
temperature and hold time is included with the silver clay.
Forming and firing silver clay is simple. There is nothing
mysterious about making silver clay jewelry. The silver clay
is made of micron-size silver (or gold) particles held in an
organic binder. During firing, the binder burns away. The
silver particles then fuse together forming real silver. Since
thebinder disappears,there isacertain amountofshrinkage
during firing. Shrinkage varies depending on the type of sil
-
ver clay you use.
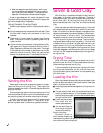
Drying Time
Small, thin silver clay pieces can be placed into the kiln
while still moist, and fired. Thicker pieces need time to dry.
Otherwise they may warp during firing.
To beon the safe side,give the silverclay plenty oftime to
dry. As you gain experience, you will know just how much
drying time each type of piece needs. You can speed drying
with a hair dryer.
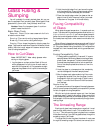
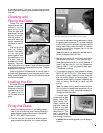
Loading the Kiln
Silver clay pieces that have a flat side can be placed inside
the kiln directly onto a shelf. Use the soft ceramic fiber type
shelf. It cushions the clay silver.
■
Silver claypieces canbe closetogether, butthey mustnot
touch.
■
The soft ceramic fiber shelf can be placed directly onto
the firing chamber bottom. It is not necessary to support
the fiber shelf with posts, since the heat transfers easily
through the fiber shelf.
■
Do not coat the ceramic
fiber shelf with kiln
washorglass separator.
■
You can also place the
silver clay on a piece of
ceramic fiber batting.
Alumina Hydrate
Rounded, hollow, or
other delicate shapes may
need support to prevent collapsing. You can lay these pieces
onto a mound of alumina hydrate.
8