


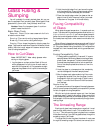
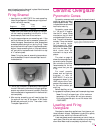
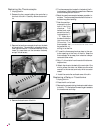
4 Hold the new part next to the one you are replacing,
aligned in the same direction. Remove and transfer
one wire at a time from the old part to the new one.
Make sure each connection is tight.
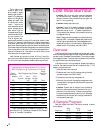
5 Replace push-on
connectors and
wires damaged by
heat from a burned
terminal. If wire
connectors do not fit
snugly on terminals,
gently squeeze the
end of the terminal
with pliers.
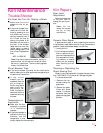
6 As you move the sheet metal bottom back into place,
make sure the thermocouple wire attached to the
back of the board is away from the other wires.
7 Install the screws holding the bottom to the kiln.
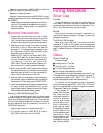
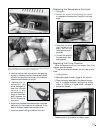
Replacing the Temperature Controller
1 Unplug kiln.
2 Remove the 4 corner screws holding the control
-
ler faceplateto the switch box.Carefully lift outface
-
plate.
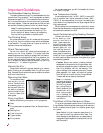
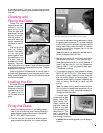
3 Disconnect the wires
from the back of the
board. You will find
two plugs and two sin
-
gle wires.
4 Connect the wires to
the new board. Rein-
stall faceplate.
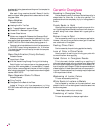
Replacing the Firing Chamber
When the element burns out, the ceramic fiber firing
chamber must be replaced.
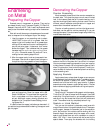
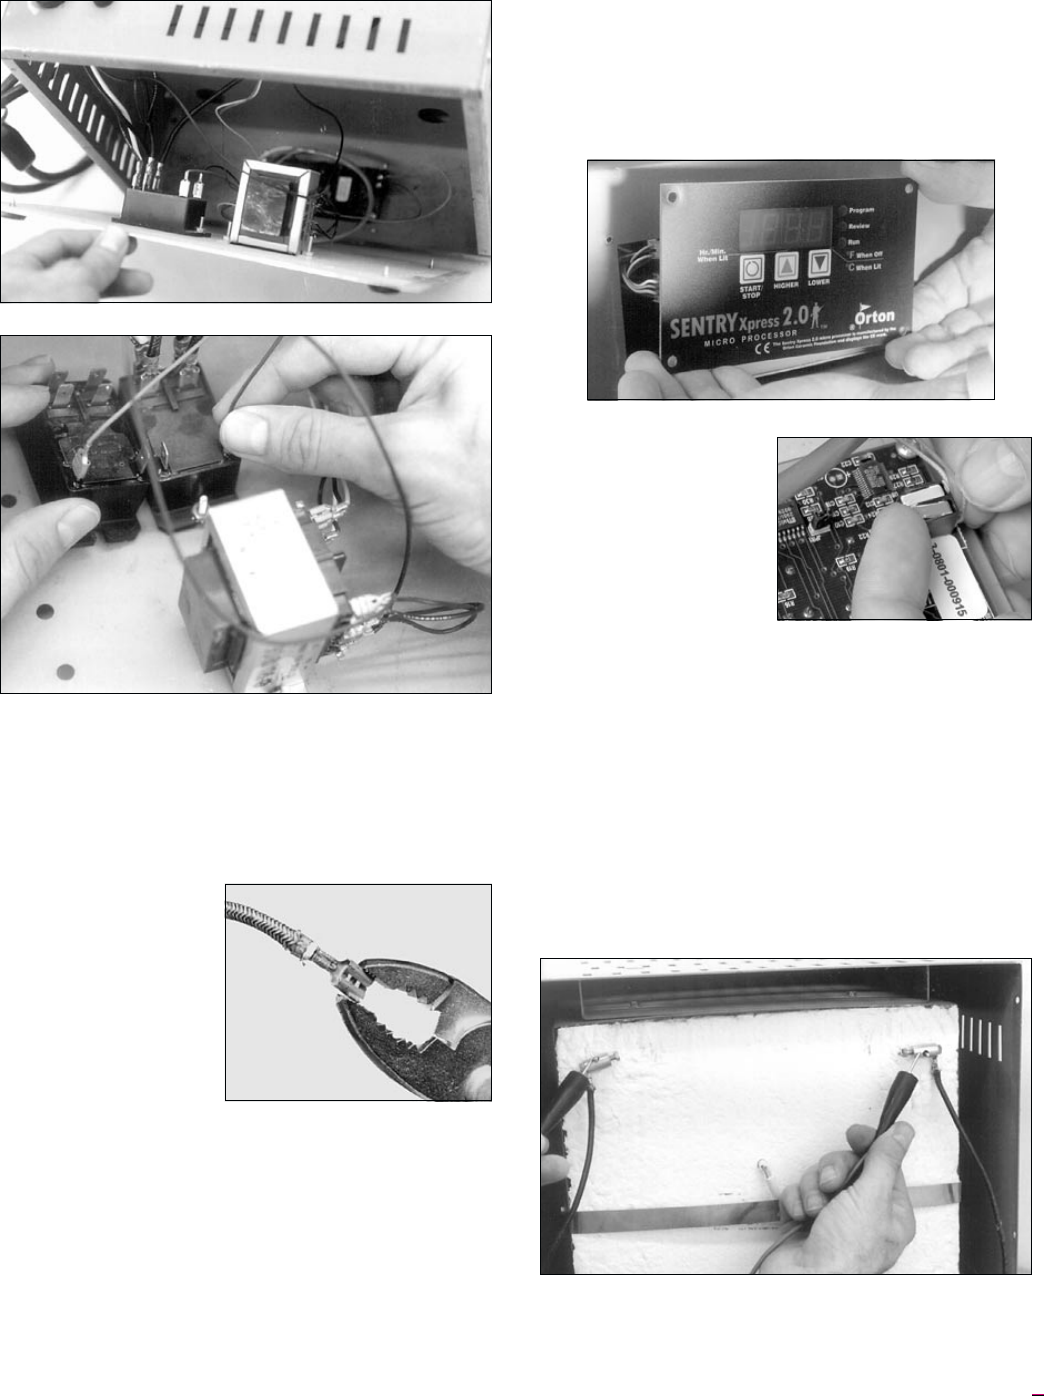
To test for a burned out element, you will need an ohm-
meter:
1 Unplug the kiln.
2 Remove the back of the kiln (page 18, left column).
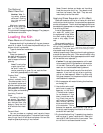
3 Place ohmmeter leads against the element connec
-
tors. A no-needle-movement reading on an analog
meter, or OPEN on a digital meter, indicates a
burned out element.
Replacing the firing chamber is a factory repair.
19
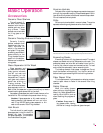
Place the new part nextto the old one, alignedin the same direction. Re-
move and replace one wire at a time. In the photo, the relay is being re-
placed. The transformer is the part in the foreground.