


Replacing the Thermocouple
1 Unplug the kiln.
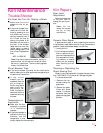
2 Remove the four screws holding the controller to
the front of the kiln. Carefully remove the control
-
ler.
3 Remove the two thermocouple wires from the back
ofthe controller.They areheldin placeby buttonor
lever type connectors. To remove the wires, lift the
levers (or press down on the connector buttons)
and pull the wires out.
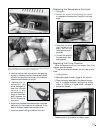
4 Remove the back cover of the kiln.
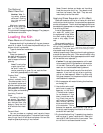
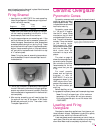
5 The thermocouple is located in the back of the fir
-
ing chamber,held in placeby a metalband. Remove
the thermocouple from the kiln.
6 Bend the new thermocouple between porcelain in
-
sulators. The thermocouple end should be two in
-
sulators long after bending.
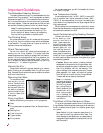
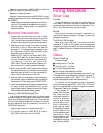
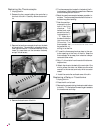
7 Pushthe new ther
-
mocouple into the
hole in the firing
chamber. The
twisted end must
extend into the fir
-
ing chamberby ½”
- ¾”. Make sure
the band holds the
thermocouple.
Otherwise, the
thermocouple can
be pushed out, re
-
sulting in an overfire.
8 Thread the thermocouple wires down to the con
-
troller opening at the front of the kiln. Keep the
thermocouple wires away from electrical compo-
nents and other wires.
9 Strip ½” of insulation from the ends of the thermo-
couple wires.
10 Attach the wires to the back of the controller. One
wire is yellow, the other red. Make sure the wires
connect to the correct terminals, which are color
coded.
11 Install the controller and back cover of the kiln.
Replacing a Relay or Transformer
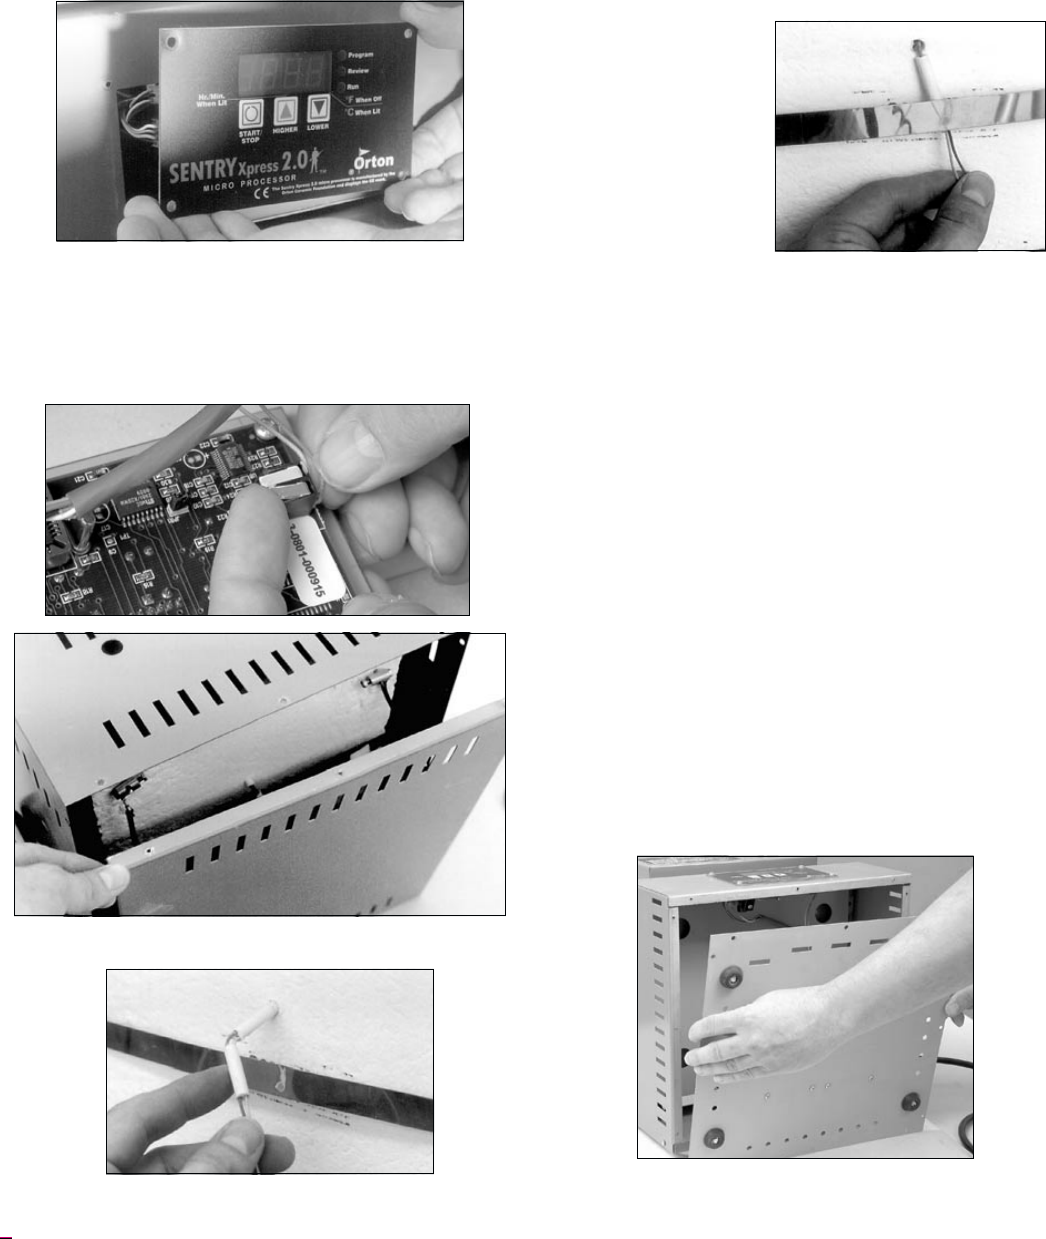
1 Unplug the kiln.
2 Place the kiln on its back.
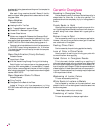
3 Remove the screws holding the sheet metal bottom
to thekiln. Tilt thebottom forward togain access to
the transformer and relay.
18
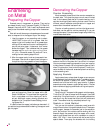
The band must secure the thermocou
-
ple. Otherwise the kiln could overfire.
Removing the thermocouple.