


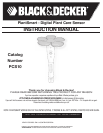

4
Recommend Mode SET UP
To get an accurate plant recommendation, your PlantSmart Sensor needs to record 24 hours of environmental data.
Follow these steps:
1. Begin by plugging your plant sensor into the USB port on your computer using the USB cable that was included. You will be taken to the MY
PLANTSMART Dashboard page.
2. Click on the “RECOMMEND” button at the far left of the screen.
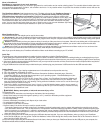
3. When instructed, remove the top sensor from the USB cable and connect the top sensor and bottom sensor so that both pieces fit firmly and there is
not visible gap.
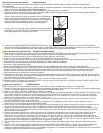
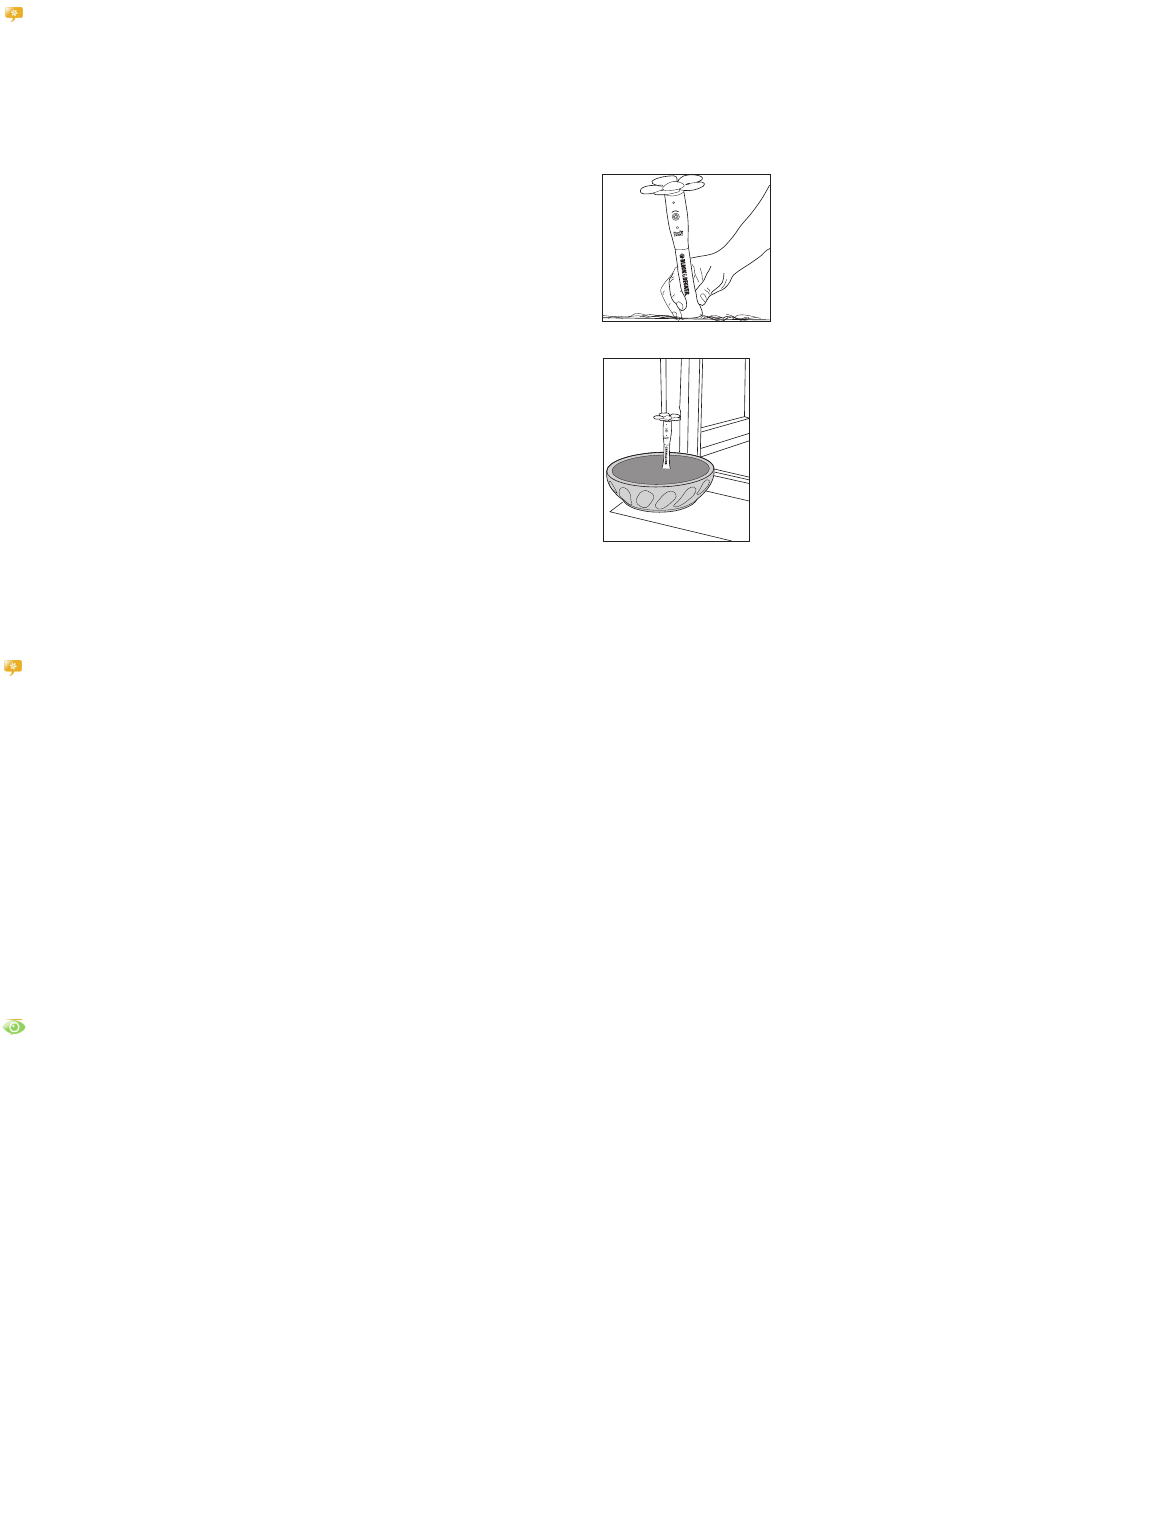
If you are conducting an outdoor reading, place your PlantSmart sensor
into the soil in the desired location. Insert the sensor into the ground so
that the black prongs are fully covered by soil. Make sure the sensor if fully
upright. If the soil is hard, loosen the soil with a garden tool or screwdriver.
If you are conducting an indoor reading, place your PlantSmart sensor into
a flower pot in the desired location. The pot should have soil in it to ensure
that the sensor is upright.
4. Press the START/STOP button on the plant sensor to start the collection. The plant sensor light will blink green rapidly five times and the plant sensor
will emit three ascending tones to let you know the data collection has started. The light will continue to blink once every 5 seconds to let you know it
is collecting data.
Recommend Mode GET YOUR RESULTS
5. After at least 24 hours, press the START/STOP button on the plant sensor to stop collecting data. The sensor will make three descending tones
and the yellow light will blink five times.
• Plug the plant sensor into your USB port using the USB cable that was included.
• The web site auto-launches and a dialog box opens for you to save your reading.
• Name the location where you had the plant sensor (such as “front window” or “left corner of front planter”.) This information helps you keep track
of where you have placed the plant sensor.
• Select whether the location was INDOORS or OUTDOORS.
• Click the SAVE button.
• You will be taken to the TOP RECOMMENDATIONS tab within My Readings.
• PlantSmartʼs web site runs analysis that interpret the data recorded by the plant sensor. The analysis corrects for any weather conditions, and
takes into consideration where you live. The website will recommend plants that will thrive in this location. You can also view the sunlight,
temperature, moisture, and soil condition information collected by the plant sensor on the PLANTʼS VIEW tab.
6. You can narrow the recommendation results by choosing plant characteristics that are of interest to you. For example, when you specify
Bloom Color, Bloom Season, etc., the recommendations will change to match the specific characteristics you selected.
7. Click on any of the plants of interest to learn more about the plant.
8. When you find a plant you would like to remember, or one that you have purchased, click on “ADD TO MY PLANTS”, within that plantʼs page.
Monitor Mode SET UP
If you have a plant that is not doing well, you can use the PlantSmart Sensor to diagnose it.
1. Plug your plant sensor into the USB port on your computer using the USB cable that was included. You will automatically be logged in to the
My PlantSmart Dashboard page.
2. Click on the “MONITOR” button in the middle of the screen.
3. Find the type of plant that you would like to monitor. If it is a plant you previously saved to “MY PLANTS”, click on “MY PLANTS”, and select
the plant you would like to monitor from the list. Alternately, you can use the search option by typing the name of the plant into the search box
in the dialog. If you do not know the exact name of the plant, thatʼs fine—the common name will work (e.g. enter “fern” or “rose”, etc.).
4. Once you have selected a plant, follow the on screen directions to finish putting the plant sensor into MONITOR mode for that specific plant.
5. When the website instructs you, remove the plant sensor from the computer, put the plant sensor (top and bottom) together & place it in the soil near
the plant that you want to monitor.
6. Press the START/STOP button on the plant sensor and it will begin collecting data. The light on the sensor will blink green 5 times and the sensor will
make 3 ascending tones to let you know the device is working.
7. Water your plant well (this allows the PlantSmart Sensor to characterize how well your soil holds water over time). If you do not water your plant, the
plant sensor will emit an audible alarm any time the soil moisture is too low for that plant for an extended period of time.
8. The plant sensor needs a few days to gather soil moisture data to let you know when your plant needs watering. This is because the plant sensor is
determining how well your soil holds water. We recommend that you go through one watering cycle which could last anywhere between several days
to a week. Note: A “watering cycle” is the time between when you first water your plant until when PlantSmart tells you to water again (chirps with yel-
low light)." Note that during periods of heavy outdoor precipitation, the watering cycle may be very long. If the watering cycle has exceeded two
weeks, then remove your PlantSmart and upload the data without waiting for the watering signal.
9. The plant sensor will produce a chirp sound over time to let you know that you need to water your plant. Water your plant when you hear this sound.
10.After a full watering cycle, press the START/STOP button and insert the plant sensor (top) into the USB port using the USB cable that was includ-
ed. A report will be presented to you on screen, letting you know if the environmental conditions meet the plantʼs requirements or not. If you get a
“thumbs down” on any topic, read the information provided and make any changes necessary.