


4
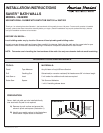
754748-100 Rev. C
3
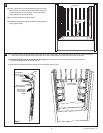
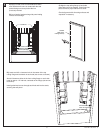
A) Apply a bead of tub surround adhesive down each stud
that will come in contact with the back panel being sure
to stay below the line you marked. You do not need to
apply adhesive to the corner studs.
B) Lay a bead of sealant along tub ledge.
C) Reposition back panel aligned with pencil line and press
firmly against studs.
4
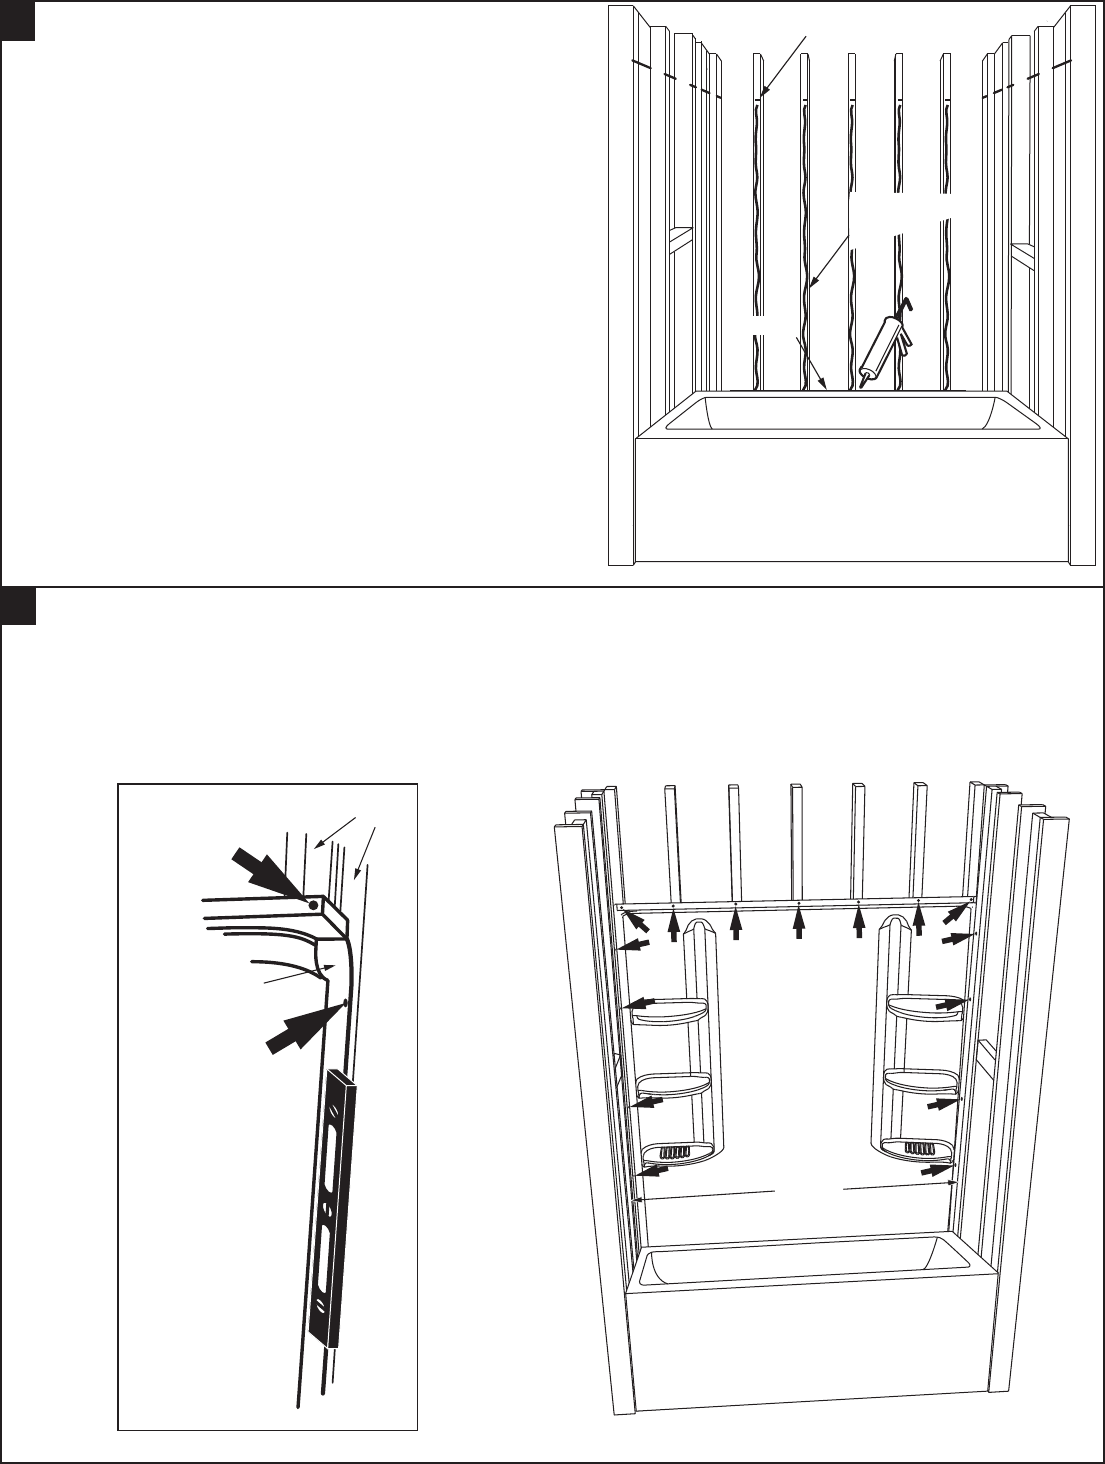
Stud
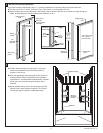
Drill clearance
hole for screw
in top nailing
flange
Drill clearance
hole for screw
in front nailing
flange
Mating surface
(square and plum)
Fig. 2
Pencil line
Sealant
Tub Surround
Adhesive
bead
Drill clear
an
ce
holes for
screws
Sealant
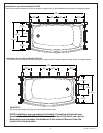
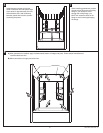
A) • Locate and drill a clearance hole in the center of the top nailing flange and centered on each stud (see arrows as shown).
• Also drill four evenly spaced clearance holes on the front nailing flange on each side (see arrows as shown).
B) Ensuring mating surface is square and plum (Fig. 2), install galvanized screws through each clearance hole
and into the studs, securing the wall panel.
C) Add a bead of sealant down the vertical corner of the back panel (Fig. 2).