with the printer frame, then with a slight rocking motion, lift it
straight up and off the machine. To replace, just reverse the
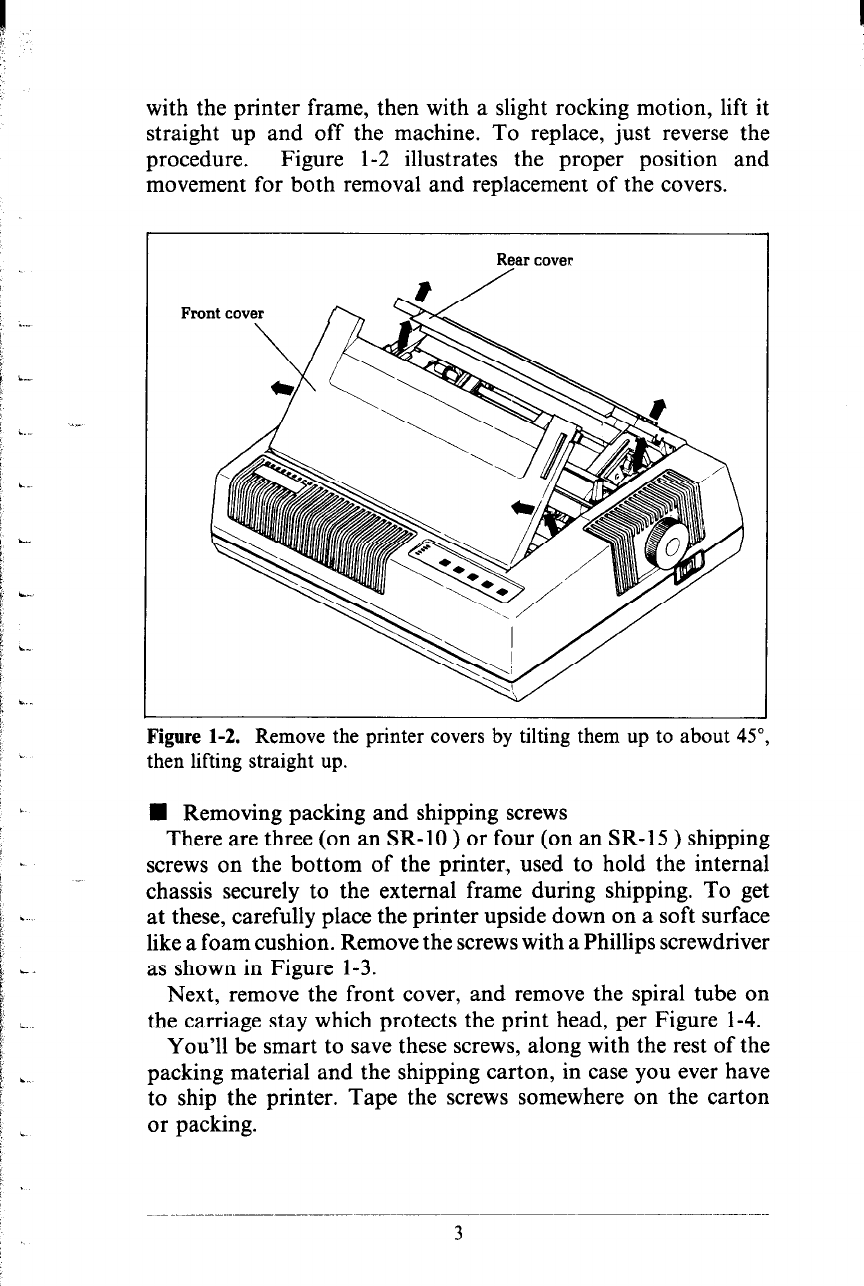
procedure.
Figure l-2 illustrates the proper position and
movement for both removal and replacement of the covers.
R/ear cover
Figure l-2. Remove the printer covers by tilting them up to about 45”,
then lifting straight up.
n Removing packing and shipping screws
There are three (on an SR-10 ) or four (on an SR-15 ) shipping
screws on the bottom of the printer, used to hold the internal
chassis securely to the external frame during shipping. To get
at these, carefully place the printer upside down on a soft surface
like a foam cushion. Remove the screws with a Phillips screwdriver
as shown in Figure l-3.
Next, remove the front cover, and remove the spiral tube on
the carriage stay which protects the print head, per Figure 1-4.
You’ll be smart to save these screws, along with the rest of the
packing material and the shipping carton, in case you ever have
to ship the printer. Tape the screws somewhere on the carton
or packing.
3


