119
119
Miscellaneous Information:
Installing Programmes
ENGLISH
DEUTSCH
Windows
1. Close all windows currently opened and insert
the provided software CD into the CD-ROM
drive.
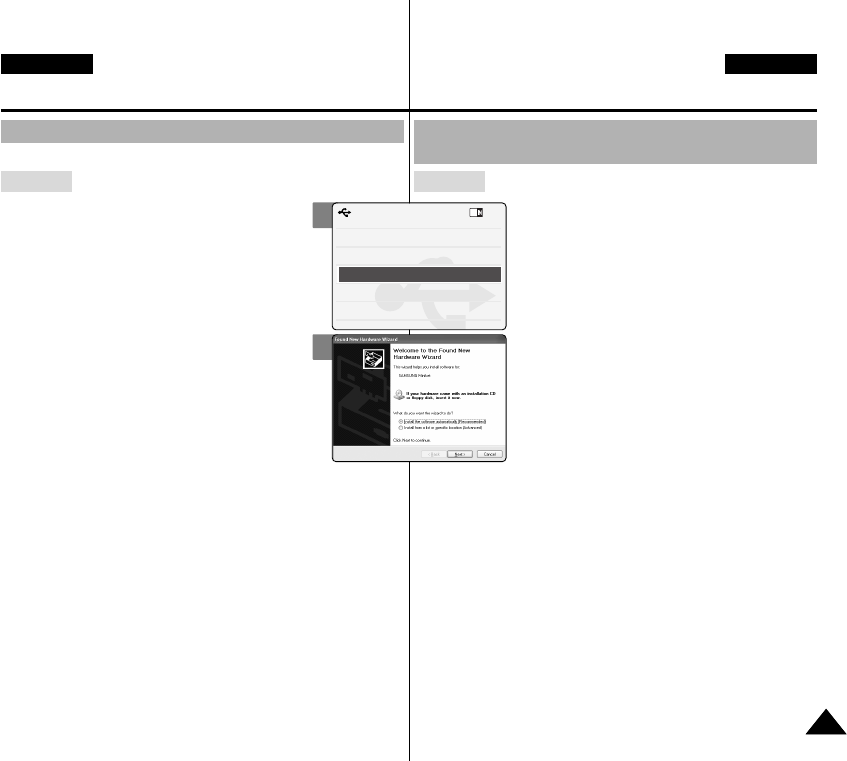
2. Place the CAM on the cradle and connect the
USB cable to the USB port of the cradle.
USB Mode screen appears.
3. Move the [▲ /▼ ] switch to select <PC-Cam>
and press the [OK] button.
New Hardware Wizard screen appears.
4. Follow the instructions displayed on the
screen to finish setup.
Installing for using PC-Cam
Sonstige Informationen:
Software installieren
Programm zur Verwendung des Camcorders
als PC-Kamera installieren
Windows
1. Schließen Sie alle geöffneten Fenster, und
legen Sie die beiliegende Software-CD in
das CD-ROM-Laufwerk ein.
2. Stellen Sie den CAMCORDER in die
Dockingstation, und schließen Sie das
USB-Kabel an den USB-Anschluss der
Dockingstation an.
Der Bildschirm “USB Mode” (USB-Modus) wird
eingeblendet.
3. Wählen Sie mit der Taste [▲/▼ ] den Eintrag
<PC-CAM> (PC-Kamera), und drücken Sie
die Taste [OK].
Der Assistent “Neue Hardware gefunden” wird
angezeigt.
4. Um die Installation zu beenden, folgen Sie
den Anweisungen auf dem Bildschirm.
2
3
Back
USB Mode
PC-Cam
PictBridge
USB 2.0 MassStorage
USB 1.1 MassStorage
00876P X105 UK+GER~135 6/10/05 1:40 PM Page 119


