ENGLISH
7070
Photo Mode : Setting the Viewing Options
Setting the Slide show
You can set a slide show, and also set the interval and repetition options for the slide show.
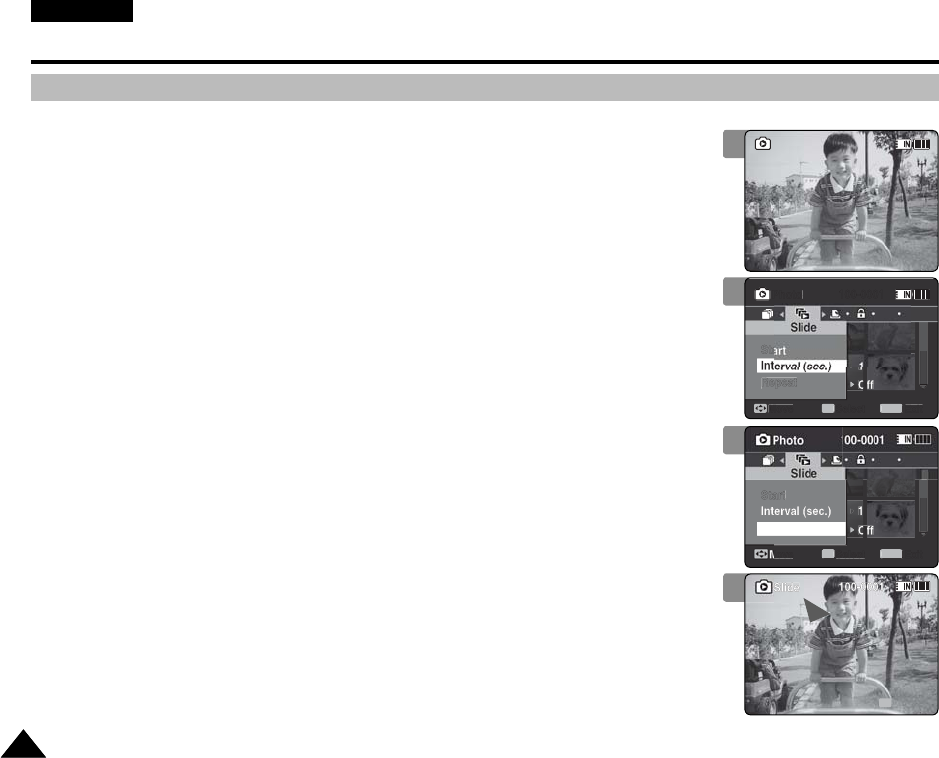
1. Press the [POWER] button to turn on the Memory Camcorder.
◆
The Movie Record screen appears.
2. Set the Photo mode by pressing the [MODE] button.
◆
The Photo Capture screen appears.
3. Press the [PLAY] button or [Joystick(OK)].
◆
Switches to Photo View mode.
◆
Move to the desired photo file, using the [Joystick].
4. Press the [MENU] button.
Move the [Joystick] left / right to select <Slide>.
5. Select <Interval (sec.)> by moving the [Joystick] up / down and then press the
[Joystick(OK)].
6. Set the interval by moving the [Joystick] up / down and then press the
[Joystick(OK)].
◆
Interval range: 1 ~ 10 seconds.
7. Select <Repeat> by moving the [Joystick] up / down and then press the
[Joystick(OK)].
8. Set the repeat option by moving the [Joystick] up / down and then press the
[Joystick(OK)].
◆
<Off>: Sets not to repeat the slide show.
◆
<On>: Sets to repeat the slide show.
9. Select <Start> by moving the [Joystick] up / down and then press the
[Joystick(OK)].
◆
Slide show starts. To stop the slide show, press the [Joystick(OK)].
[ Notes ]
✤
The interval between photos may vary depending on the size of the photo.
✤
Slide show starts from the current photo displayed.
✤
Slide show cannot start from a damaged photo file. Damaged photos will be skipped during the
slide show.
✤
While the menu screen is displayed, pressing the [Record / Stop] button will move to Photo Capture mode.
7
5
01
100-0001
SepiaSepia
0101
StopStop
OK
3
0101
100-0001100-0001
Sepia
01
Stop
9
VP-MM11-01064E-IB-UK.indb 70VP-MM11-01064E-IB-UK.indb 70 2006-05-22 오후 1:58:032006-05-22 오후 1:58:03


