Messaging 64
4.
Address your message as you would a Text message (see
“Creating and Sending a Text Message” on page 60).
5. When you are finished
addressing your message,
press the
Next
soft key. The
Picture Msg
fields screen
appears in the display with
your new picture populating
the
Picture
field.
6. To complete and send your
message, refer to steps 4 –
11 of “Creating and Sending
a Picture Message” on
page 61.
Send Postcard Messages in Camera Mode
You can also create Postcard messages using photos taken with
the Finesse’s camera.
Note:
For more information, refer to “Creating and Sending Postcard
Messages” on page 96.
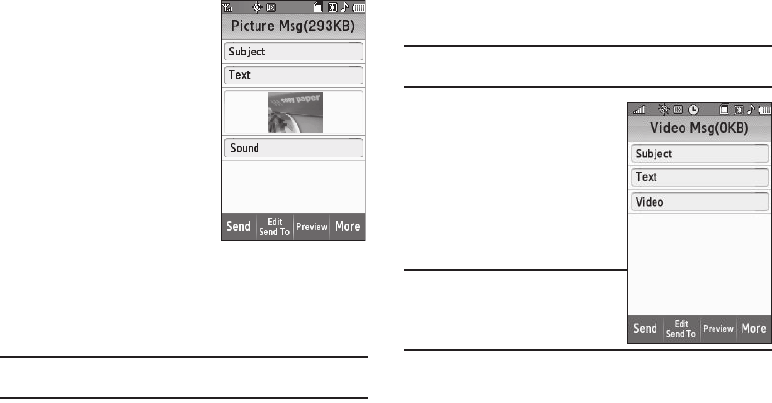
Creating and Sending a Video Message
1.In standby mode, press the
Messages
soft key, then select
Send Message
➔
Video Message
. The
Video Msg
screen
appears in the display showing the
To
list.
Tip:
You can also access Messages by pressing the
Menu
soft key and
selecting
Messages
.
2. Address your message as you
would a Text message (see
“Creating and Sending a Text
Message” on page 60).
3. If desired, select the
Subject
field. The
3X4 Keypad
screen
appears in mixed-case mode.
Note:
You can use any of the Finesse’s four
text entry screens to enter your
message text. (For more information,
refer to “Changing Text Entry
Screens” on page 53.)
4. Enter the Subject text. (For more information, refer to
“Entering Text” on page 53.)


