7
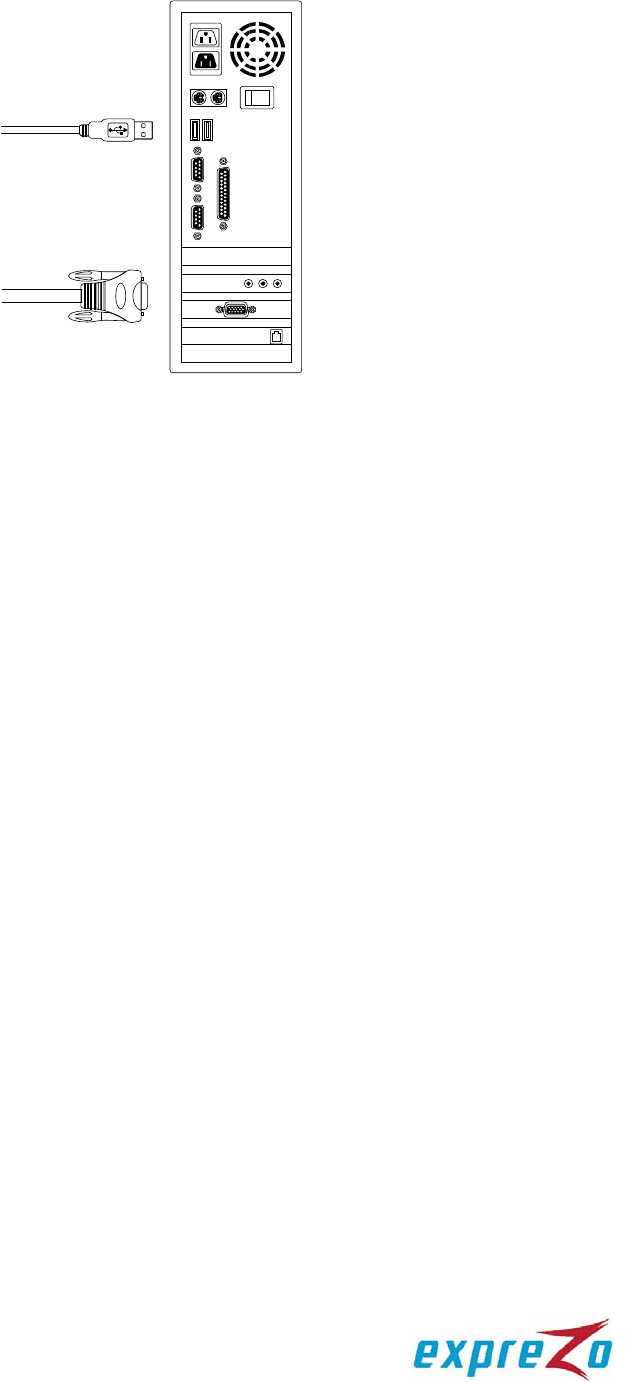
C. Plug only the combo cable’s USB and VGA connectors into a computer
(see Figure 9).
Figure 9: USB and VGA connections
4.4. Cascade KVM Switches (Multi-Tier Installation)
You can cascade either the 8-port or the 16-port EZswitch products up to 3 tiers,
expanding the number of computers to 64, 256 or 4096 computers. No special
configuration is required for the cascade.
After completing the installation, the system automatically configures the Master and
Slave KVM switches. The Master KVM switch is the first-tier KVM switch and Slave
KVM switches are second-tier or third-tier KVM switches. You can select the
computers connected to the Master or Slave KVM switches at any time.
To cascade KVM switches, follow these instructions:
A. Turn OFF all computers and devices.
B. Connect one or more Slave KVM switches to the channel ports on the Master
KVM switch using the custom combo cables (see Figure 6). The connection
between KVM switches must be done via the PS/2 interface (see Figure 7 &
Figure 8
).
C. Connect a USB or PS/2 keyboard and mouse to the console ports on the Master
KVM switch.
D. Connect a power adaptor to the Master KVM switch.
E. Connect computers to available channel ports on the Master KVM switch.
F. Connect a power adaptor to each Slave KVM switch.
G. Connect computers to available channel ports on the Slave KVM switch.
H. Turn on each device in the folloiwng sequence:
1. Master KVM switch


