19
english
JABRA PRO 9460, 9460DUO AND 9470 USER MANUAL
1. Connect the telephone cord included with your headset (marked with a blue band) from the port marked
on the Jabra PRO base to the headset port on your desk-phone body. See your desk-phone documentation
if you are not sure where this port is. If the supplied cord does not fit the port of your desk phone, then see
“Connecting to a Proprietary Headset Port,” below.
2. Your base and desk phone are now connected. Note, however, that you must still configure the base for your
specific desk phone model. The setup wizard usually helps you to do this, but you can also make this setting
at any time using the touchscreen (see Section 8.9: Re-running the Setup Wizards).
Note: Do not connect the base to a dedicated headset port if you want to use a GN1000; connect it
in line with the handset instead (see also “Connecting to a Desk Phone without a Headset Support,”
above). One reason to use the GN1000 instead of the headset port is that the GN1000 has a ring detector,
thereby enabling the base and headset to target the desk phone automatically when it rings (many
electronic-hookswitch solutions also provide ring detection).
Connecting to a Proprietary Headset Port
Some types of desk phones provide a non-standard headset port. This is usually part of an advanced solution
that also provides an electronic hookswitch. These types of phones normally also include the standard handset
ports described above, but you should consider taking advantage of the proprietary connection if possible.
To use this type of connection, you must purchase a special adapter designed to match the requirements of your
desk phone and headset. The adapter comes with instructions for how to connect it. See also Section 4.6: Using
a Handset Lifter or Electronic Hookswitch for more information about this type of solution.
configuRing the JaBRa PRo BaSe foR youR deSk Phone4.5
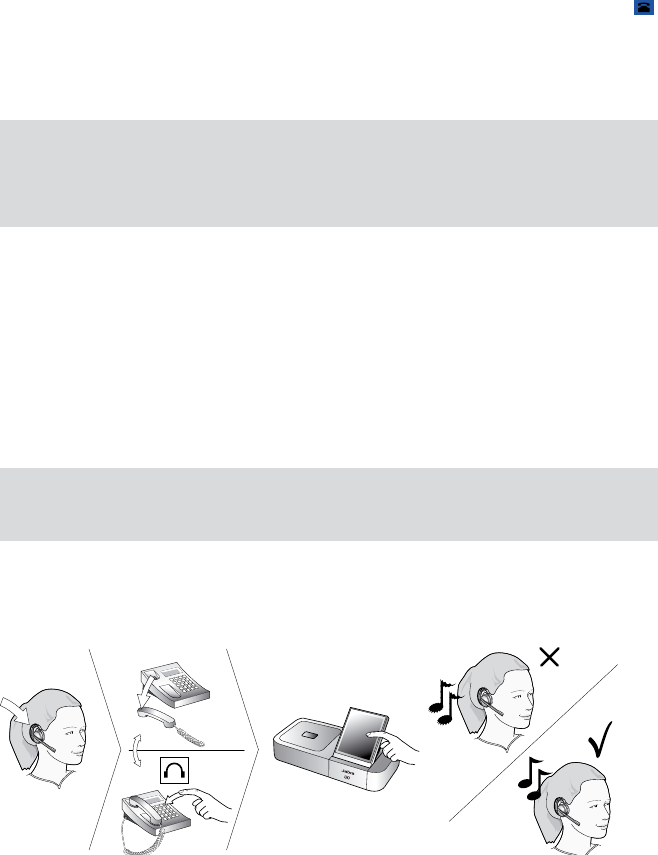
When the touchscreen wizard is helping you set up your desk phone, it will ask you to call a Jabra test server. This
enables the Jabra PRO base to test its clear dial-tone switch and microphone level settings by exchanging signals
with the test server.
Important: Your headset will not work correctly with your desk phone until you have set both the clear
dial-tone switch and microphone level as described in this section. You must repeat these procedures if
you move the headset to a new type of desk phone.
Setting the Clear Dial-tone Switch to find a Clear Dial-tone
Follow the procedure below to find the best position for the clear dial-tone switch on the Jabra PRO base; the
correct position varies by desk phone model.
Figure 14: Setting the clear dial-tone switch
For Jabra PRO 9460:
1. Open the panel on the front-right of the Jabra PRO base by slipping your fingernail under the bottom edge of
the panel and pulling forward and up. This reveals the clear dial-tone switch. It is labelled with the letters A to G.
2. The touchscreen wizard prompts you to call the Jabra test server. Follow the on-screen instructions.
If the base cannot contact the test server, you can re-try or you can try to set the switch manually — see the
procedure below.
3. The wizard prompts you to select a position (A – G) manually on the base’s clear dial-tone switch. The base
itself will determine which of these is the best.
