5-5
Teledyne Analytical Instruments
TT
TT
T
race Oxygrace Oxyg
race Oxygrace Oxyg
race Oxyg
en Analen Anal
en Analen Anal
en Anal
yzyz
yzyz
yz
erer
erer
er
Maintenance & Maintenance &
Maintenance & Maintenance &
Maintenance &
TT
TT
T
rr
rr
r
ouboub
ouboub
oub
leshooting 5leshooting 5
leshooting 5leshooting 5
leshooting 5
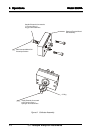
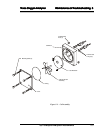
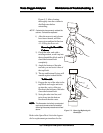
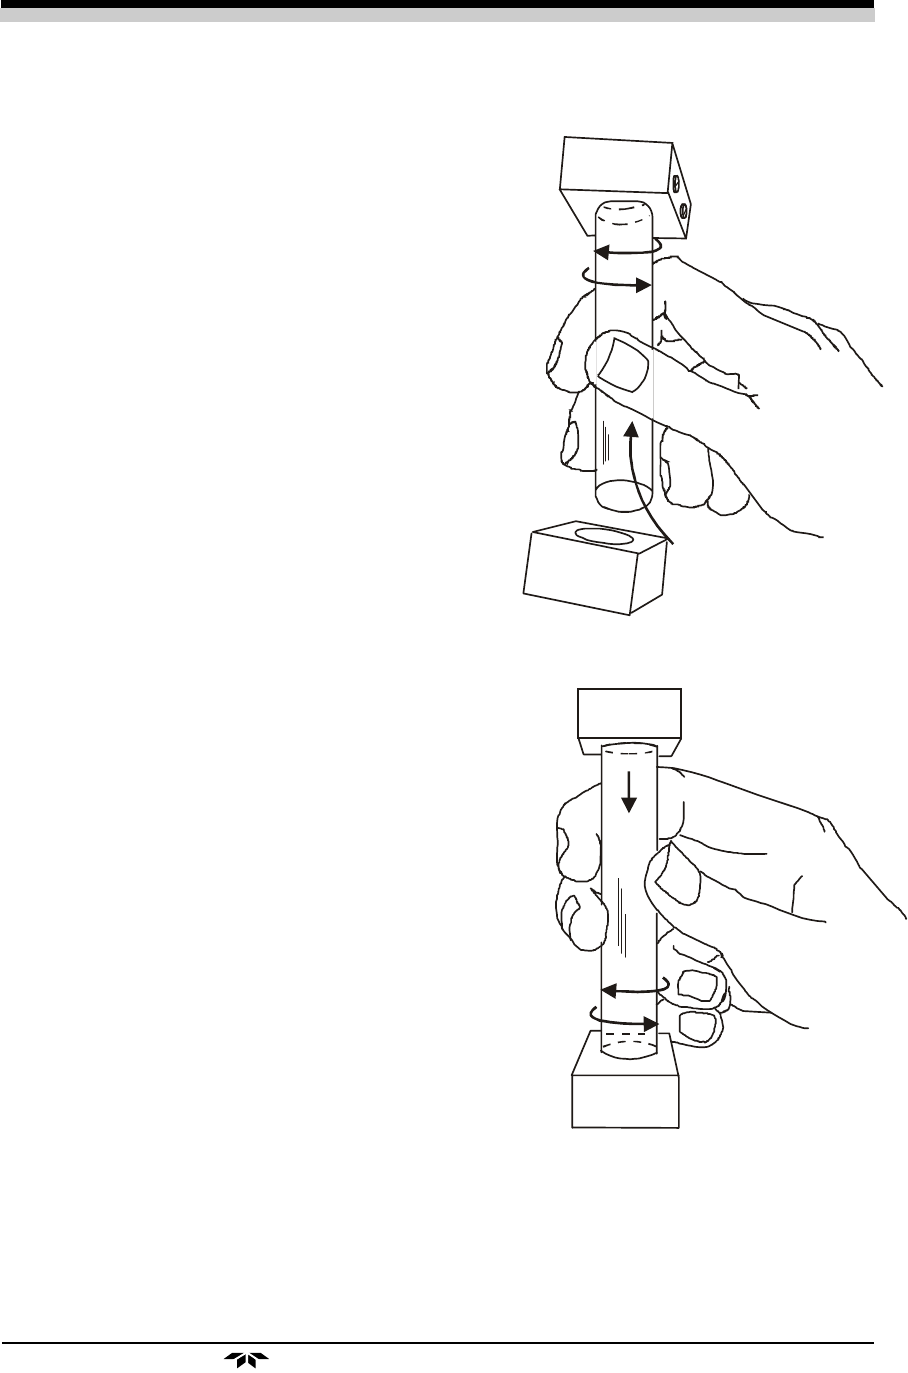
Figure 5-2: Removing/Replacing the
Humidifier
Figure 5-2. After cleaning,
thoroughly rinse the column in
distilled water before
reinstalling.
NOTE: If electrolyte has severely etched the
column, it should be replaced.
i) After the reservoir and column
have been cleaned, refill the
reservoir as outlined in Section
4.1:
Filling the Reservoir
.
Removing the HumidifierRemoving the Humidifier
Removing the HumidifierRemoving the Humidifier
Removing the Humidifier
Column:Column:
Column:Column:
Column:
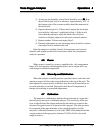
1) Grasp the tube, and with a
twisting motion, work it up into
the top humidifier block until it
clears the bottom block
completely.
2) Angle the bottom of the tube
towards you and twist it free of
the top block.
3) The top and bottom O-rings will
remain captive in their blocks.
To Reinstall:To Reinstall:
To Reinstall:To Reinstall:
To Reinstall:
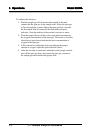
1) Engage the top of the tube in the
top block at an angle and twist
up into the cavity of the top
block unit the bottom of the tube
clears the bottom block.
2) Swing the tube into line, and
twist down into the bottom
block until the tube seats.
NOTE:NOTE:
NOTE:NOTE:
NOTE:
The flowmeter is similarly constructed
and can be removed and reinstalled
following the same procedure outlined
above.
Refer to the Spare Parts List in the Appen-
dix for replacement part numbers for the


