


Operation 3000ZA
Teledyne Analytical Instruments 48
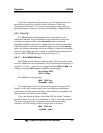
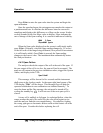
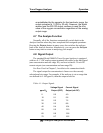
L—10 M—100
H—250 Mode—AUTO
Use the __ arrow keys to blink the range to be set: low (L), medium
(M), or high (H).
Use the __ arrow keys to enter the upper value of the range (all
ranges begin at 0 ppm). Repeat for each range you want to set. Press
Enter to accept the values and return to Analyze mode. (See note
below.)
Note: The ranges must be increasing from low to high, for
example, if range 1 is set as 0–10 ppm and range 2 is set
as 0–100 ppm, range 3 cannot be set as 0– 50 ppm since
it is lower than range 2.
4.6.2 Fixed Range Analysis
The autoranging mode of the instrument can be overridden, forcing
the analyzer DC outputs to stay in a single predetermined range.
To switch from autoranging to fixed range analysis, enter the range
function by pressing the Range button on the front panel.
Use the __ arrow keys to move the blinking over AUTO.
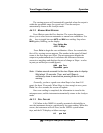
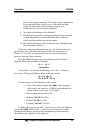
Use the __ arrow keys to switch from AUTO to FX/LO, FX/MED, or
FX/HI to set the instrument on the desired fixed range (low, medium, or
high).
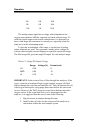
L—10 M—100
H—250 Mode—FX/LO
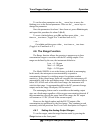
—or—
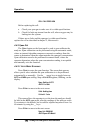
L—10 M—10 0
H—250 Mode—FX/MED
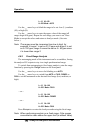
—or—
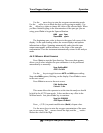
L—10 M—10 0
H—250 Mode—FX/HI
Press Escape to re-enter the Analyze mode using the fixed range.
Note: When performing analysis on a fixed range, if the oxygen
concentration rises above the upper limit (or default value)