


Voyager Portable
Troubleshooting
15
Voyager Portable
14
Maintenance & Care
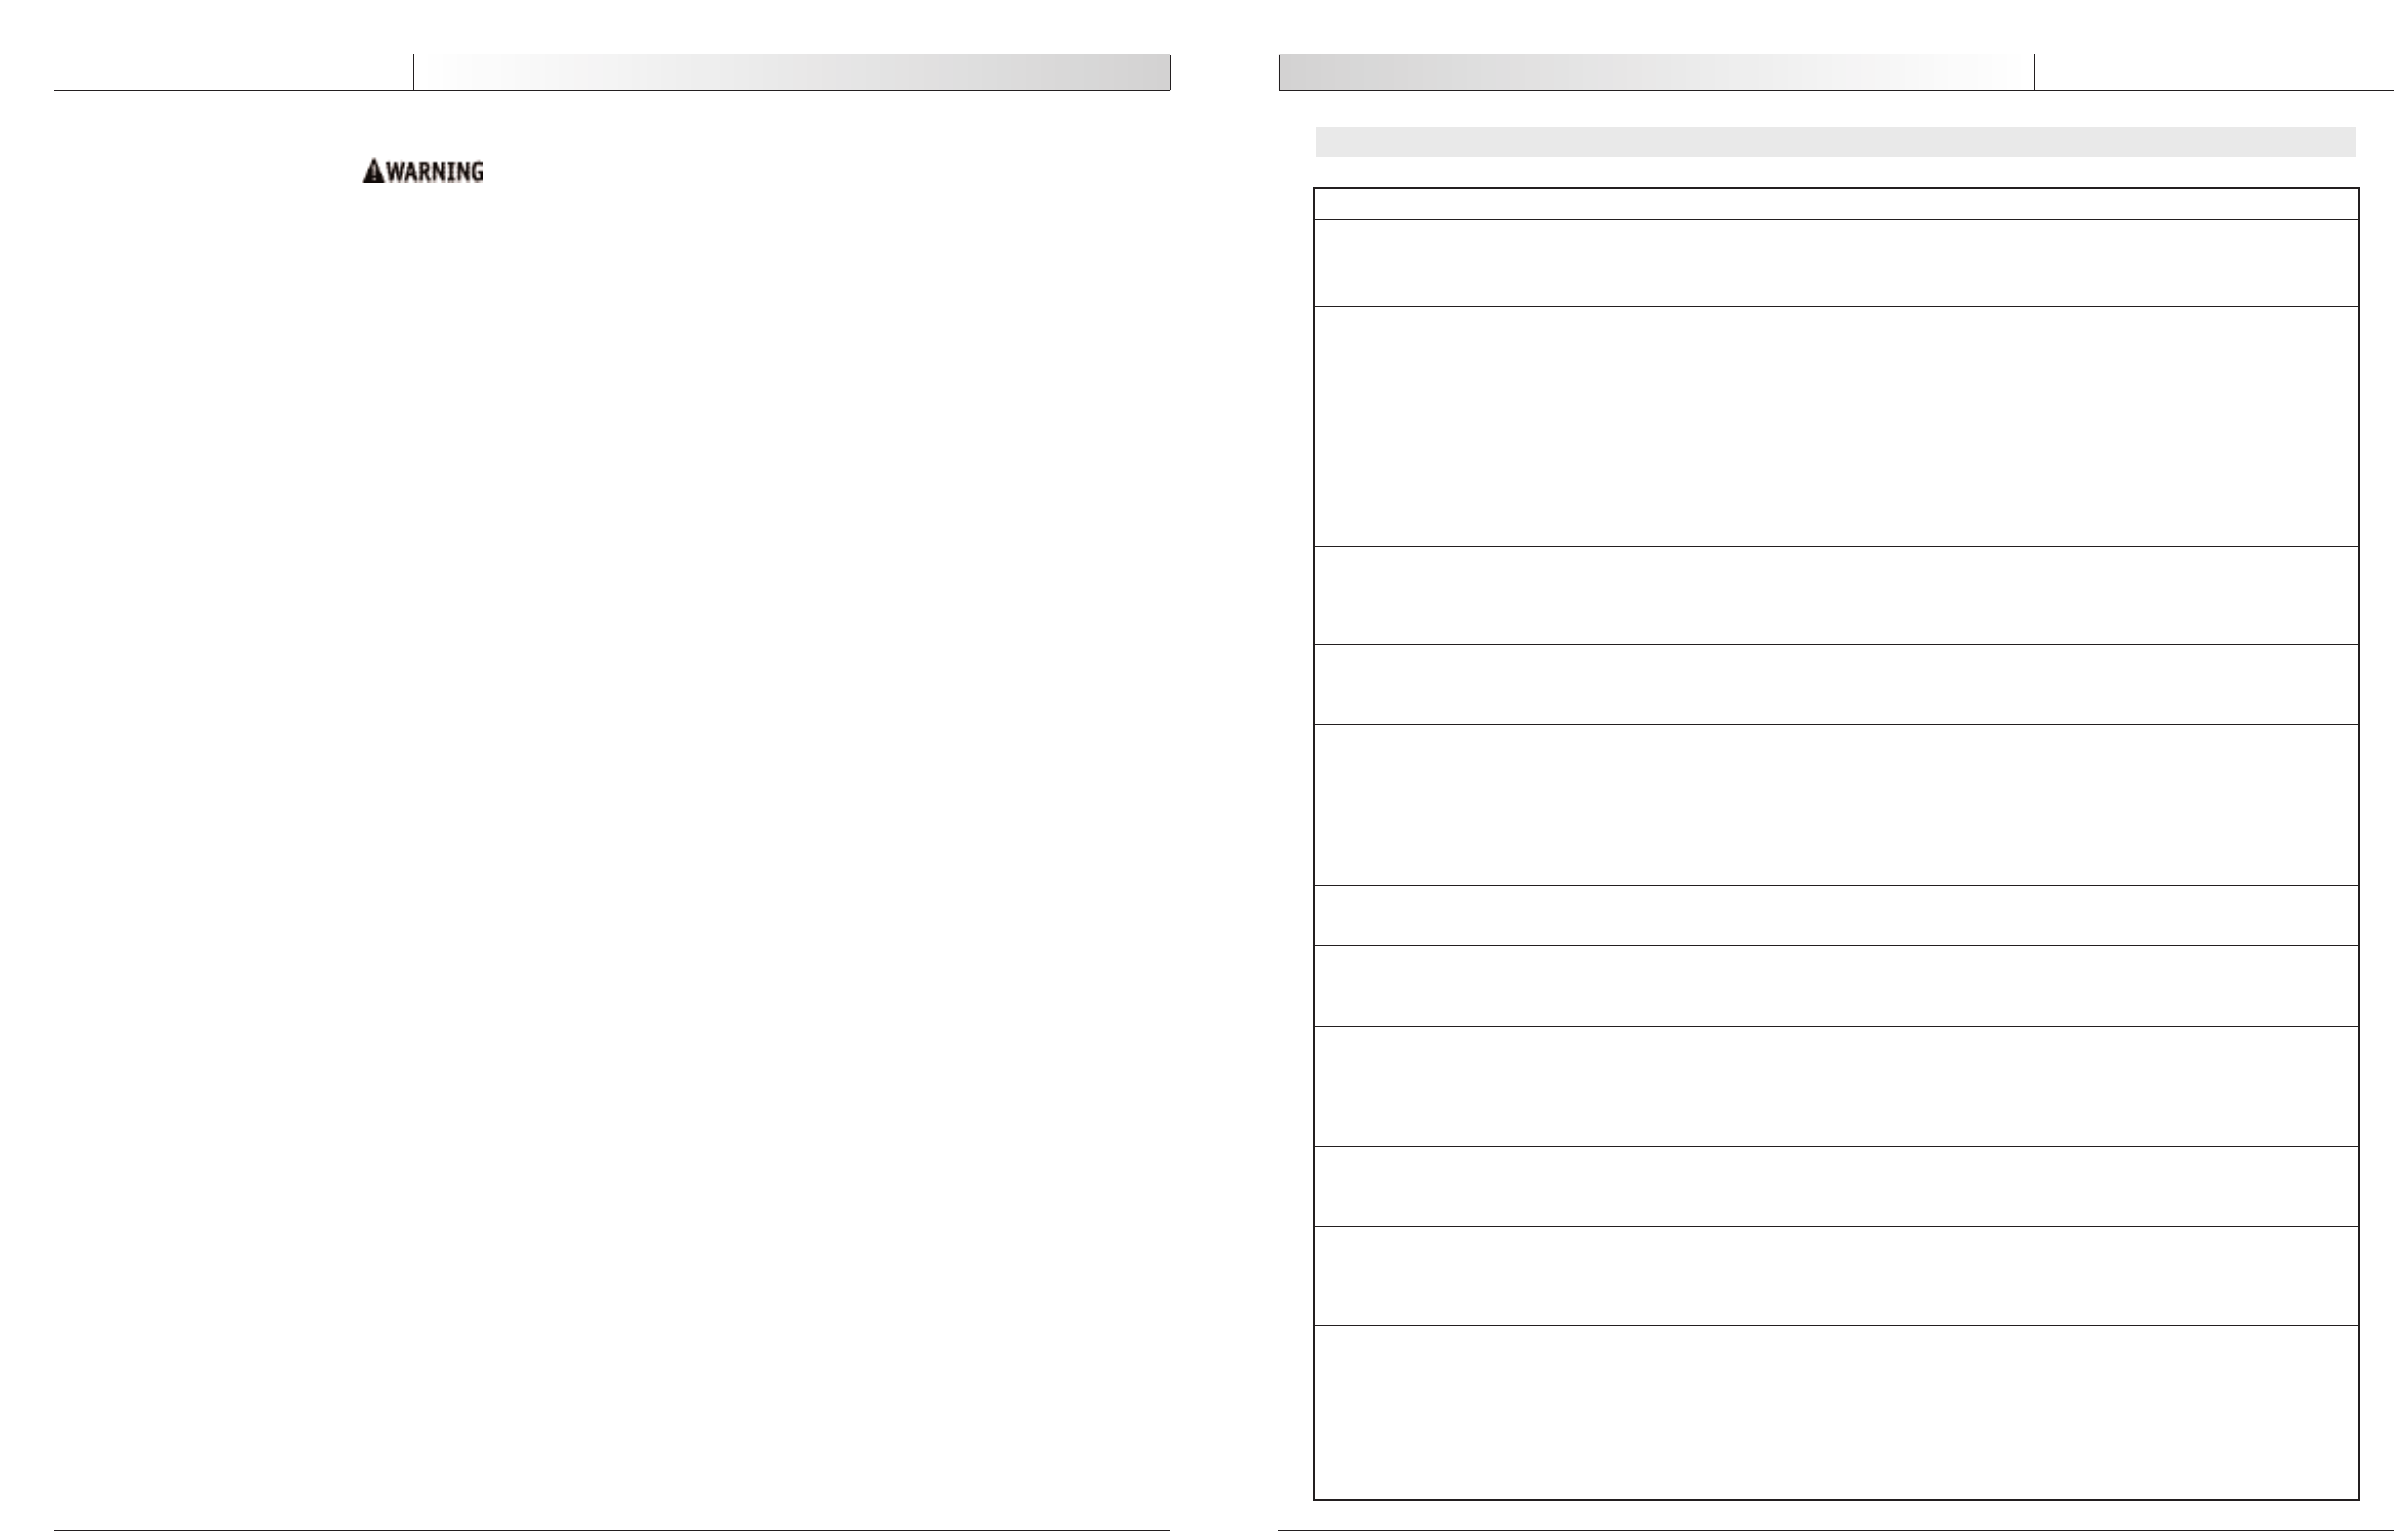
TROUBLESHOOTING
PROBLEM
1. The unit doesn't work when you
press the up or down buttons on the
handset.
2. The unit doesn't work when you
pr
ess the up or down buttons on
both si
des of the lift.
3. The unit starts and stops repetitive-
ly.
4. The lift emits a “beep” during uti-
lization. The unit may stop lifting
but you can still lower it.
5. Charge indicator on the charger
(green-red) doesn't light up when
the battery is in the charger.
6. Battery is always dead after a few
transfers (3 to 5).
7. The light on the charger shows green
when the battery is inserted, yet the
lift will only do one or two transfers.
8.
Th
e li
ght on the charger shows green
when the battery is inserted, yet the
lift will only work when there is no
one in the lift. When you attempt to
transfer someone, the lift stops.
9. The light on the charger always
lights up red and does not turn to
gr
een after an overni
gh
t char
g
e.
10. The battery does not slide into the
lift.
11. Cannot remove battery from the lift.
T
O CHECK
1. Make sure the handset is plugged correctly into the unit.
2. Use the control switches directly on the unit. If they are working, it indicates a prob-
lem with the handset; you would then need to change the handset.
1. Is the battery charged and correctly installed?
2.
Ensure the battery is inserted into the lift with the silver contact points inside the
lift.
3.
Place the battery into the charger and check the light on the charger. If the light
remains red, leave the battery in the charger for approximately two hours.
4. Is the Quick-Release knob completely to the left (locked) position? If not, lift will
not operate. Tighten the tension on the strap to help move the Quick-Release knob.
5. Is there tension on the strap? The “Anti Crush” feature will prevent the lift from
working if there is no tension.
6. If all of the previous points have been checked without success, you probably have a
motor or electric problem. You then need to call your local Sunrise Medical provider.
1. If the load is more than safe working load, the unit will not work due to an overload
protection on the motor.
2. Has the lift been making a “beeping” sound? The battery is low and needs to be
charged.
1. Batteries are low, place in charger.
1. Check the orientation of the battery. The silver contact points should be inside the
charger.
2. Is the charger plugged into a standard outlet?
3. Check the condition of the fuse. If needed, change it with a spare one (see
Maintenance section of this manual).
4. Has the battery been in the charger for many hours? (See “Battery Information” in
the Operation section.)
1. Replace battery with a new one. The life of the current one is probably nearly over
(see “Battery Replacement” in the Maintenance section).
1. Battery has either been dropped or damaged in some other way. Replace the battery.
1.
Battery is d
am
aged - have it replaced.
1. Try a different battery in the charger if available.
2. Have the battery and charger checked by your local provider.
1. Check if there is any damage to the battery that would interfere in the lift battery's
slot. IF THERE IS DAMAGE, DO NOT USE THE BATTERY.
2. Try to slide in another battery to see if there is any damage in the lift battery's slot.
If so, call your local Sunrise Medical provider; if not, discard the damaged battery.
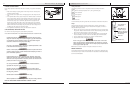
1. See “Charging the Battery” in Operation section on how to remove the battery.
2. If the battery will not come out of the lift, tilt the lift to the side so that the battery
openin
g is un
d
er th
e lift. With your hand guarding the opening for the battery, press
th
e eject button on the front of the Voyager Portable while gently tapping the lift to
help jolt the battery out of the lift. ONCE THE BATTERY IS REMOVED, DISCARD BAT-
TERY AND REPLACE.
3. If you cannot remove the battery after trying the above, contact your local provider
for assistance.
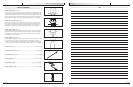
MAINTENANCE, INSPECTION AND TEST
Failure to follow these instructions could result in serious injury or death.
Sunrise M
edical recommends a thorough inspection and test of the Voyager and lifting
accessories, slings, etc. every six months. The examination and test should be conducted
according to the procedures below.
Carry Bar
1. Check the carry bar for damage or wear.
Carriage Wheels
1. Check for damage, cracking or rust.
2. Check for wear on the axles.
3. Check for firm attachment.
4. Lubricate axles.
Lifting Strap
1. Completely unwind the strap.
2. Check strap for wear and fraying.
3. Check stitching.
4. Check for degradation due to chemical attack.
5. Replace the strap at least every two years.
6. Check carabiner for damage, wear, cracks and correct functioning of the safety latch.
Lift Unit
1. Confirm correct operation of the emergency brake.
2. Check for wear on the drive chain and sprockets.
3. Inspect internal plugs and sockets for damage and good electrical contact.
4. Confirm correct operation of the mechanical emergency lower function.
5. Inspect all welds for cracking.
6. Inspect Quick-Release system for wear.
7. Lubricate chain and sprocket.
Charging
1. Confirm correct functioning of the charger.
2. Check for correct fuse rating.
3. Check electrical cord plug and socket for proper mating; look for damage, evidence of
burning or arcing.
4. Check electrical cord plug is fitted with the correct rated fuse.
5. Check charger contact for corrosion.
6. Confirm charge status lights are functional.
Electric Controls, Plugs & Sockets
1. Check the Battery Eject button for correct functioning.
2. Check that control buttons function in both directions.
3. Check the hand control (if fitted) for correct functioning in both directions.
4. Check the fit of the hand control plug and socket (if fitted).
Slings & Accessories
1.
Confirm th
e slin
g is a Guardian sling.
2. Check the load bearing straps for wear or fraying.
3. Ensure the straps are securely stitched.
4.
Ch
eck th
e body of the sling for wear or cuts in the fabric.
5. Check any side suspenders for wear on the hooks or central suspension point.
6. Inspect strap extension, if present, for wear.
7.
In
spect arm extension, if used, for wear and correct functioning.
Track Installation
Refer to Easytrack User Manual for installation and maintenance instructions.