


Voyager Portable
Operation
9
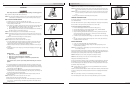
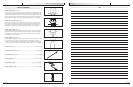
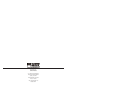
Charging the battery with charger #93500: (Figure 7)
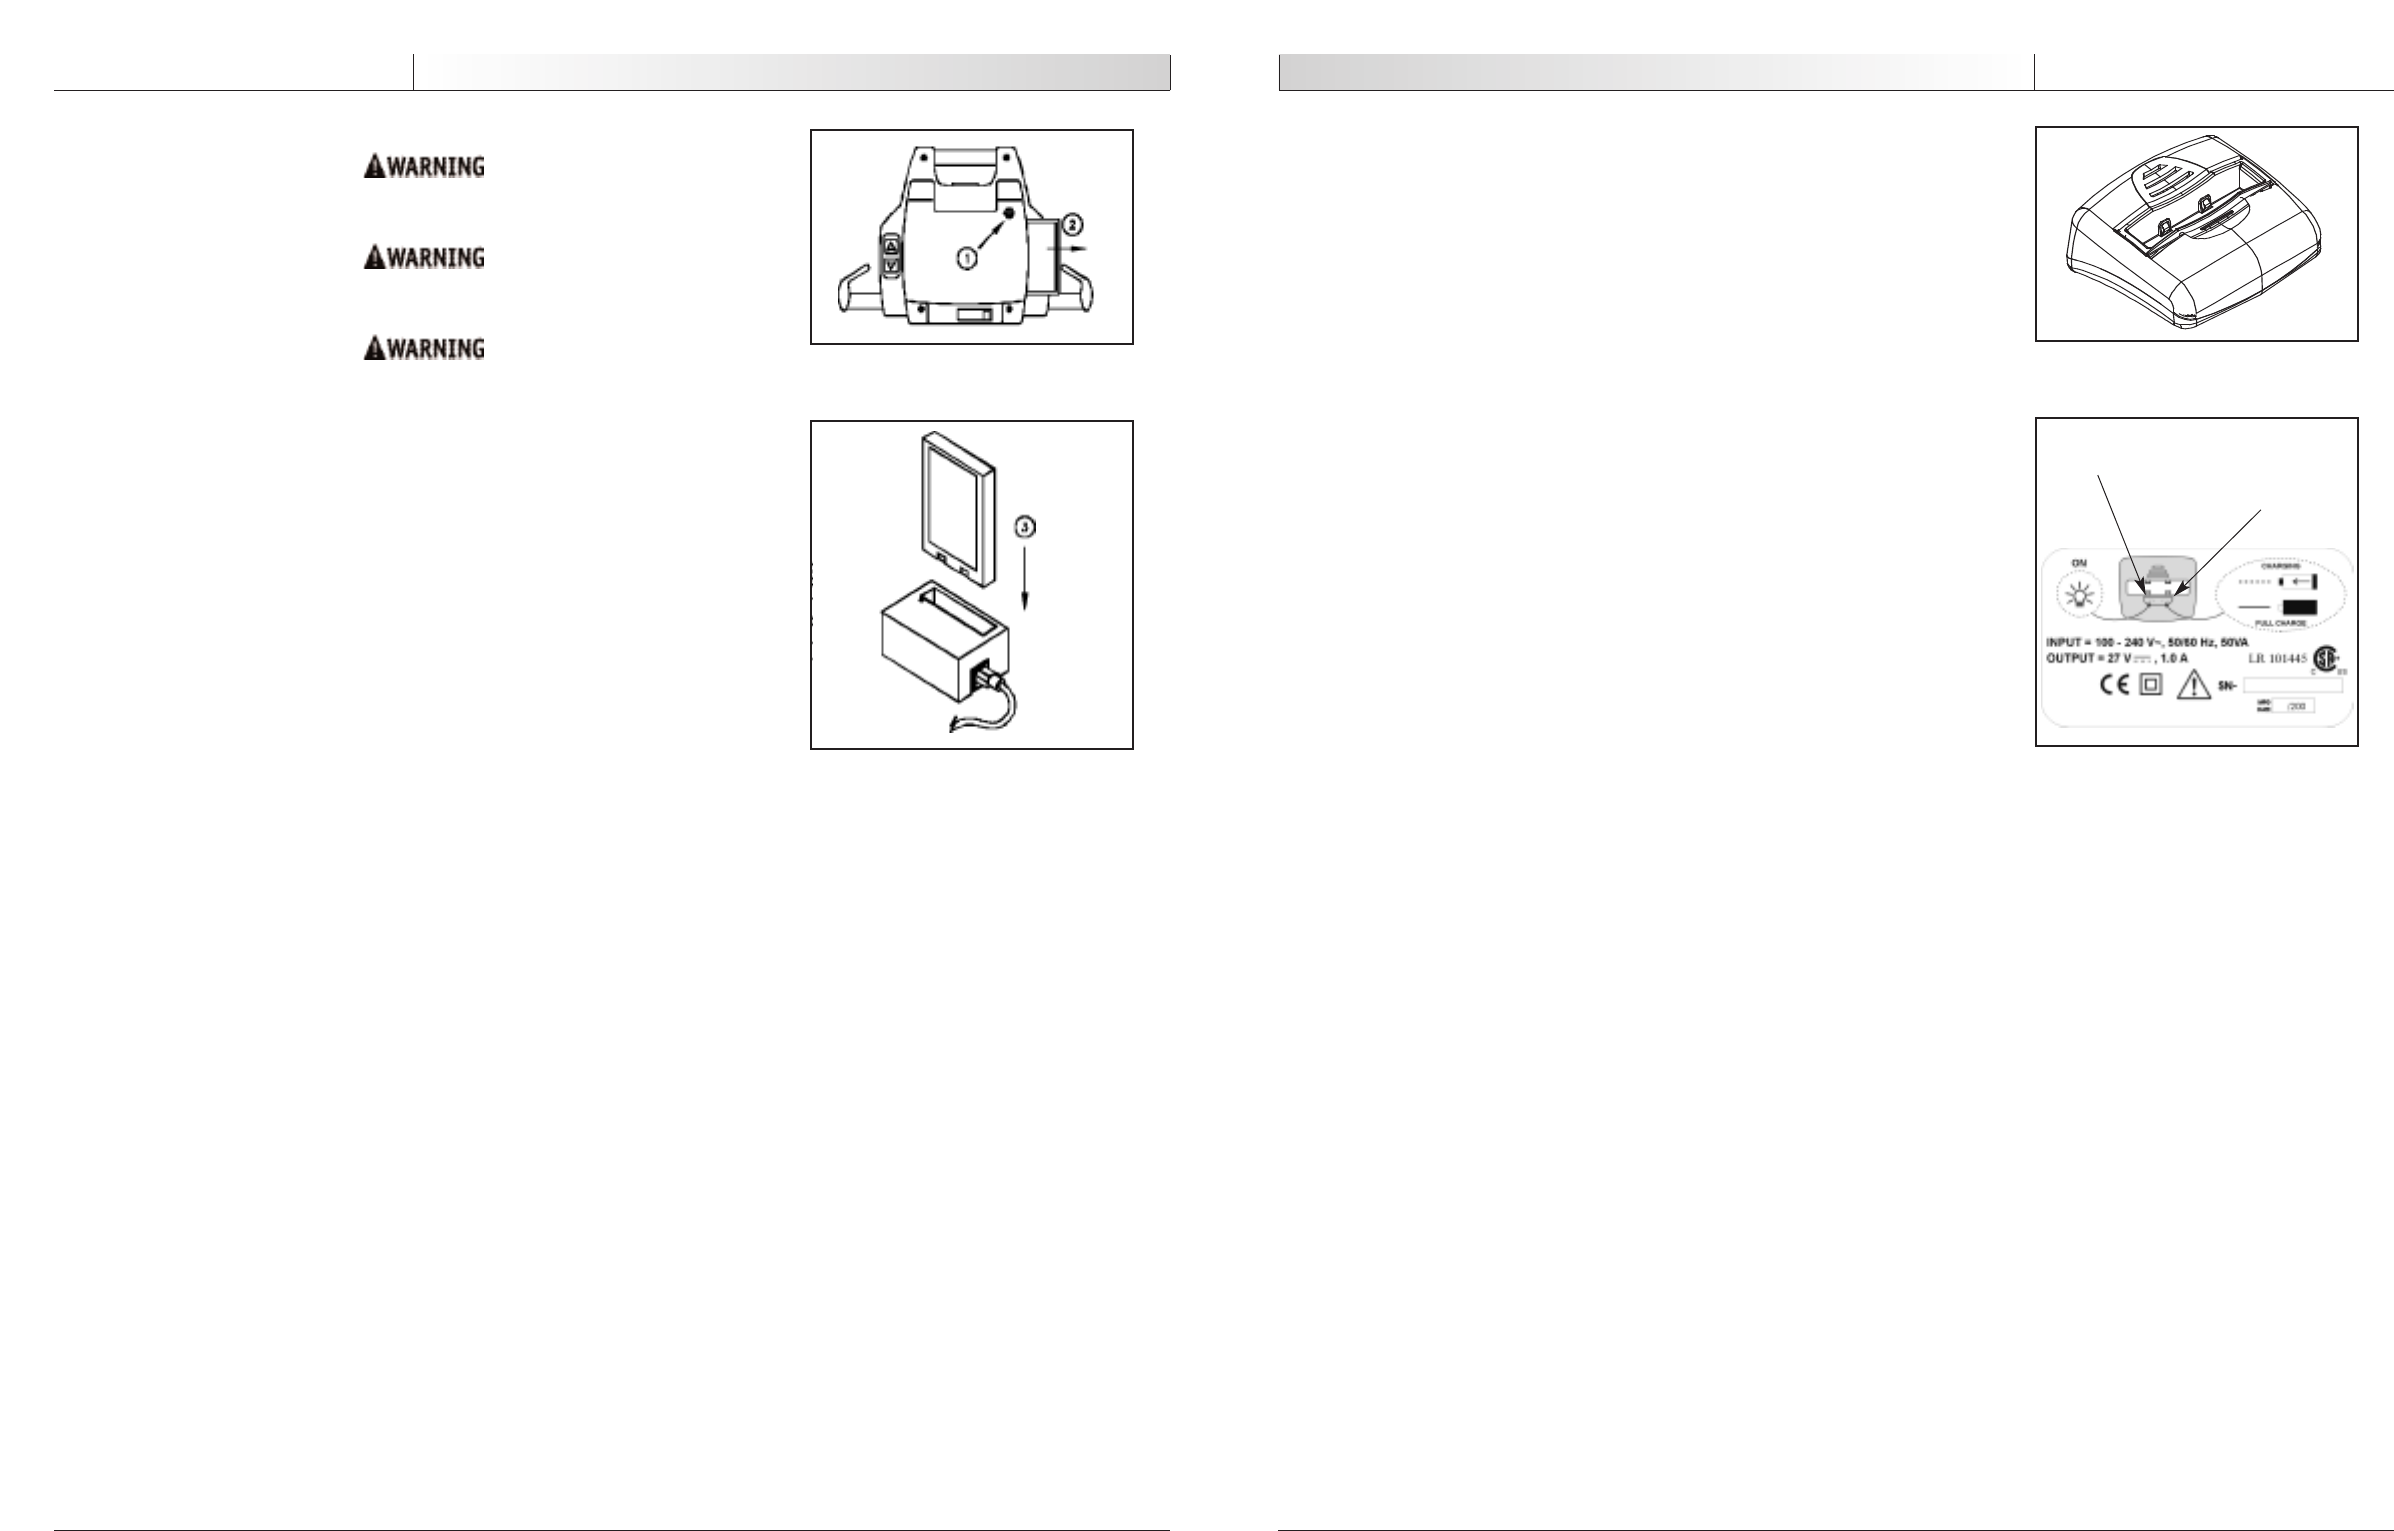
1. Check to make sure the green light on the charger is illuminated (Figure 8). This indi-
cates that th
e charger is on. Insert the battery into the charger with the silver con-
tact points of the battery going into the charger.
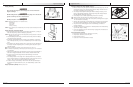
2. The charging indicator light will flash yellow while the battery is charging. If the
battery is appr
oximately within 85% of being fully charged, the charging indicator
light will illuminate solid yellow (Figure 8).
3. If the battery is low, it will take approximately 2 hours for a full charge.
NOTE– Whenever possible, leave the battery in the charger when the lift is not in use.
NOTE– At minimum, charge the battery until the light is solid yellow (not flashing) before using again.
This will extend the life of the battery.
4. When the lift is needed again, pull the battery out of the charger and, gently slide it
back into the Voyager portable lift. The silver contacts should be inside the lift.
5. The power cord can remain plugged into the wall indefinitely, convenient for
overnight recharging.
6. The battery can be left in the charger for an extended period of time without damag-
in
g either the charger or battery.
7.
If the green light does not go on when the charger is plugged into an electrical out-
let, see “T
roubleshooting”.
Charger Specifications (93500):
• Class 2 power cord rated at 2.5 A (100-240 Vac, 50-60 Hz)
• Charger input: 100-240 Vac, 50-60 Hz, 50VA
• Charger output: 27 Vdc 1A
• Input fuse: 1A 250 V located inside the charger
Charging the Battery
Do not operate the charger unit with a damaged cord or if the unit has been
dropped or damaged.
DO NOT forcibly bend the power cord or place a heavy object on it. This will dam-
age the cord and may cause fire or electrical shock.
DO NOT pour liquid on or near the charger.
CAUTION– DO NOT place the charger unit in locations that are:
• Extremely hot
• Dusty or dirty
• Very humid
• Moving or vibrating
CA
UTION–
Do n
ot attempt to put a damaged battery into a charger. Inspect the battery first for dents
or damage.
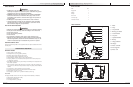
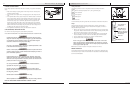
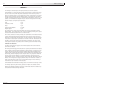
Charging the battery with charger #98820:
1. Eject the battery from the lift unit by using the Battery Eject Button (1). Keep your
hand near the opening to catch the battery (2) (Figure 6-A).
CAUTION– Keep one hand near the opening for the battery before pushing Eject button. Do not allow
the battery to eject and fall.
2. Insert the battery into the charger (3) with the silver contact points of the battery
going into the charger (Figure 6B).
3. The indicator light will illuminate red to white to green depending on the battery
drain. If the light does not go on, check “Troubleshooting” in this manual for assis-
tance.
4. If the battery is low, the light will show red or orange when you place the battery in
the charger. The light will gradually turn to a white or yellow color, then to green
when fully charged.
NOTE– Whenever possible, leave the battery in the charger when the lift is not in use.
NOTE– At minimum, charge the battery until the light is green before using again. This will extend the
life of the battery.
5. When the lift is needed again, pull the battery out of the charger and gently slide it
back into the Voyager Portable lift. The silver contacts should be inside the lift.
6.
The power cord can remain plugged into the wall indefinitely, convenient for
overnight recharging.
7. If the battery has been in the charger for an extended period of time, or if the bat-
tery has n
ot been d
r
ain
ed, it is possible that the light on the charger will turn off or
not go on. This is only the case when the battery is 99.9% charged.
8. To test the charger, use the battery in the lift a few times then put the battery in
th
e char
g
er. If the light still does not go on, see “Troubleshooting” section of this
manual.
Charger Specifications (98820): 120 Vac, 60 Hz, 0.5A
Voyager Portable
8
Operation
Figure 6-A
Figure 6-B
Figure 7
Figure 8
Soli
d yellow light indicates
battery is 85% charged.
Blinking yellow light indi-
cates battery is un
der
charged.
Gr
een light indicating
power to the charger.