


4
ASSEMBLY AND SET-UP
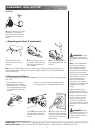
Need Help? Visit our web site for replacement parts, product support and a list of authorized service centers at
www.razor.com or call toll-free at 866-467-2967 Monday - Friday 8:00AM - 5:00PM Pacific Time.
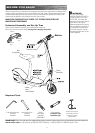
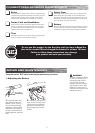
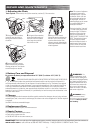
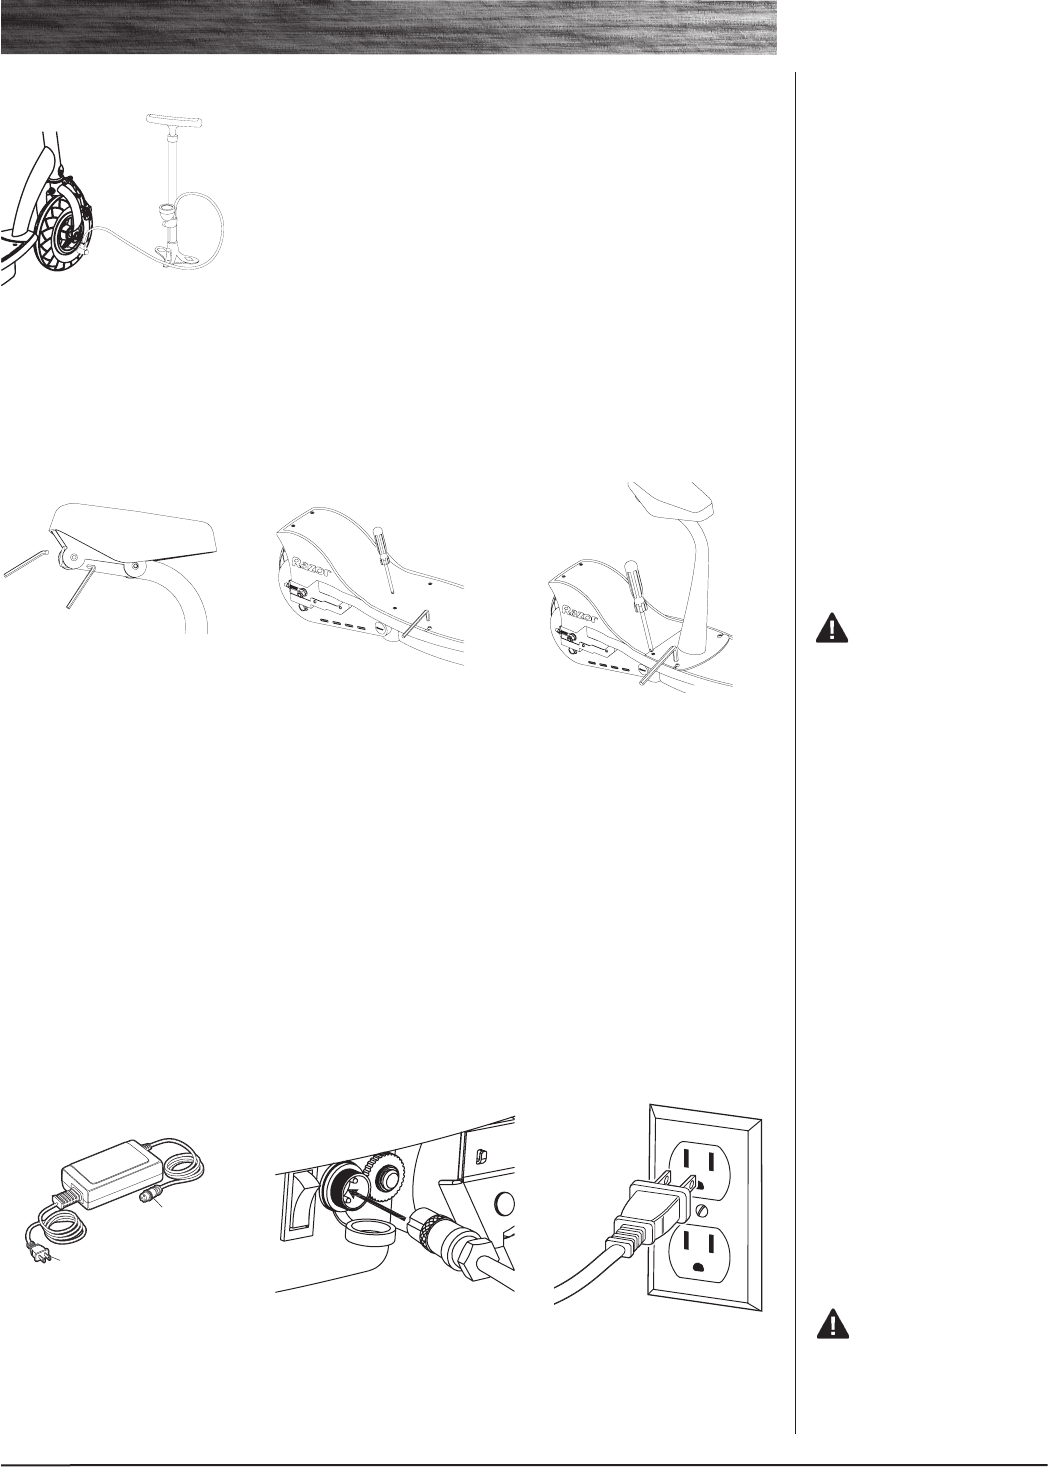
4 Using a bicycle style tire pump
equipped for a Schrader-type
valve, inflate the front tire to the
PSI indicated on the sidewall of
the tire.
Front Tire
WARNING: Failure
to recharge the battery at least
once a month may result in
a battery that will no longer
accept a charge.
q Charging the Battery
Your electric scooter may not have a fully charged battery. Therefore it is a good idea to charge the battery
prior to use.
•Initialchargetime:18hours • Runtime:Upto40minutesofcontinuousridetime
•Rechargetime:upto12hours • Averagebatterylife:250charge/dischargecycles
When the scooter is not in regular
use, recharge the battery at least
once a month until normal use is
resumed.
2 Plug the charger into a wall
outlet. If the lights on charger
do not light up, check the power
to the outlet. If necessary, try a
different outlet.
WARNING: Always
disconnect your scooter from
the charger before cleaning with
liquid.
Note: If your charger does not
look like the one illustrated,
your unit has been supplied
with an alternative charger.
The specifications and charging
procedure would not change.
The charger has a small window
with one LED or two LEDs to
indicate the charge status.
Refer to the illustration on
the charger unit for the actual
“charging” and “charged” status
indications for your model
charger.
Chargers have built-in over-
charge protection to prevent
battery from being over-charged.
Charger will get warm during
use. This is normal for some
chargers and is no cause for
concern. If your charger does
not get warm during use, it does
not mean that it is not working
properly.
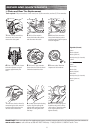
1 Turn OFF power switch before
charging. Plug the charger into
the charger port on the electric
scooter.
Charger
Charger
Plug
Charger
Port
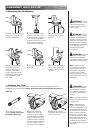
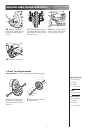
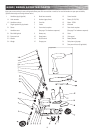
q Attaching the Seat (if applicable)
2
Unscrew the four screws on
the middle of the deck with the
4mm key wrench and the phil-
lips screwdriver.
3 Place the seat post on the
deck and secure using the same
4 screws.
1 Attach the seat to the
seat post with two 4mm key
wrenches.
Note: Do not completely tighten at this time. Adjust the seat tilt approximately level to the ground, or
slightly tilted depending on your personal preference. Tighten securely. The seat tilt adjustment should
not move when riding.