


14 GROOVE
EENNGGLLIISSHH
0705/1/ST-000690620.EMS
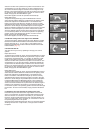
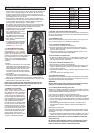
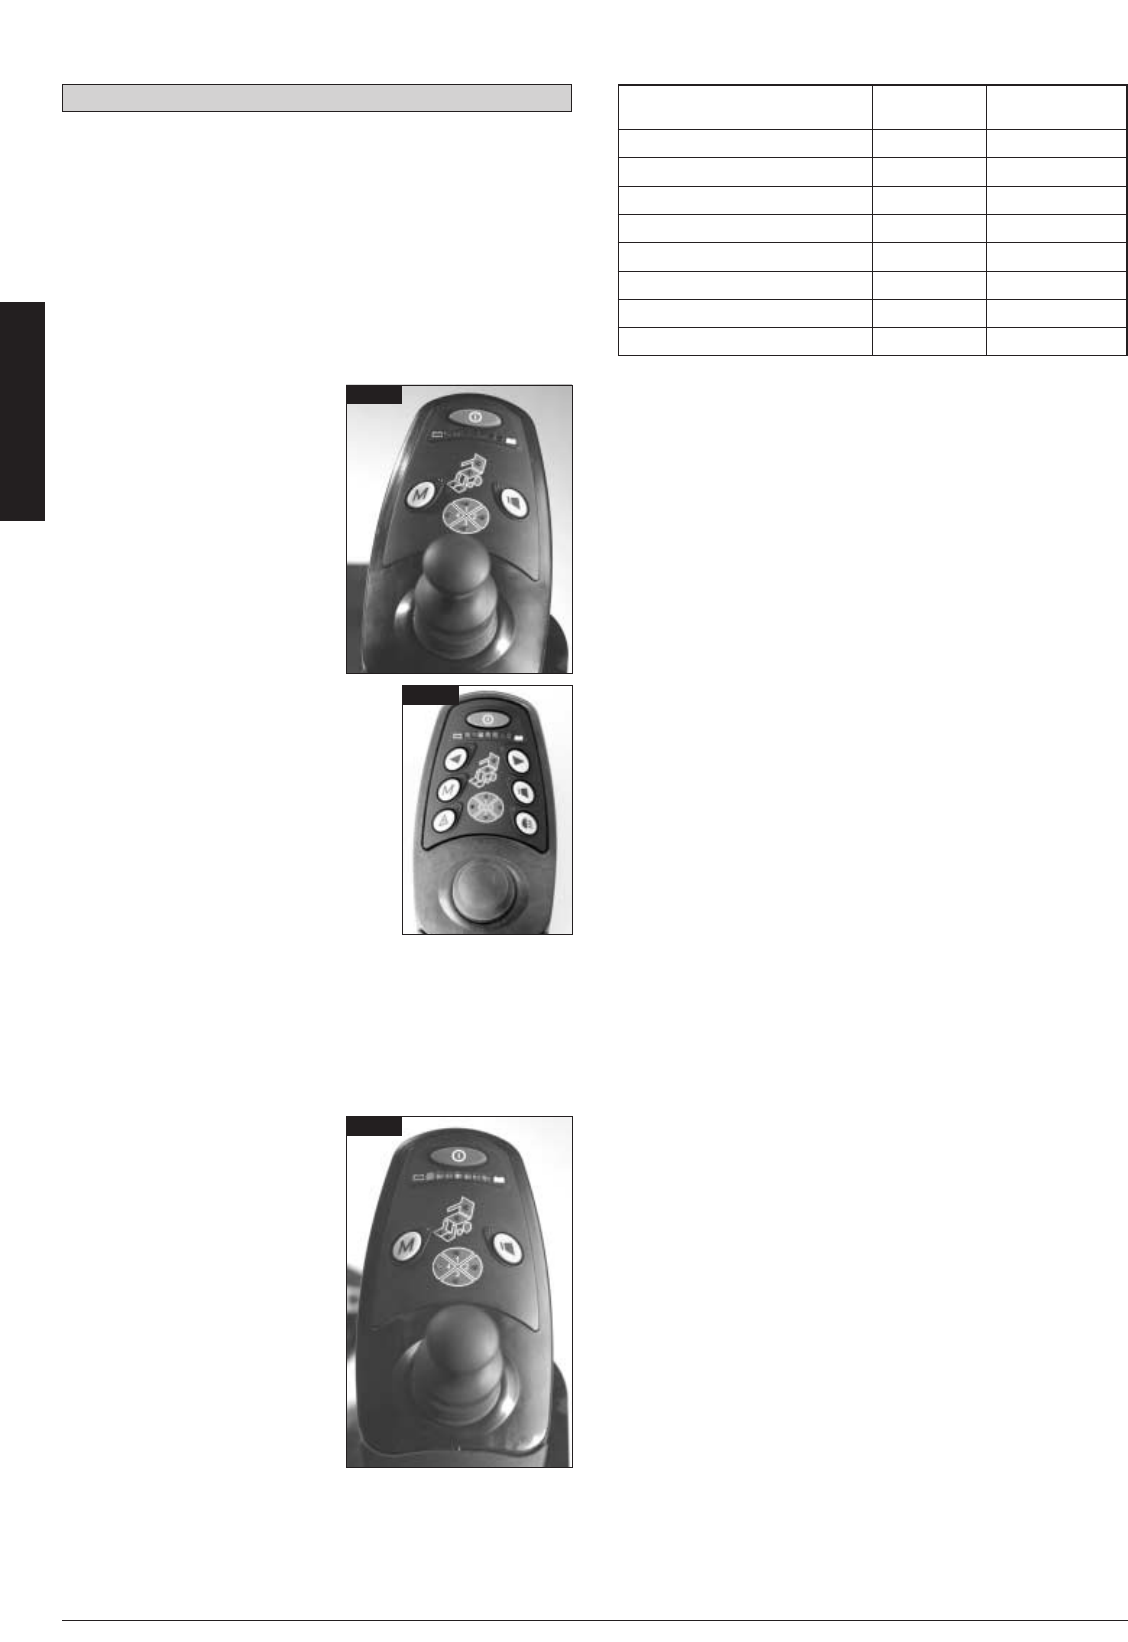
7. The Delphi QR Hand Control
• On/off button: This connects or disconnects the entire electronic
system, which supplies energy to the motors. Do not use this
button to stop the chair except in case of an emergency. This
stopping method is only to be used in an emergency situation as
the stopping action is very abrupt.
• Battery Gauge: This indicates, when lit, that the wheelchair is
powered. It also indicates any electrical fault that there may be
on the system. The sequence of flashing lights indicates the
fault type (See "Battery Gauge” in this manual).
If it remains lit, this means that the System is working normally.
It flashes to indicate any fault that may have arisen. Slow flash-
ing of the Red LED indicates that the Batteries should be
recharged as soon as it is feasibly possible.
•Profile indicator: This indicates
the 4 independent programma-
ble profile sets for the
wheelchair. There are four profi-
les predefined. The first is the
slowest, the last is the fastest.
• Horn switch: Initiates the Horn
when pressed.
•To operate the lights, indicators
or hazard lights, press the rele-
vant button for the on and off
operation. (Fig. 58 and 59).
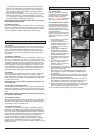
7.1. Adjustable Drive Profiles
Your controller has four separate
Drive Profiles (Fig. 58 and 59) that
are predefined as factory defaults.
Profile 1 is the slowest and 4 is the
fastest. The character of these profiles can
be programmed to suit your individual
needs. For more information please
contact you local SUNRISE MEDICAL
supplier.
To adjust:
1. Press the mode button once. The Mode
LED adjacent to the Mode Button will
light up Red. This indicates Drive Profile
Selection Mode. One of the Pie Chart
Icon LEDs in the centre of the Remote
will be lit up with the currently selected
Drive profile.
2. Move the Joystick in the Direction of
the desired drive profile and the LED for that Drive Profile will
light up e.g. Forward Press on the Joystick to select Profile 1.
3. Release the Joystick and the Control System will now be in the
desired Drive Profile and ready to drive.
Note: If drive profile has been changed but driving has not
been initiated, the hand control will beep and revert to the
previously used drive profile after 15 sec.
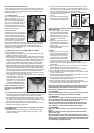
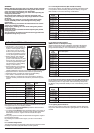
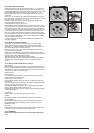
7.2. Battery level indicator
This has seven colour coded
lights, 1 red, 2 amber, and 4 green,
and denotes the state of charge of
the batteries (Fig. 60). Green indi-
cates high charge, Amber indica-
tes low charge, and Red indicates
that the batteries are almost deple-
ted. A flashing red light indicates
that the Wheelchair should be
charged as soon as feasibly possi-
ble. The most accurate reading is
attained when the chair is driving
on a good level surface. The lights
also help indicate the position of a
fault (should the need arise). When
in fault mode the lights will flash
quickly. Noting the number of
lights flashing may help your servi-
ce agent in simple fault finding.
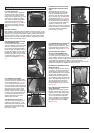
7.3. Power and Communication Connection
Ensure the power and communication (Bus) lead is connected cor-
rectly into the transition connector in the cable between the Remo-
te and the Control Box.
7.4. The Keyless Lock
When this is activated the chair will not function. This may be use-
ful if you wish to leave your wheelchair unattended.
7.4.1. To activate the Keyless Lock
1. Ensure that the Controller is switched off.
2. Push the Joystick fully forward and hold the Joystick in this
position. Whilst doing this, press and hold the On / Off Button
for more than 5 seconds.
3. The Remote will beep once, indicating that the system is now
Locked, and all LEDs will be extinguished.
7.4.2. To identify a locked system
1. To identify a locked system, turn on the Remote at the On / Off
Button. If the system is locked, all of the Battery Gauge LEDs
will flash twice and then extinguish
7.4.3. To de-activate the Keyless Lock
1. Ensure that the Controller is switched off.
2. Push the Joystick fully into Reverse and hold the joystick in this
position. Whilst doing this, press and hold the On / Off Button
for more than 5 seconds.
3. The Remote will Beep 3 times, indicating that the system is now
unlocked.
4. Your chair should now be ready to use.
7.5. Lights and indicators
GROOVE can be equipped with lights and indicators. Where lights
are not factory fitted, they may be fitted as an optional extra by an
approved Sunrise Medical service dealer.
WARNING
Ensure that the lights and indicators are functioning correctly
and lens are clean before going outdoors at night.
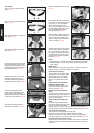
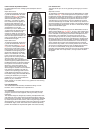
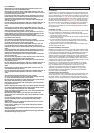
7.5.1. Lighting bulb exchange procedure
If bulbs of your lights and indicator system show a defect, indicat-
ed through a double speed flash of the indicating LED on the hand
control, please proceed in the following way:
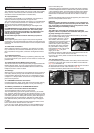
Front lights and indicators (TUV and LED light type):
Use a cross screw driver to release the screw of the light or indica-
tor glass. Take the glass off. This gives you access to the bulbs.
• For the TUV lights 12V/3W bulbs with an E12 thread are required
• For the TUV indicators 12V/5W bulbs with a 90° bayonet socket
are required
• For the LED lights and Indicators specific 12V bulbs with an
E12 thread are required. Please contact Sunrise Medical for
spares.
Rear lights and indicators:
TUV-lights: Lift the red or orange glass of the light carefully off the
socket. If a bulb needs to be replaced 12V/5W cylindrical, capless
is required.
• For the LED lights and Indicators specific 12V bulbs with an E12
thread are required. Please contact Sunrise Medical for spares.
Note: We recommend the use of Sunrise Medical authorised
spare parts only.
Be advised, that all lighting circuits are electronically protect-
ed. In the event of a short circuit it current limits. Once the
fault is removed the system resets automatically.
Approximate battery state of LED- Display
charge Display state
Battery charge ≥ 80% steady
80% ≥ Battery charge ≥ 70% steady
70% ≥ Battery charge ≥ 60% steady
60% ≥ Battery charge ≥ 50% steady
50% ≥ Battery charge ≥ 40% steady
40% ≥ Battery charge ≥ 30% steady
30% ≥ Battery charge ≥ 20% steady
Battery charge ≤ 20% flash 1,5 Hz
Fig. 60
Fig. 58
Fig. 59