


26 Dynamo
No tools are required to disassemble or assemble your Dynamo. Always disassemble or assemble your
Dynamo on a level, dry surface with sufficient room for you to work and move around your scooter. Keep
in mind that the disassembled sections of the Dynamo take up more floor space than the assembled Dy-
namo.
DISASSEMBLY
You can disassemble the Dynamo into six pieces: the seat, the front frame, the rear frame, the rear shroud,
and the batteries. Place the scooter in an area where you have sufficient clearance to move the parts around.
You need about four or five feet in all directions. You may need assistance to lift some of the scooter
components. See IV. Specifications for individual component weights.
1. Place the manual freewheel lever in the drive (forward) position.
2. Coil the cord and store it in the rear compartment.
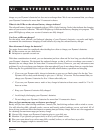
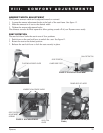
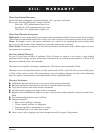
3. Gently lift the seat up and off of the Dynamo. See figure 15.
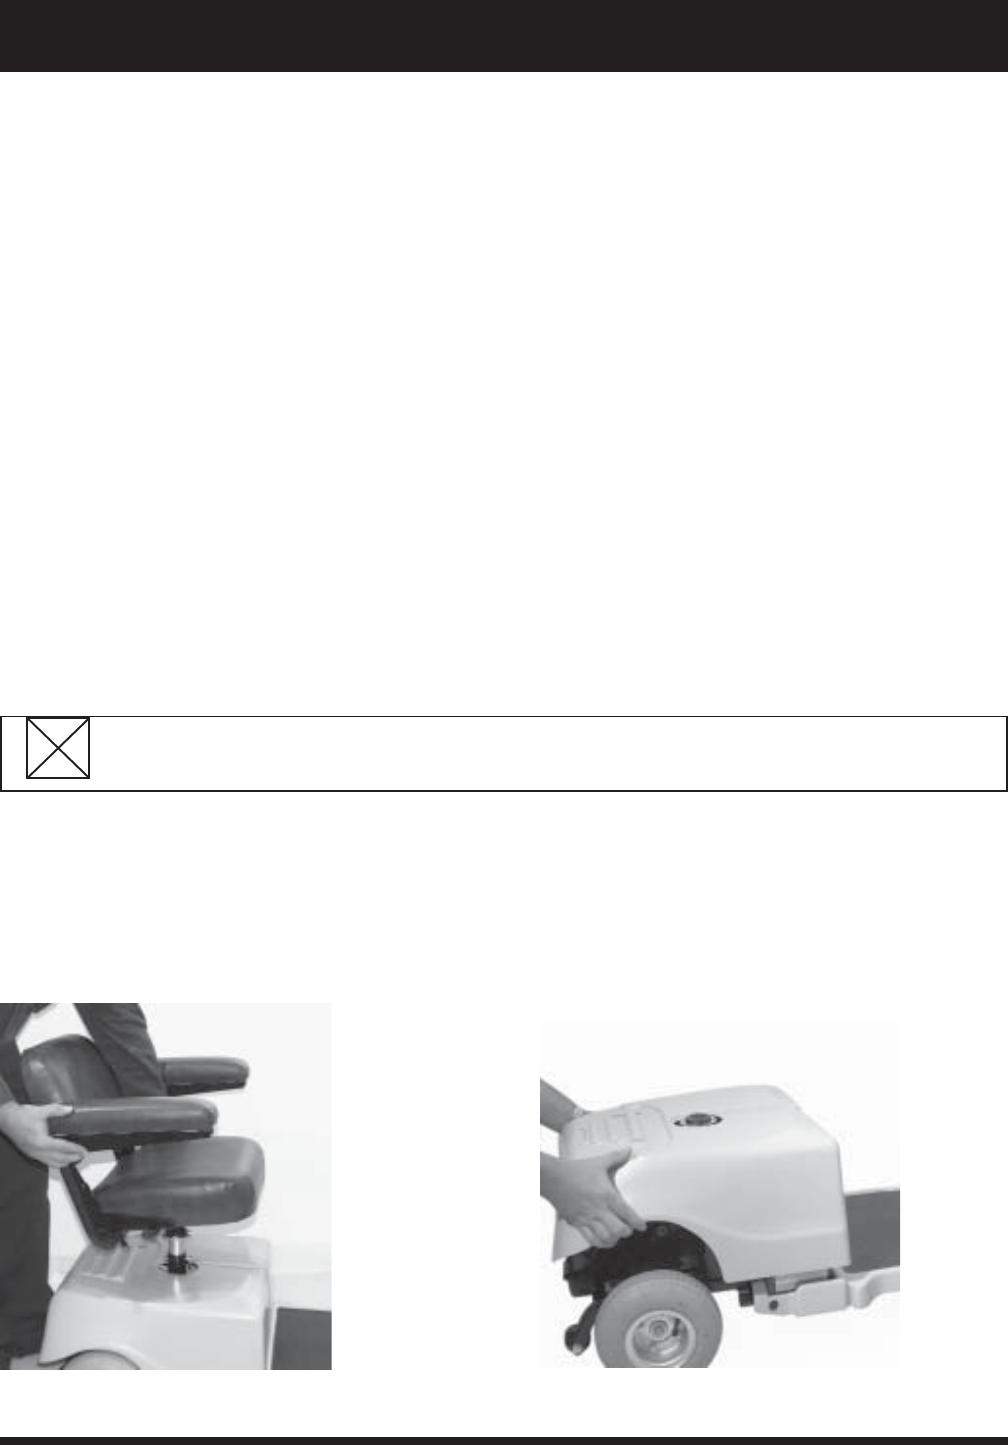
4. Gently lift the rear shroud off of the Dynamo. See figure 16.
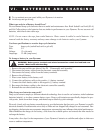
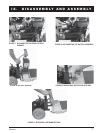
5. Unplug the front-to-rear harness (large white 9-pin connector) that connects the front control console
harness to the electronic controller assembly. See figure 17.
6. Disconnect both 2-pin battery harnesses. See figure 18.
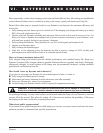
7. Lift both batteries off of the Dynamo. See figures 19.
CAUTION! Failure to unplug both battery harnesses and the front-to-rear harness prior to
disassembly could result in permanent damage to the Dynamo.
8. Loosen the tiller adjustment lever and lower the tiller down to the center of the Dynamochassis until it
is fully lowered. Tighten the tiller adjustment lever.
9. Pull the locking pin upward and remove it from its locking slot. See figure 20.
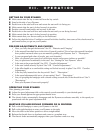
10. Grab the handle grip from the front section, and place a hand on the seat pedestal. See figure 21.
11. Gently slide the two sections of the scooter apart. See figure 21.
FIGURE 15. SEAT REMOVAL FIGURE 16. SHROUD REMOVAL
IX. DISASSEMBLY AND ASSEMBLY