37
Victory XL-4 /RevC/June03 www.pridemobility.com
ASSEMBLY
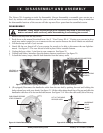
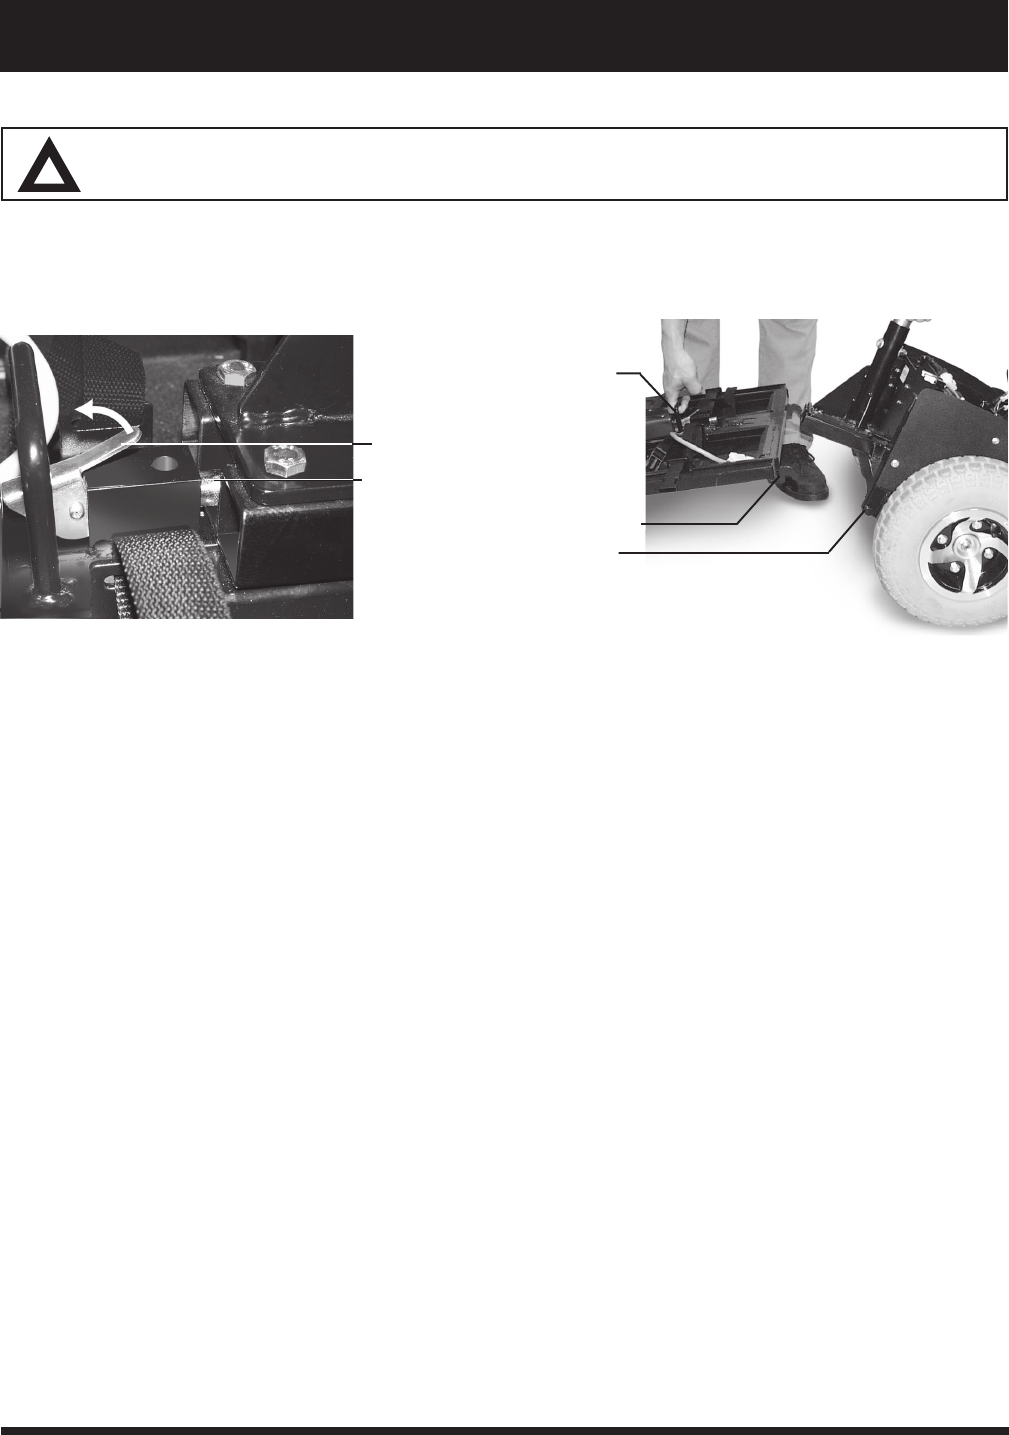
1. Position the scooter halves as shown in figure 23.
2. Lift up on the frame handle and push back on the seat post.
3. Align the curved bracket of the front section with the mounting peg of the rear section and lower the
front section onto the peg of the rear section.
4. Pivot the front and rear sections towards each other. The locking pin will lock into place.
5. Place the batteries into the battery wells, and fasten the battery straps.
6. Plug both battery harnesses into the battery harness connectors.
7. Plug the large, white, 9-pin front-to-rear connector into its mating plug coming from the rear.
8. (If equipped) Reconnect the handbrake cable by sliding the cable into its slot on the brake mount. With
your thumb, push forward and hold the brake release lever, then slide the cable release hook onto the
peg and gently let go of the brake release lever.
9. Plug the lighting harnesses back into their connectors before fully reinstalling the rear shroud.
10. Reinstall the seat.
FRAME LOCK LEVER
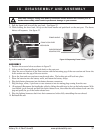
9. Pull the frame lock lever all the way back. See figure 22.
10. While holding the lever back, lift up on the frame handle and push back on the seat post. The frame
halves will separate. See figure 23.
Figure 22. Frame Lock
Figure 23. Separating Frame Halves
CURVED BRACKET
MOUNTING PEG
I X. DISASSEMBLY AND ASSEMBLY
FRAME HANDLE
LOCKING PIN
CAUTION! Failing to unplug both battery harnesses and the front-to-rear harness prior to
further disassembly could result in permanent damage to your scooter.


