


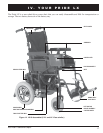
16
www.pridemobility.com AUS Pride LX Series/RevC/Apr03
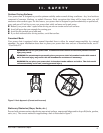
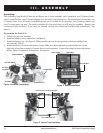
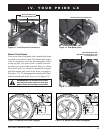
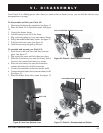
Figure 10. Joystick/Controller Installation
INSTALL JOYSTICK/CONTROLLER
INTO ARMREST AND TIGHTEN KNOB.
12. Connect the controller to the motors. The motor/controller connectors are marked L for left and R
for right. Match the L on the controller with the L on the motor. Match the R on the controller
with the R on the motor. Connect the black connector to the controller connector. See figure 15.
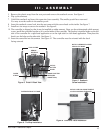
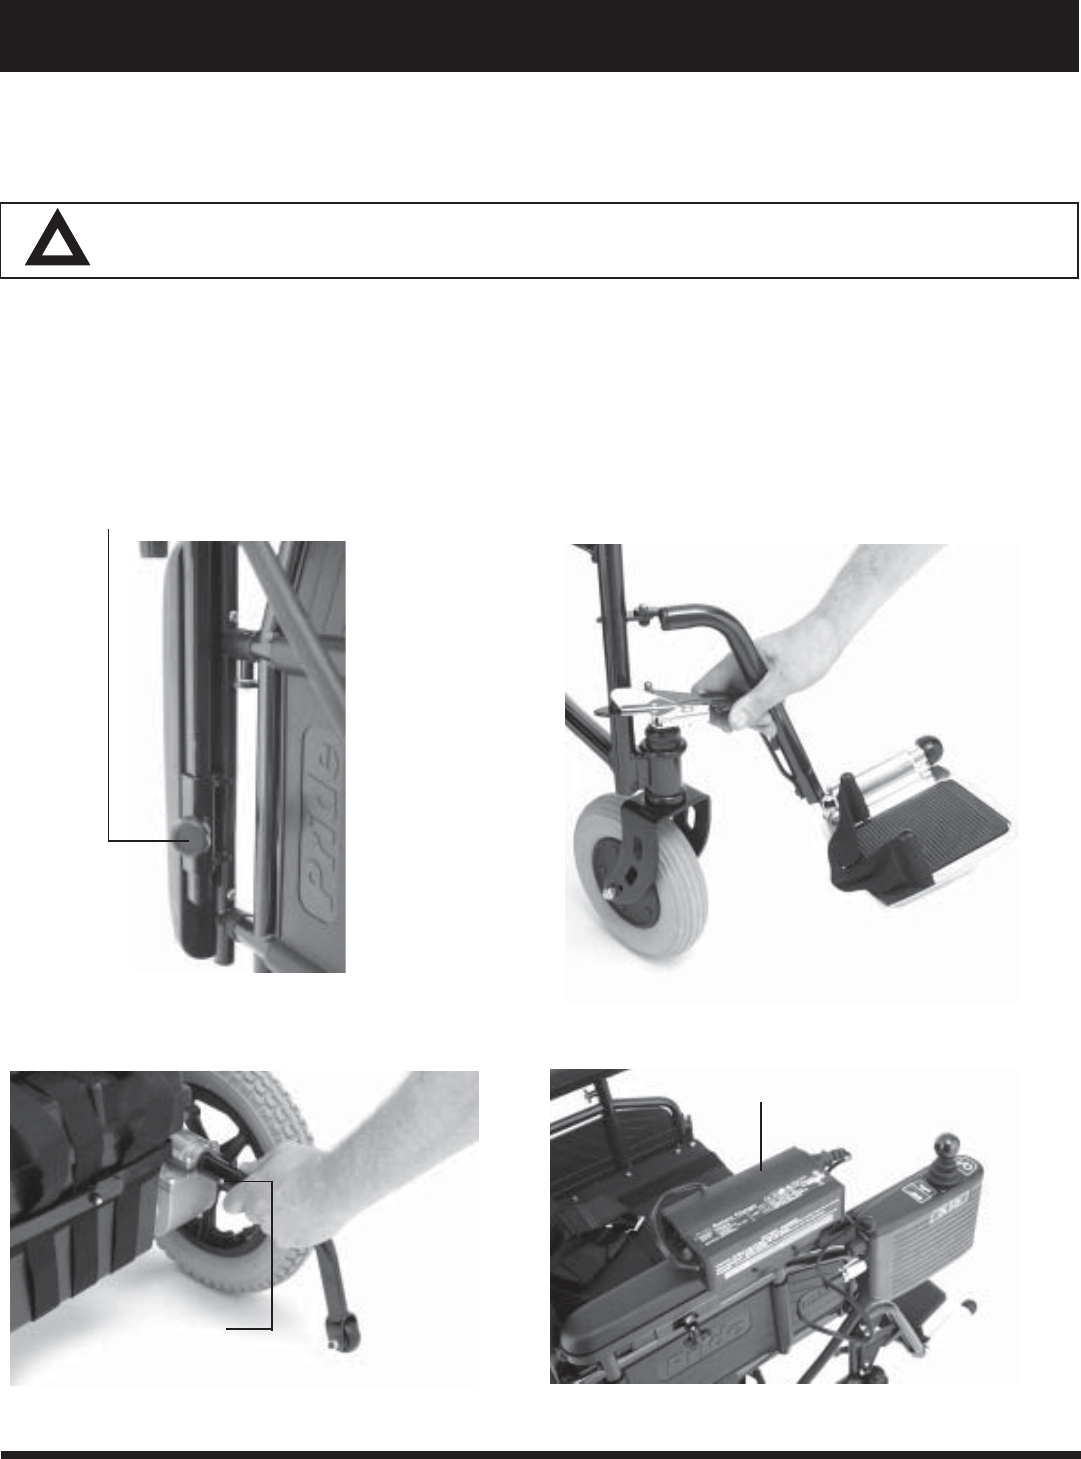
13. Install the footrests. See figure 11.
14. Install the anti-tip wheels. See figure 12.
15. Remove the battery charger from the box and plug into charger port. Follow the charging instructions printed
on the charger. See figure 13.
16. Read the owner's manual thoroughly before operating your power chair.
Figure 11. Footrest Installation
Figure 12. Anti-tip Installation
SQUEEZE BUTTONS
TO INSTALL ANTI-TIP.
Figure 13. Charging the Batteries
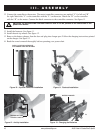
III. ASSEMBLY
BATTERY CHARGER
CAUTION! Do not place the controller cable so that it can be pinched in the seat frame or the
power base frame.