


22 WWW.PRIDEMOBILITY.COM JAZZY 1122/REV D/FEB 03
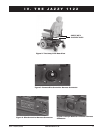
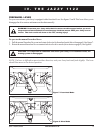
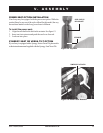
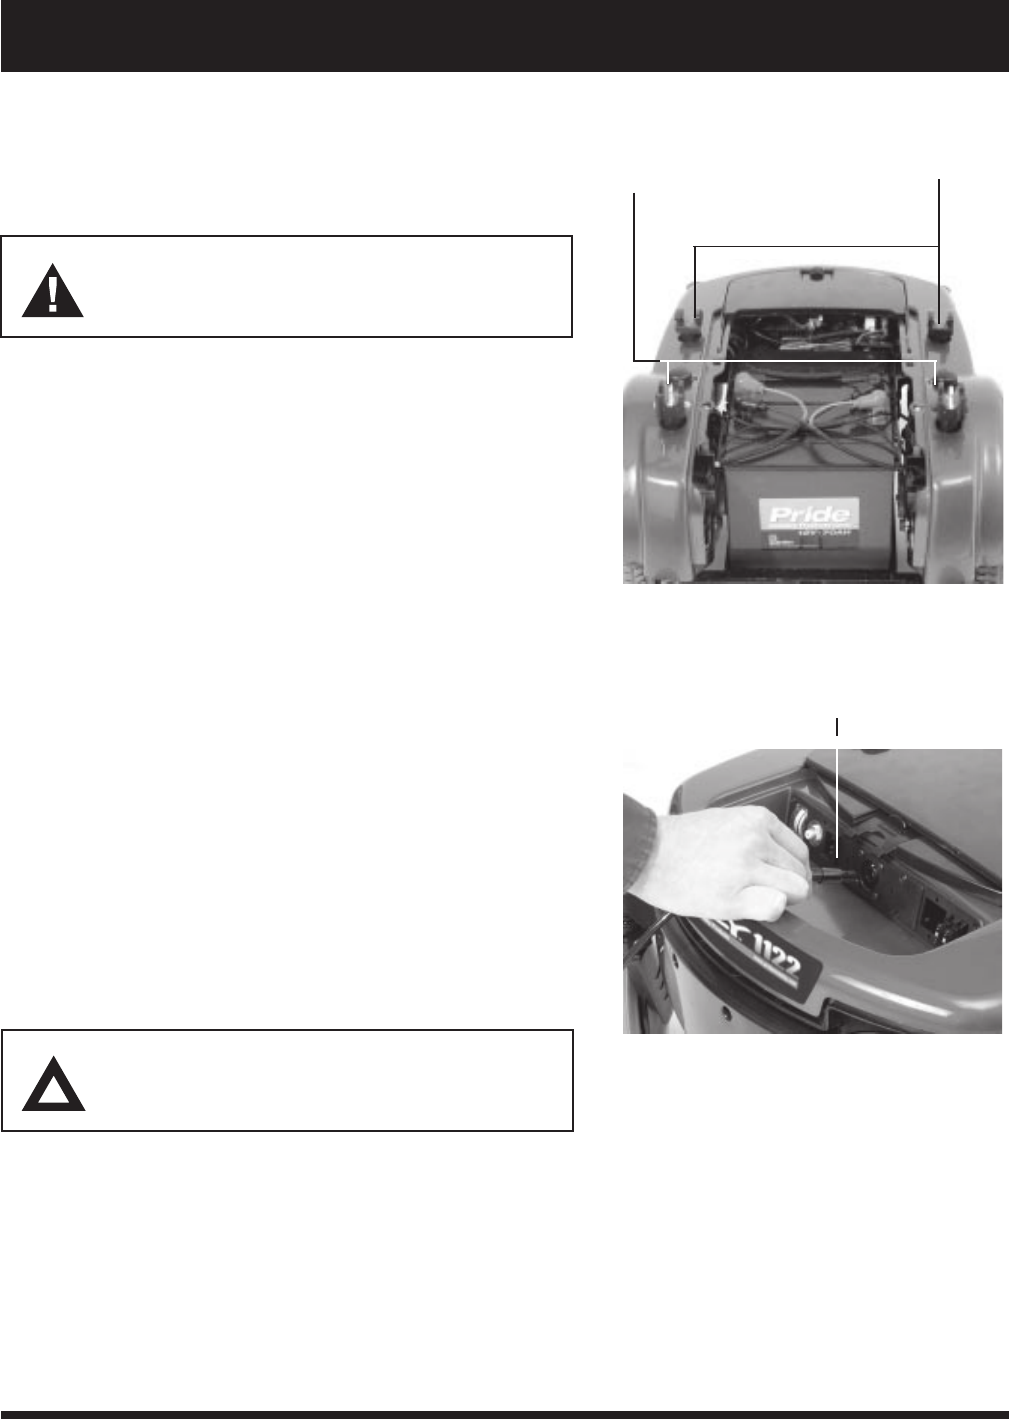
Figure 11. Controller Cable Connection
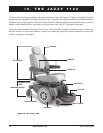
V. ASSEMBLY
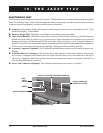
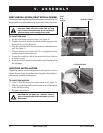
Figure 10. Seat Towers
REAR SEAT TOWERS
FRONT
SEAT
TOWERS
SEAT INSTALLATION (SEAT WITH H-FRAME)
The standard seat installation method incorporates the seat frame (H-
frame) and four (4) adjustable seat posts located on the power base.
WARNING! Do not pick up the seat frame by the
armrests. They are free to pivot, and you may
lose control of the seat if they do so, resulting in
personal injury and/or damage to the chair.
To install the seat:
1. Set the seat on the rear seat towers. See figure 10.
2. Push the seat back and down until the latches engage on the
front seat towers. See figure 10.
3. Plug the controller cable into the connector on the electronics
tray. See figure 11.
4. Plug the power seat switch cable (if so equipped) into the
connector on the electronics tray.
5. Secure the controller cable to the armrest receiver with one
or more wire ties.
6. Route the cable to ensure that the cable cannot be pinched in
the seat hinge.
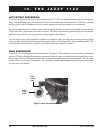
JOYSTICK INSTALLATION
Depending on the various configurations and options you have
chosen for your Jazzy, it may have been shipped without the joy-
stick module installed in the armrest.
To install the joystick:
1. Use a 3/16-in. hex key to loosen the setscrew. See figure 12.
2. Slide the joystick mounting bracket into or out of the armrest
to the desired position.
3. Retighten the setscrew.
CAUTION! Do not place the controller cable so
that it can be pinched in the seat frame or power
base frame.
CONTROLLER CABLE