8
Preparations for Use
7 Apply Pressure to the Cuff
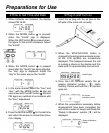
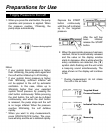
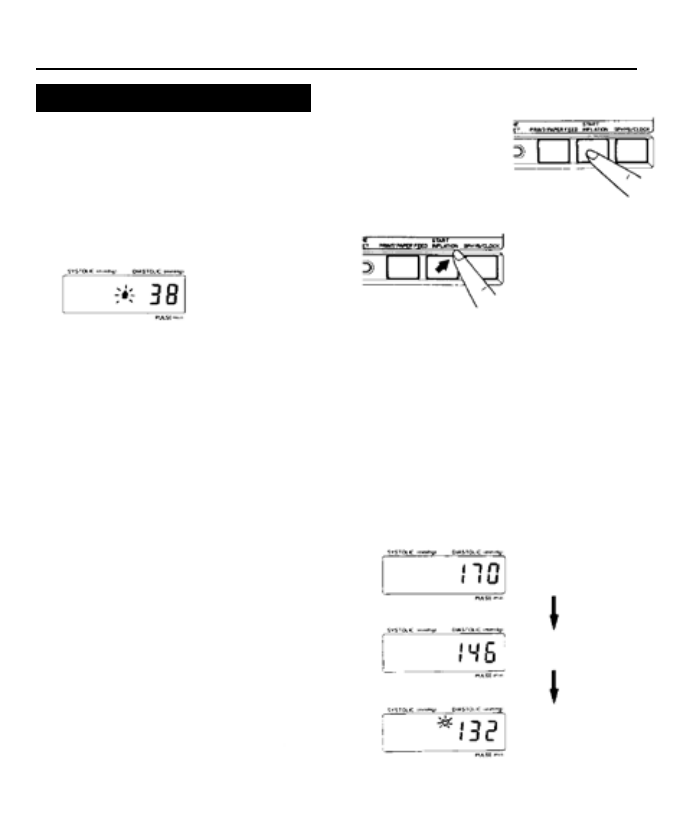
1 When you press the start button, the pump
operates and pressure is applied When
the pressure reaches 170mmHg, the
pump stops automatically
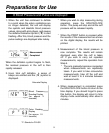
2 When the appropriate pressure has been
reached, the air is automatically released
and the value on the display window
starts to decrease After a while when the
artery oscillations are detected, the ( ♥ )
symbol starts ashing and the unit emits
a beep-ing sound simultaneously The
value shown on the display will continue
to fall
* During measurement, do not shake
the cuff or the air tube
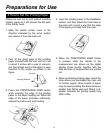
Depress the START
button continuously
untill the cuff is inated
up to the targeted
pressure
After the cuff has
been inated,
release the START
button
Notes:
* If your systolic blood pressure is higher
than 140mmHg, the pump starts again and
the cuff will be inated up to 210mmHg
* If your systolic blood pressure is higher
than 180mmHg, sufcient ination will
not be applied to the cuff by automatic
reination In this case, inate up to
30mmHg higher than your expected
systolic blood pressure by pressing the
start button continuously While press-ing
the start button, the cuff can be in-ated
continuously, and when the start button
is released, the pump stops and the cuff
is no longer inated When the pressure
reaches 300mmHg, the cuff deates
rapidly
* When you want to stop measurememt,
press SPHYG/CLOCK button The pres-
sure will stop and the air is deated rapidly
Pressure being applied
Targetted Blood
Pressure Reached
Indicated Value Drops
Measuring


