4
Preparations for Use
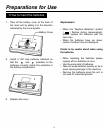
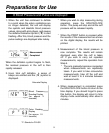
2 How to Set Time and Date 3 Plug in and Turn on
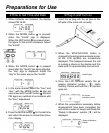
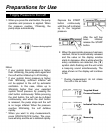
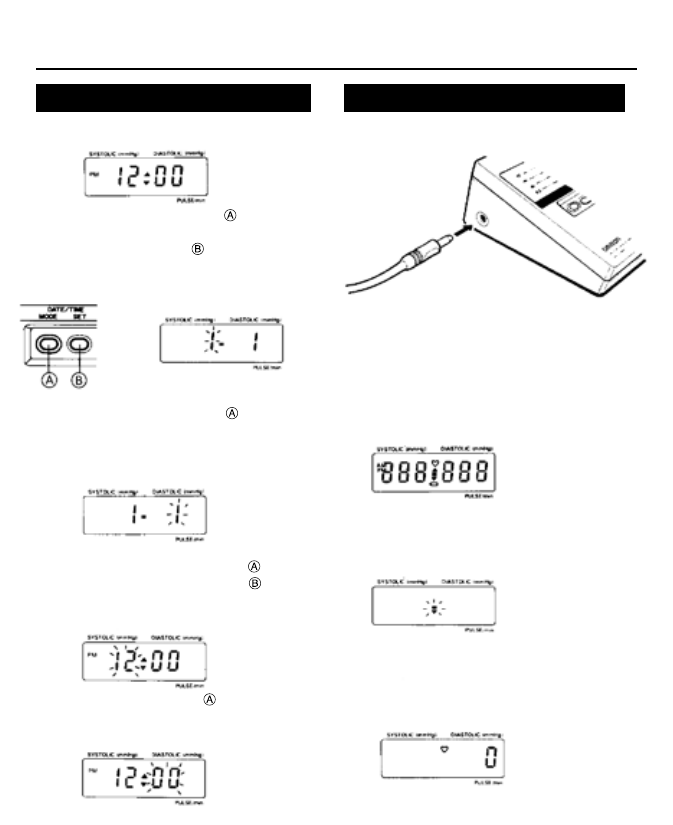
1 When batteries are installed, the display
shows PM 12:00
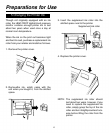
1 Insert the air plug into the air jack on the
left side of the main unit correctly
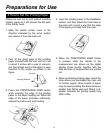
2 When the SPHYG/CLOCK button is
changed to the sphygmomanometer mode,
all the LCD symbols are momentarily
displayed This happens because the unit
is running a check on the display and this
state lasts for approximately one second
3 Once the LCD symbols vanish, the air
release indication symbol ( ) starts
ashing Please wait until the ( ) symbol
goes out
4 When the preparations necessary before
measurement have been completed, the
unit emits a series of beeps and nally the
“Ready to Measure” symbol ( ♥ ) will be
displayed
2 When the MODE button
is pressed
down, the “month” sign is displayed
When the SET button is pressed down,
the gure for the month increases Adjust
the “month”
3 When the MODE button
is pressed
down after the “month” has been adjusted,
the “day” sign is displayed Adjust the
“day” in the same way as the “month”
4 In the same manner select the “hour” and
“min” with the MODE button and set
each value with the SET button AM and
PM signs are switched in accordance with
the “hour” adjsutment
5 Press the MODE button
for the last time
and return the screen to normal time (hour,
min) display
Initial Display
“Ready to Measure”
Display
Air release
indication symbol


