


3-3
Laser Sighting
3
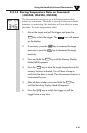
3.3 Operating the Laser Sighting
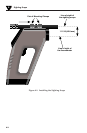
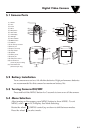
1. Set the laser power switch to the ON position as shown in
Figure 3-2.
2. Aim at the target and pull the trigger.
3. The laser beam and the red power indicator LED will turn on.
Refer to Figure 3-1 and Figure 3-2.
The laser beam will stay on as long as the trigger is pulled.
If the trigger is locked (the key is previously pressed) or
released, the laser beam will turn off. In order to turn on the
Laser Sighting, pull the trigger again.
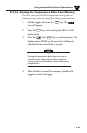
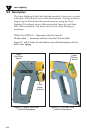
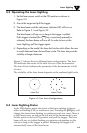
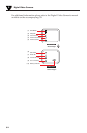
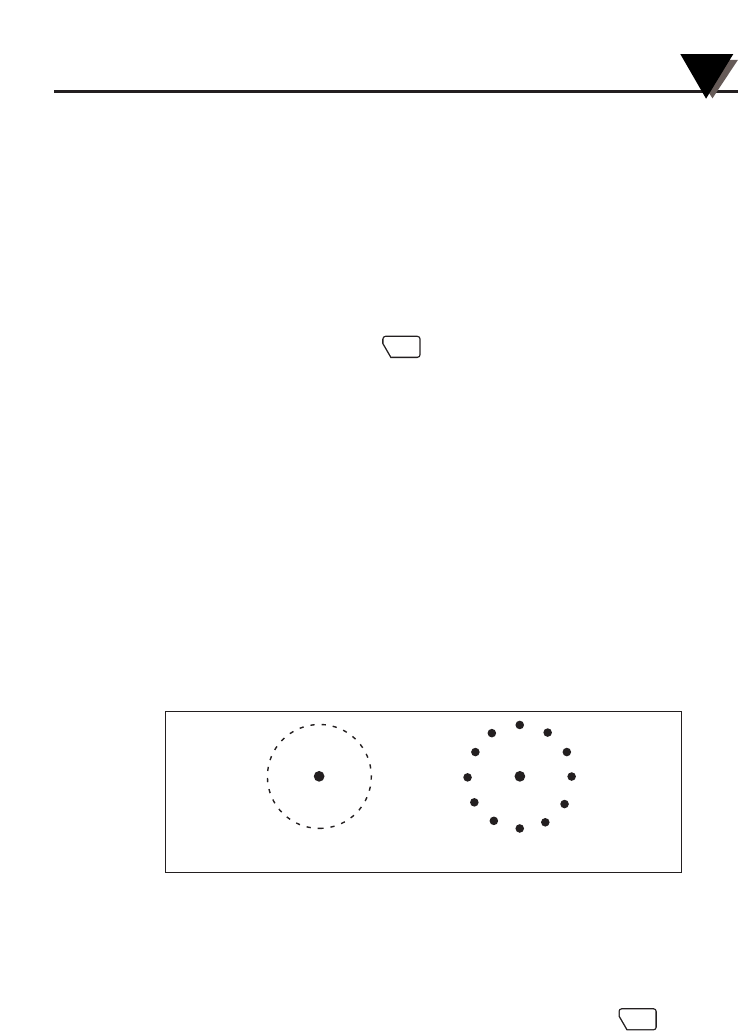
4. Depending on the model, the laser dot/circle switch allows the user
to switch between laser dot and laser circle. The laser dot provides
visibility at longer distances.
Figure 3-3 shows the two different laser configurations. The laser
Dot indicates the center of the field of view of the thermometer.
The laser Circle indicates the perimeter of the thermometer’s field
of view.
The visibility of the laser beam depends on the ambient light levels.
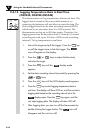
3.4 Laser Sighting Status
In the LSR display menu, the status of the laser sighting is shown
either as Flashing (FLS) or continuous (on). Pressing the key will
change the status from flashing to continuous and vise versa. There is
a slide laser power switch on the left side of the thermometer's case.
Set the power switch to ON position, and pull the trigger. The laser
beam will stay on (either flashing or continuous depending on the
status) as long as the trigger is pulled. Releasing the trigger will
automatically turn off the laser beam.
LOCK
LOCK
Laser Dot Laser Circle
Figure 3-3. Two Laser Configurations
TM