


US0208-INS-LAB-RevD11 • Patriot Homecare Bed 10
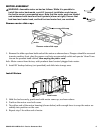
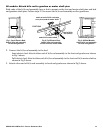
All models: Install bed end locking hardware
1. After bed head end has been attached, install
Bed End Locking Hardware to act as a latch
for each corner.
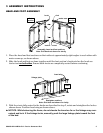
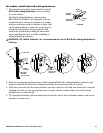
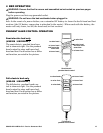
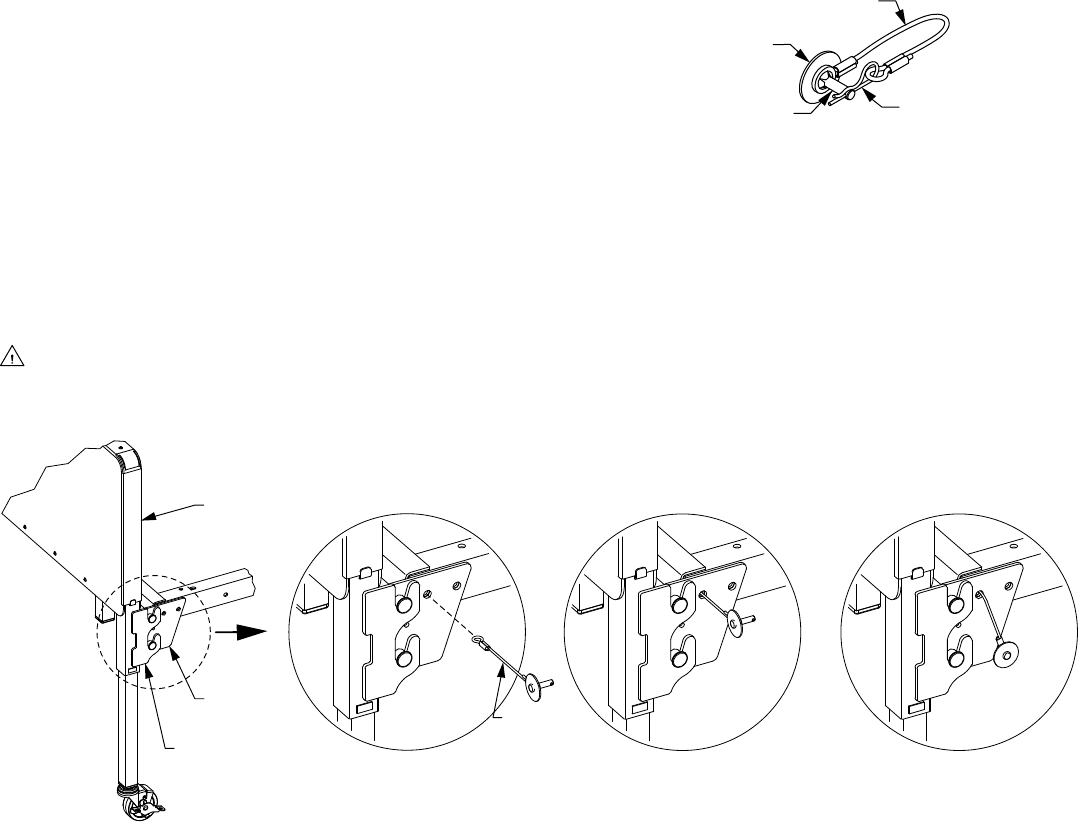
Bed End Locking Hardware, part number
690-1000-100, includes four lanyards, each as-
sembled from a clevis pin, hairpin clip, fender
washer, and nylon cord, as shown at right. Bed
end locking hardware, while not necessary for
normal bed operation, will prevent the bed
ends from accidentally rolling off when mov-
ing or pushing the bed, or while installing or
using bed-mount trapezes.
WARNING: GF Health Products, Inc. recommends the use of Bed End Locking Hardware at
all times.
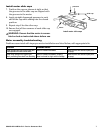
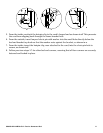
frame
bracket
lanyard —
hairpin clip
removed
bed end
a b c
bed end
bracket
(corner lock)
2. Refer to accompanying illustrations while installing Bed End Locking Hardware. Remove the
hairpin clip from the end of the lanyard assembly, as shown in a, and set it aside.
3. Align the cord end with the frame bracket top hole closest to the bed end. Insert the cord end
through the hole so that an equal amount of cord extends outside either side of the frame
bracket hole, as shown in b.
4. The lanyard assembly will now hang loosely with the clevis pin and fender washer end on the
outside, as shown in c.
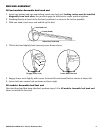
Lanyard
fender
washer
nylon
cord
clevis pin
with hole
hairpin
clip