- Eng 16 -
English
SETTING THE CLOCK
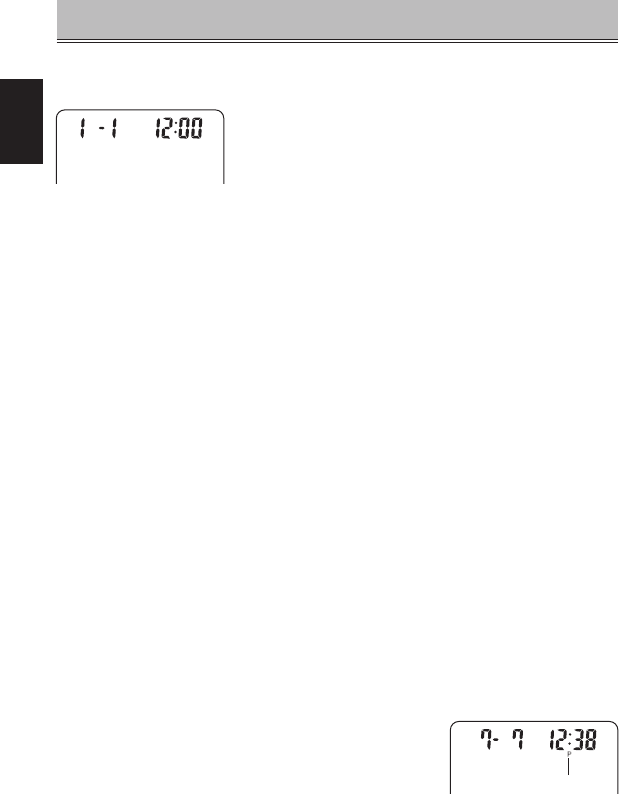
1 Initial state. (When you load the batteries in the unit for the
fi rst time, carry out the reset procedure.)
• Date/Time setting when the batteries are fi rst loaded
into the unit.
Date and time: January 1 12:00
2 Setting the Month, Date and Time:
The current time and date should be set in the order written below.
•
Each time you press the “MODE” switch, the data item to be modifi ed
changes in the sequence shown below. The selected item fl ashes on and off.
1) Month
s
2) Day
s
3) Hour
s
4) Minute
• Press the “SET” switch to increase the setting by 1. Hold down the “SET”
switch on to advance the setting continuously.
• Press the “MODE” switch to set each correct number.
3 Correcting the Month, Date and Time of the clock
1. Press “MODE” switch. ( “month” starts fl ashing.)
Press “SET” switch to set the correct month. (1,2,3,.….12.)
2. Press “MODE” switch again. ( “date” starts fl ashing.)
Press “SET” switch to set the correct date. (1,2,3,.….31.)
3. Press “MODE” switch again. ( “hour” starts fl ashing.)
Press “SET” switch to set the correct hour in 12-hour format.
4. Press “MODE” switch again. ( “minute” starts fl ashing.)
Press “SET” switch to set the correct minute (0,1,2,3,…..59.)
5. Press “MODE” switch again to switch to normal time.
(month: 7, date: 7, hour: 12 (PM),
minute: 38 appear on the display
as shown on the right diagram.)
6. Device is now ready to start.
P: PM mark
Date/Time display


