14
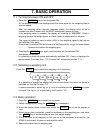
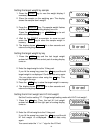
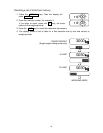
Setting the target weight by sample
1. Press the ZERO key to zero the weight display if
necessary.
2. Place the sample on the weighing pan. The display
shows the sample item’s weight.
3. Press the SAMPLE key. The sample weight flashes
and the central part of analog display turns on.
Press the ON/OFF key or SAMPLE key to exit
without anything changed.
4. Wait for the STABLE annunciator to come on and
press the ENT key to store the sample weight in
memory.
5. The display shows 5tored for a few seconds and
returns to weighing mode.
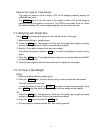
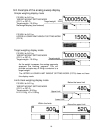
Setting the target weight by key
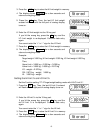
1. Press the KEY key and the last target weight
entered will flash and the central part of analog display
turns on.
2. Enter the target weight via the 10-key pad.
If you hit the wrong key, press the C key and the old
target weight is re-displayed. Continue data entry again.
You can place minus value using the ± key. This
key toggles the sign.
3. Press the ENT key to store the target weight in memory.
4. The display shows 5tored for a few seconds and
returns to weighing mode.
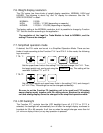
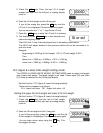
Setting the HI limit weight and LO limit weight
Set the Function setting “F7-1 Target weight setting mode with HI/LO limit weight”.
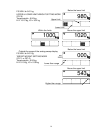
1. Press the HI key. Then, the last HI limit weight
entered will flash and the right part of analog display
turns on.
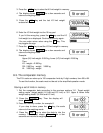
2. Enter the HI limit weight via the 10-key pad.
If you hit the wrong key, press the C key and the old
HI limit weight is re-displayed. Continue data entry
again.
You cannot enter the “+” or “-” sign for the LO limit.
-5tored
-000.000
Ż
-003.000
-003.000
-003.500
-5tored
-000.060
-003.000
-000.050


