


Page 14
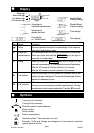
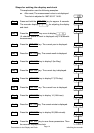
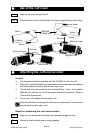
Steps for setting the display and clock
This explanation uses the following examples.
ex. After reset, The measurement value is not displayed.
The clock is adjusted to 1997/ 05/ 27 14:28.
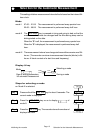
AUTO ON/OFF
START STOP
START STOP
START STOP
AUTO ON/OFF
START STOP
AUTO ON/OFF
START STOP
AUTO ON/OFF
START STOP
AUTO ON/OFF
START STOP
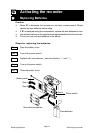
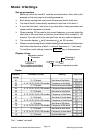
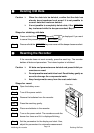
Step 1
Press and hold the
START STOP
key for approx. 6 seconds.
The recorder displays for adjusting the display
and clock.
Step 2
Press the
AUTO ON/OFF
key so as to display .
(A selection where a clock is displayed only in automatic
measurement)
Step 3
Press the
START STOP
key. The current year is displayed .
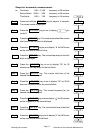
Step 4
Press the
START STOP
key. The current month is displayed.
Step 5
Press the
AUTO ON/OFF
key to display 5 (for May).
Step 6
Press the
START STOP
key. The current day is displayed.
Step 7
Press the
AUTO ON/OFF
key to display 27 (27th day).
Step 8
Press the
START STOP
key. The current hour is displayed.
Step 9
Press the
AUTO ON/OFF
key to display 14 (14th hour).
Step10
Press the
START STOP
key. The current minute is displayed.
Step11
Press the
AUTO ON/OFF
key to display 28 (28th minute).
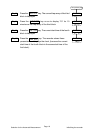
Step12
Press the
START STOP
key to save these parameters. Then
the recorder displays the clock.
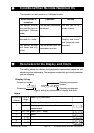
Parameters for the Display and Clock Initializing the recorder