139
CVP-109/107/105/700
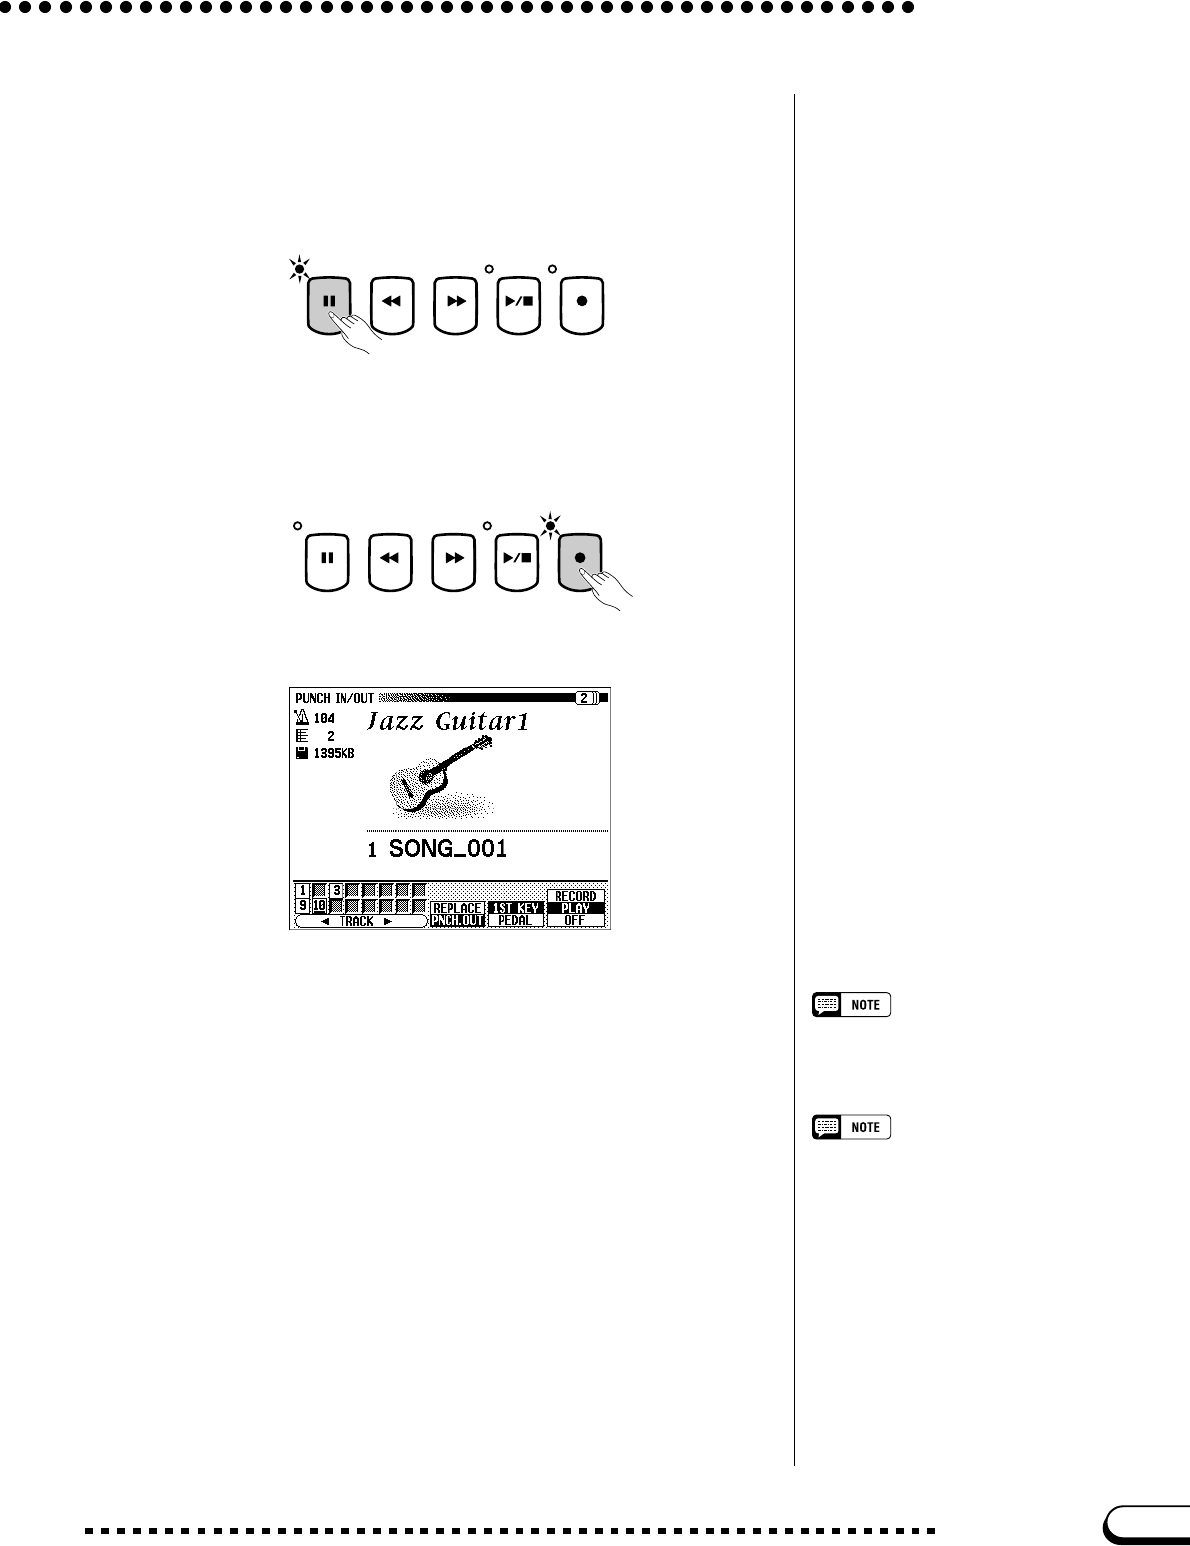
X Pause before the punch-in point. ................................................
Press the [PAUSE] button to pause play back a bit before the point
at which you want to start recording. Leave a measure or more before
the punch-in point so you’ll be able to grasp the timing before you
punch in.
C Turn on the Punch-in/out function. ............................................
Press the [REC] button.
➔ The PUNCH IN/OUT display appears.
V Select a track. ....................................................................................................
Press the TRACK < or > buttons or use the data dial or [–] and [+]
buttons to select the track.
➔ The selected track is indicated by an underline mark.
Use the rightmost LCD button to set the selected track to RECORD
(recording enabled) or OFF (recording/playback disabled). PLAY can
only be selected for tracks which contain data. When a track is muted,
the track number is “ghosted” (shown in lighter indication) in the dis-
play.
Auto Setting of Punch-in/out
If no other track is selected, the last re-
corded track is automatically selected for
Punch-in/out.
SONG CONTROL
PAUSE REW FF REC
PLAY
/
STOP
SONG CONTROL
PAUSE REW FF REC
PLAY
/
STOP
Song Recording
137
If you select a track that was used to record
an Auto Accompaniment or rhythm part, or
a track (6, 7, or 8) that contains a harmony
part (see sidebar on page 133), you will not
be able to set the track to RECORD.


