About the Diagnostic Tool
ADJUSTMENTS / SETTINGS AND DTC LIBRARY
OBD2 7
Select Language: Sets the display language for the Diagnostic Tool
to English, French or Spanish.
Unit of Measurement: Sets the Unit of Measurement for the
Diagnostic Tool’s display to USA or metric.
Adjustments and settings can be made only when the
Diagnostic Tool is NOT connected to a vehicle.
To enter the MENU Mode:
1. With the Diagnostic Tool OFF, press
and hold the UP
button, then press
and release the POWER/LINK
button.
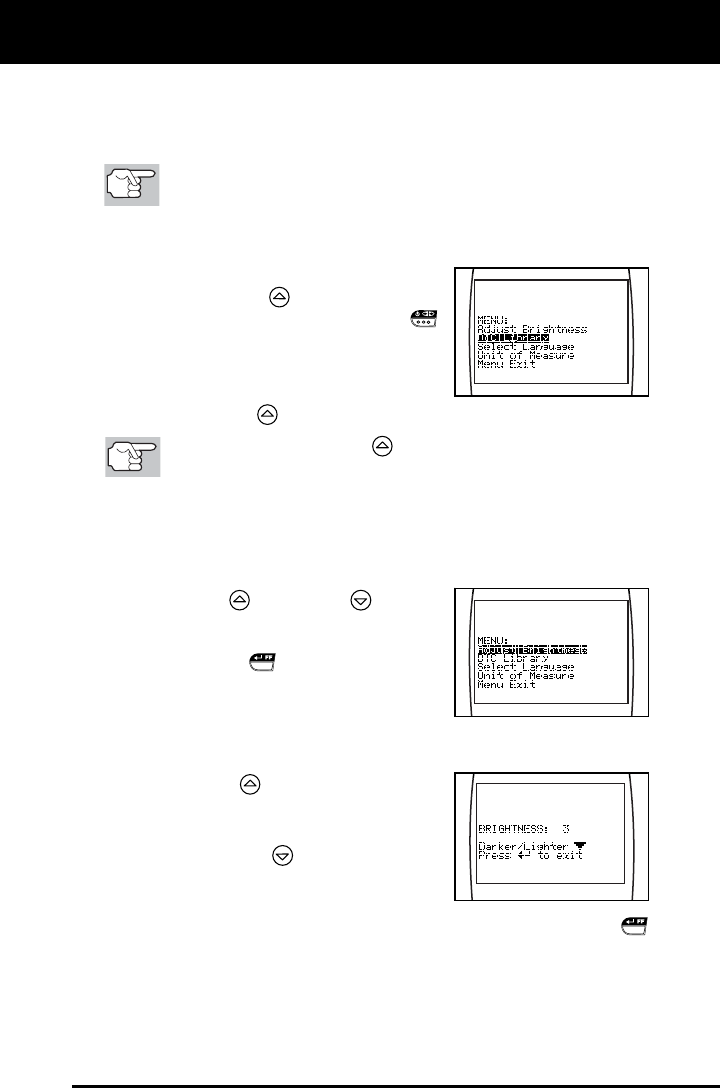
The adjustments and setting MENU
displays.
2. Release the UP
button.
DO NOT release the UP
button until the adjustments and
settings MENU is visible on the display.
3. Make adjustments and settings as described in the following
paragraphs.
Adjusting Display Brightness
1. Use the UP
and DOWN buttons,
as necessary, to highlight Adjust
Brightness in the MENU, then press
the ENTER/FF
button.
The Adjust Brightness screen dis-
plays.
The Brightness field shows the current brightness setting, from
1 to 8.
2. Press the UP
button to decrease the
brightness of the LCD display (make the
display darker).
3. Press the DOWN
button to increase
the brightness of the LCD display (make
the display lighter).
4. When the desired brightness is obtained, press the ENTER/FF
button to save your changes and return to the MENU.
