13
Setting Custom Size Paper Using the Control Panel
Follow the procedure below to set the machine using the control panel when
loading custom size paper onto the bypass tray.
Important
❒ The following procedures are not required if you select [Driver / Command] from
[Bypass Tray Setting Priority] in [System] of [Printer Features] (see “Printer Features”,
General Settings Guide). In that case, set the paper size using the printer driver.
❒ If you select [Machine Settings] from [Bypass Tray Setting Priority] in [System] of
[Printer Features] (see “Printer Features”, General Settings Guide), the settings
made using the control panel have priority over the printer driver settings.
❒ If the printer driver is not used, select [Machine Settings] from [Bypass Tray Set-
ting Priority] in [System] of [Printer Features] (see “Printer Features”, General Set-
tings Guide). Set paper size using the control panel.
A Press the {User Tools/Counter} key on the control panel.
B Press [System Settings].
C Press the [Tray Paper Settings] tab.
D Press [TNext] to scroll through the list.
E Press [Printer Bypass Paper Size].
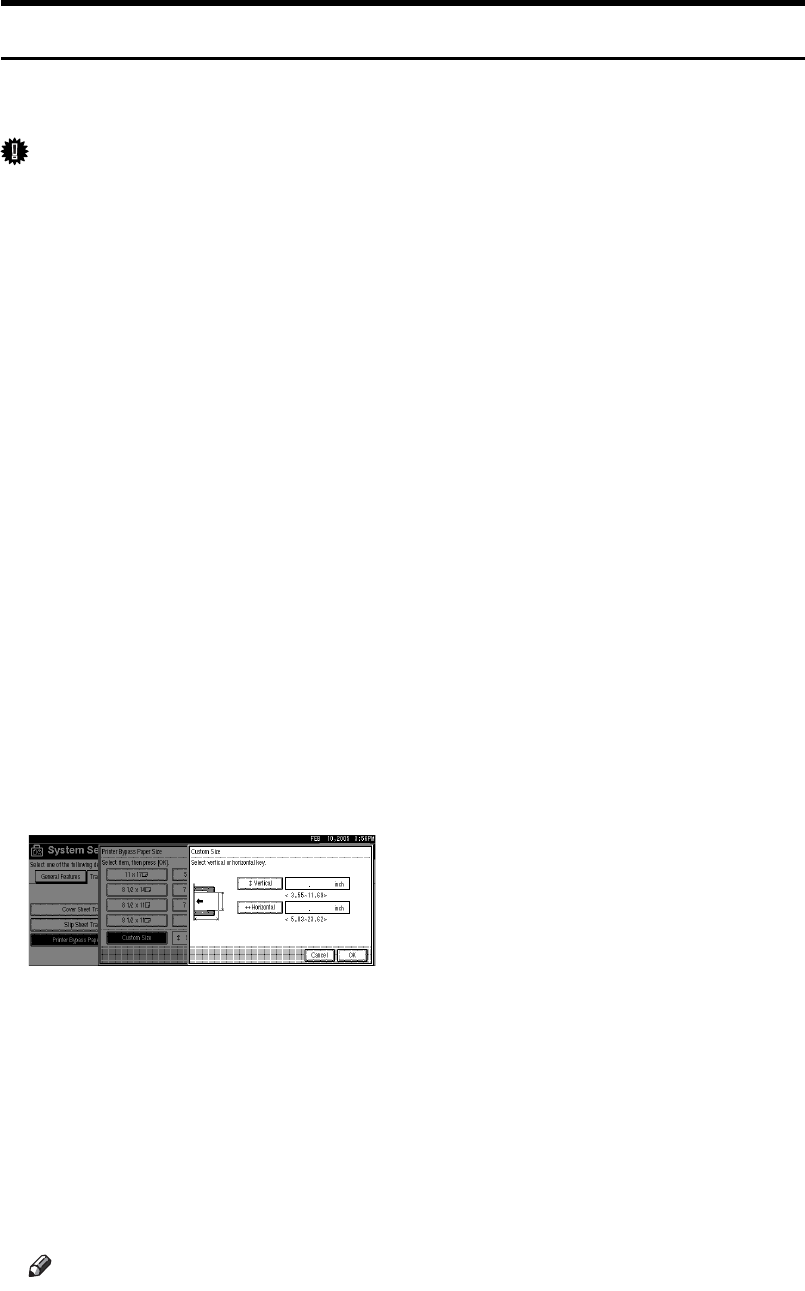
F Press [Custom size].
If a custom size is already set, press [Change Size].
G Press [Vertical].
H Enter the vertical size of the paper using the number keys, and then press {#}.
I Press [Horizontal].
J
Enter the horizontal size of the paper using the number keys, and then press
{
#
}
.
K Press [OK].
The paper sizes entered are displayed.
L Press [OK].
M Press the {User Tools/Counter} key.
Note
❒
When loading OHP transparencies or thick paper, set paper size and paper type.
❒ For printer driver settings, see the printer driver Help.


