VNR 100 • Replacing the VNR 100 Drives 19
3. Click Login. The VNR 100 Recorder Settings
page opens (see the figure to the right).
Once mounted, the capacity of the new drive
will be shown under Disk free space. This takes
a few seconds.
4. If you are inserting a blank drive, click Format.
ATTENTION: When inserting a drive that
contains previously recorded content,
do not use the Format option as this will
remove all data.
When the formatting is complete, the message
formated to ext3 will appear next to the
Format button.
5. Click Apply Changes.
6. Logout of the config screen.
Monitoring Free and Used Disk Space
To monitor the amount of free disk space and the percentage of disk space used, see the
Data Disk information on the VNR 100 web page (see the figure above).
Directory and File Structure
Use the Enterprise Controller website to view the directory and file structure of the VNR 100
media disk.
1. Enter the IP address of the Enterprise Controller in the address bar of your browser.
2. At the login screen, enter the username and password.
3. If necessary, click on the Devices tab of the Enterprise Controller web page.
4. Select the VNR 100 of interest from the list of devices.
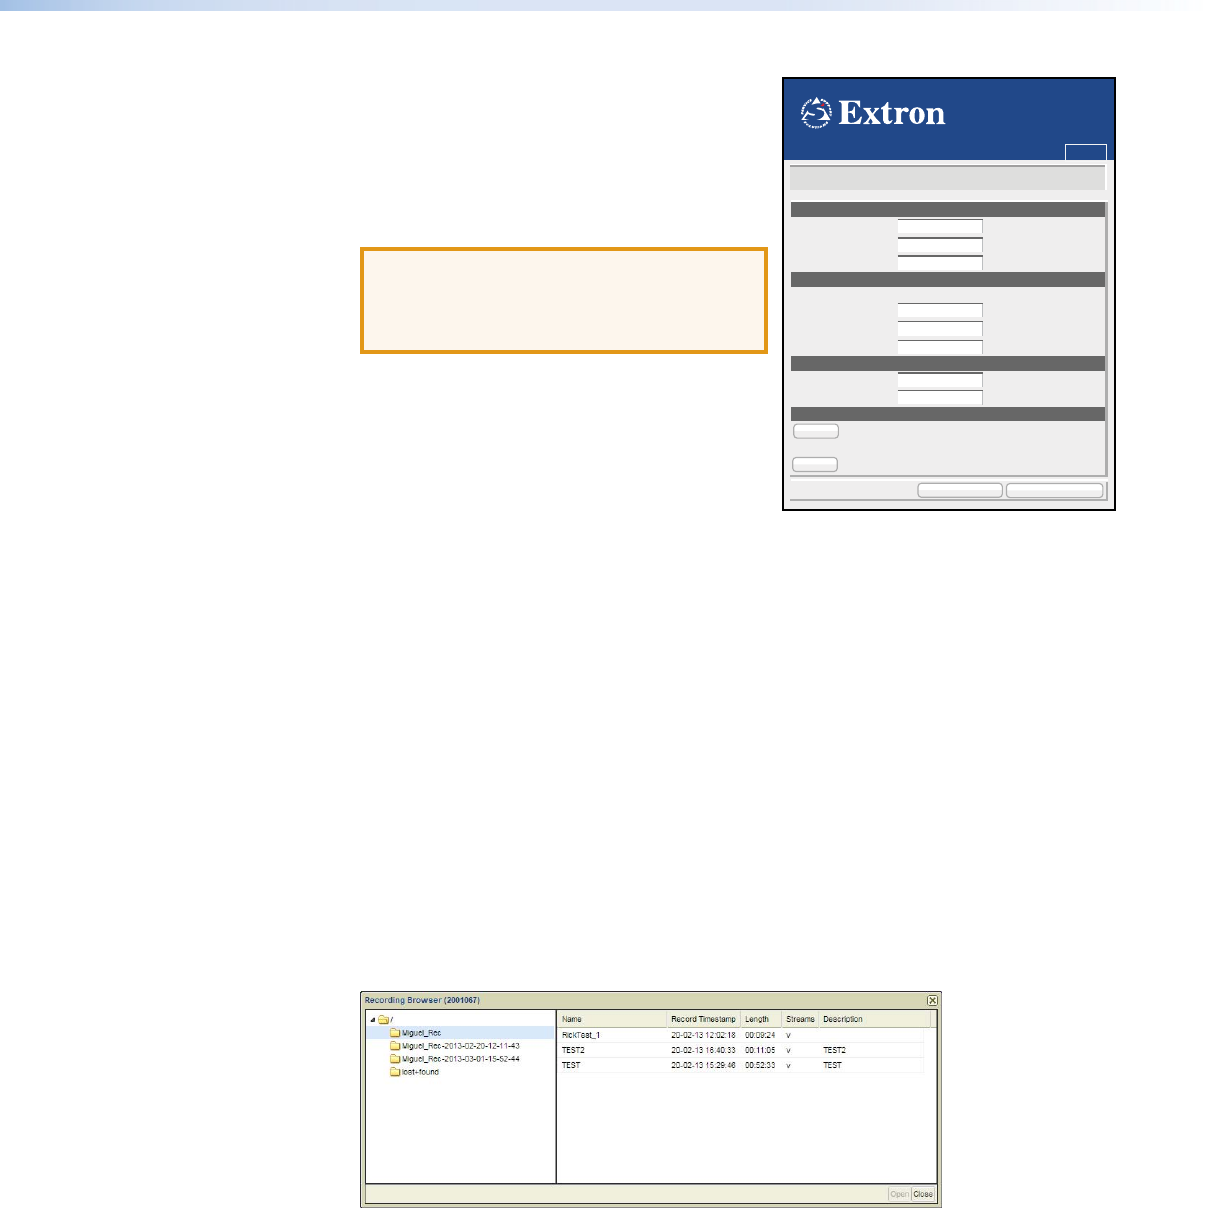
5. Click Recorder in the Action buttons at the bottom of the screen. A popup window
opens showing the home directory for the recorder.
6. Click on the directory icon to show the files contained in the directory.
Figure 15. Recorder File Structure
Network settings [eth0]
Recorder settings
User settings
Data disk
IP Address
Subnet Mask
Gateway
Serial
Controller IP
Controller port
MTU
New password
Confirm New password
192.168.254.254
255.255.0.0
192.168.254.253
192.168.254.254
5432
1500
1111999
mounted to /home/matrix_rec/Recording_Files
Disk free space: 19GB->98% used
formated to ext3
status:
Umount
Format
Apply Changes
Cancel Changes
Logout
VNMatrix recorder settings


