2-11
Using the Handheld Infrared Thermometer
2
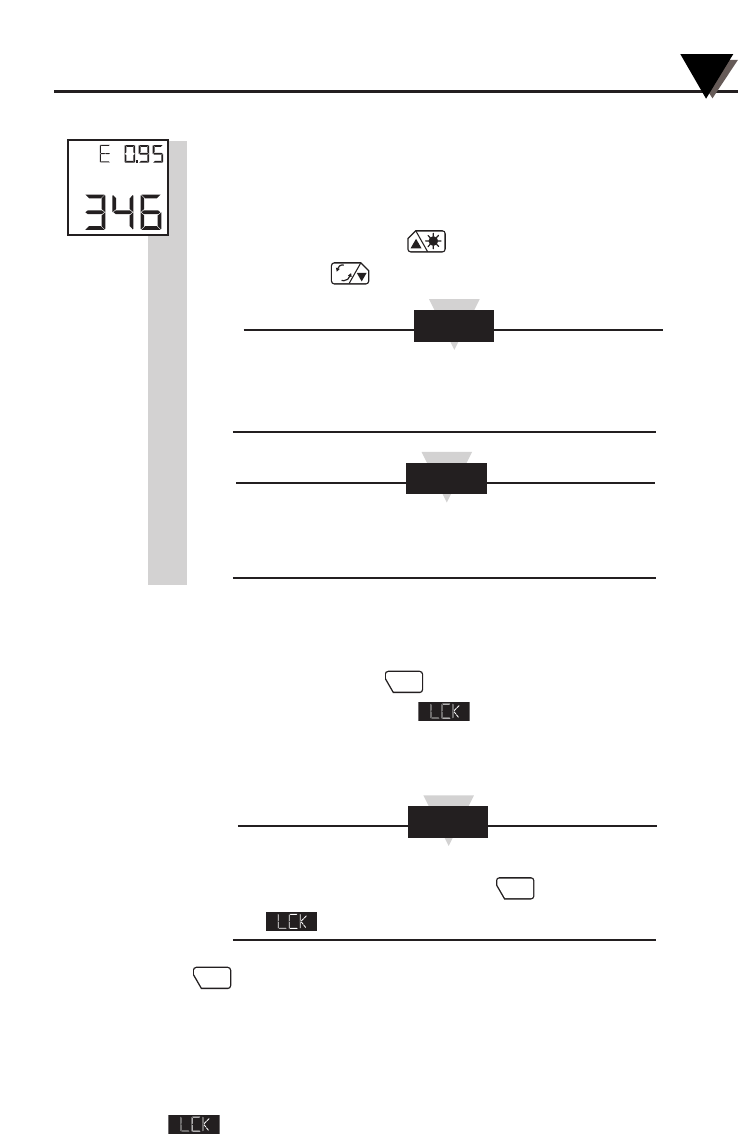
2.3.1 Adjusting Emissivity
Refer to Appendices B and C for information on emissivity.
1. Determine the emissivity of the target.
2. Aim at the target and pull the trigger.
3. If necessary, press the key to increment the target emissivity
or press the key to decrement the target emissivity.
The Emissivity Display Mode (E) appears every time the
trigger is pulled regardless of how the Display Mode was
previously set.
The emissivity setting does not change when the
thermometer is turned off. However, when the batteries are
replaced, the emissivity is reset to 0.95, the default value.
2.3.2 Using the LOCK Function
This function electronically locks the trigger mechanism:
1. Pull the trigger and press the key to lock the trigger in the Emissivity
and Distance Display Mode. The icon will appear on the display.
2. Release the trigger. This allows the thermometer to operate
continuously whether or not the trigger is pulled.
To unlock the trigger function, while in Emissivity and
Distance Display Modes press the key again, and
the icon is no longer displayed.
The key also enables/disables alarm functions, and resets
calculated temperature values (MAX, MIN, dIF, AVG).
2.3.3 Using the Trigger Function
Besides turning on the thermometer by pulling the trigger, you can
lock the trigger electronically by pressing the trigger button twice.
The
icon is displayed. You can unlock the trigger by pressing the
trigger button twice again.
LOCK
LOCK
LOCK
F
C
NOTE
NOTE
NOTE
°F


