MODEL 314 DATALOGGING HUMIDITY TEMPERATURE METER
3
4.0 Operating Instructions:
4.1 Preparation for Measurement
Measurement of ambient humidity and temperature (T1) may be made with the probe
clipped to the instrument or hand held remotely.
For measurement of a second temperature, plug a Type K thermocouple into the socket
marked T2, taking care to observe the polarity of the thermocouple pins.
4.2 Power
Press the button to turn the thermometer ON or OFF.
When first powered on, the display will show how much memory
space is available for use.
Example: Display at right indicates 16,000 records of available
memory.
4.3 Humidity and Temperature (T1) Measurement
Place the humidity temperature probe in the environment to be measured. Be sure to
allow sufficient time for the sensors to respond to ambient conditions. This time will be
dependent on the amount of air circulation through the probe mask. (See Section 2.0:
Response Time.)
4.4 Selecting the Temperature Scale
When first turned on, the instrument defaults to reading in Celsius (°C). To display
readings in Fahrenheit (°F), press the °C / °F button. To return to readings in Celsius (°C),
again press the °C / °F button. The instrument remembers the scale setting when last
turned off and powers on in that setting the next time.
4.5 Data-Hold Function
The present reading is held on the display by pressing the HOLD button. Pressing the
HOLD button again releases the hold function and returns the instrument to
continuous reading.
In the HOLD mode, the MAX MIN, °C / °F and UREL buttons are disabled, as indicated
by two consecutive beeps when pressed.
4.6 Clock Setup
To set the real time clock:
1. Press and hold the MAX MIN button and then power on
the meter.
2. Press TIME (clock).
3. Press REC (n) or °C/°F (p) to increase or decrease the number.
4. Press TIME to move to the next item. The adjusting order is:
year; month; day; hour; minute.
5. Press TIME again after the last setting to complete the process.
To abort during a setup process, press the button.
4.7 Time Function
Once setup, pressing the TIME button displays time as follows: top of the LCD – year;
bottom left of the LCD - month and day; bottom right of the LCD - hour and minute. Press
the TIME button or any other button to exit this mode. This operation will not interrupt the
recording and MAX/MIN operation.
MODEL 314 DATALOGGING HUMIDITY TEMPERATURE METER
8
7.3 DataLogger
Select DataLogger from the menu to load recorded data from the humidity meter. A
progress bar will show how many bytes should be loaded and how many bytes have
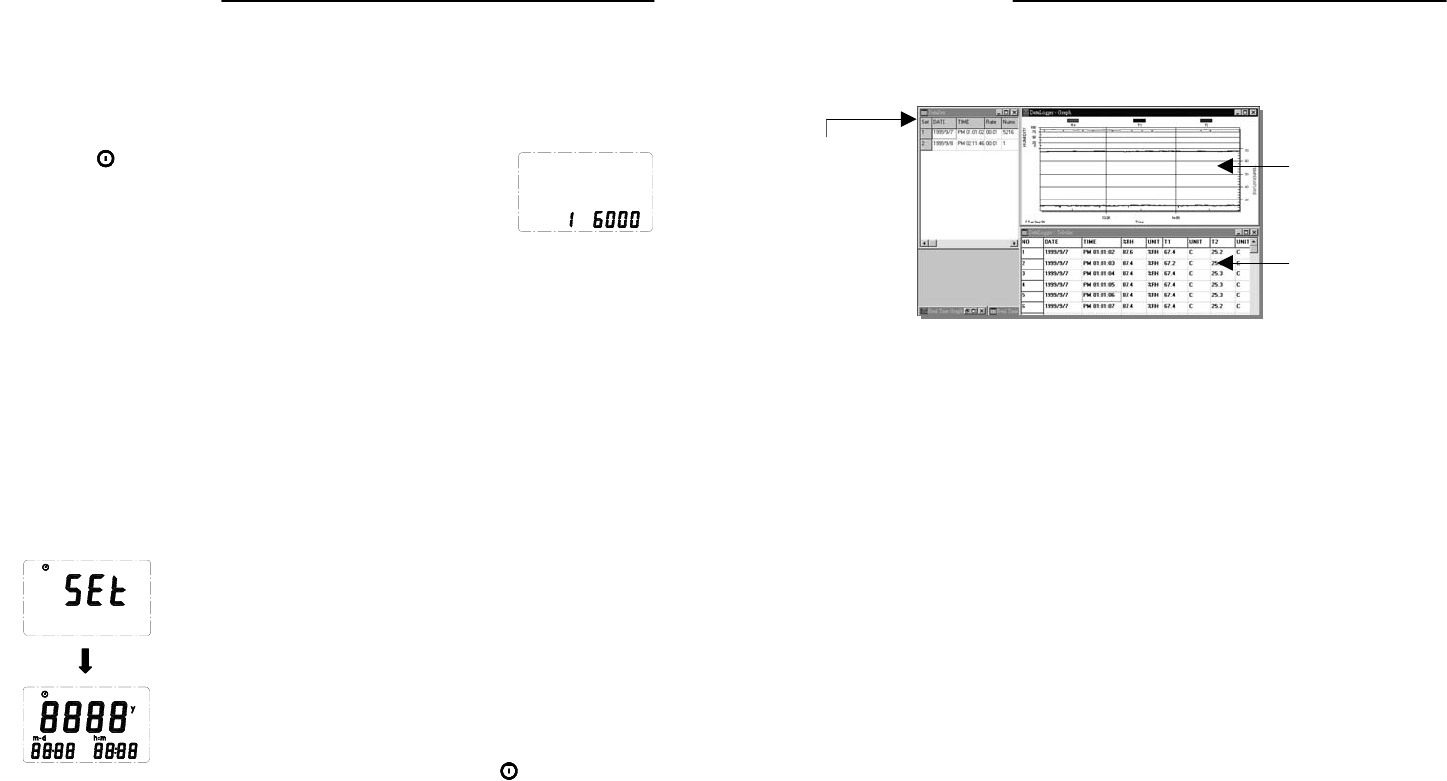
been received. When data is loaded successfully, three new windows appear as below.
Data Sets
Graph
Tabular
Data Sets Window – Displays how many data sets were loaded and the detail
information for each data set (start date, start time, recording rate and data length). Click
on any data set to choose the set for graph and tabular window.
For other operating instructions, please refer to the online help while executing
TestLink.
