


35
Leica M Stereomicroscopes – Assembly
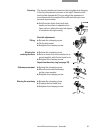
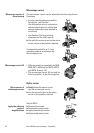
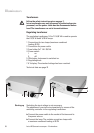
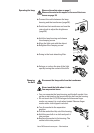
Binocular tube
̈ Release the clamping screw.
• If you have an accessory such as an
ergo module (page 14), a coaxial illumi-
nator (page 47) or a video/phototube
(page 52), fit it now to the optics carrier.
Tighten the clamping screw.
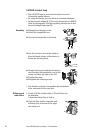
̈ Tilt the binocular tube and insert the
edge of its dovetail ring beneath the
two lugs on the optics carrier.
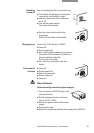
̈ Move the binocular tube from side to
side until the locating screw on the
optics carrier engages the guide.
̈ Retighten the clamping screw.
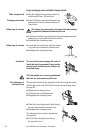
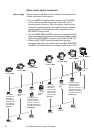
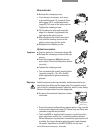
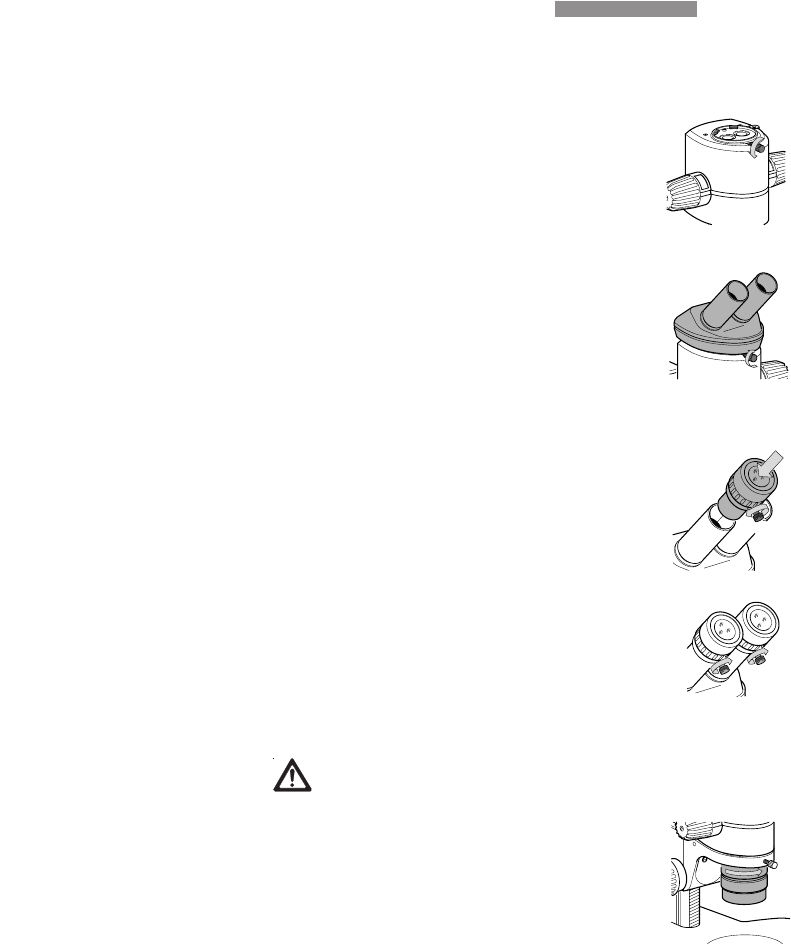
Optical accessories
̈ Insert a graticule, if necessary (page 56).
̈ Release the clamping screws on the eye-
pieces.
̈ Insert the eyepieces fully into the eye-
piece tubes. Check that they have seated
correctly.
̈ Tighten the clamping screw.
• You can extend the overall magnification
range by using 10×, 16×, 25× and 40×
wide-eyepieces for persons wearing
glasses.
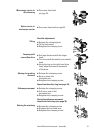
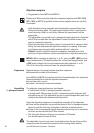
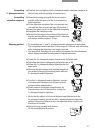
Hold the objectives during assembly and disassembly to pre-
vent them from falling on the stage plate. This applies particu-
larly to the 2× planapochromatic objective, which is very heavy.
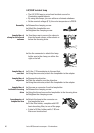
Remove the specimens from the stage plate.
̈ Screw on the selected objective counter-
clockwise.
• Some instrument configurations require spacer rings in order
to secure the objectives (page 32). These rings are fitted and
removed using the tool provided.
• The Leica MZ9
5 is supplied with a spacer ring for the achro-
matic objectives and for the 1× planachromatic objective.
When the spacer ring has been removed by applying the tool
provided, the larger-diameter planachromatic and planapo-
chromatic objectives for the MZ12
5/MZ16 can be used.
Eyepiece
Objective