


10
Note: Some locations (Arizona and parts of Indiana) do not
follow Daylight Saving Time, and should select “DST 0.”
6. Press and release the SET button to confirm and advance to
the radio-controlled time on/off setting.
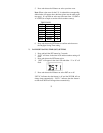
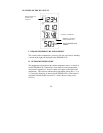
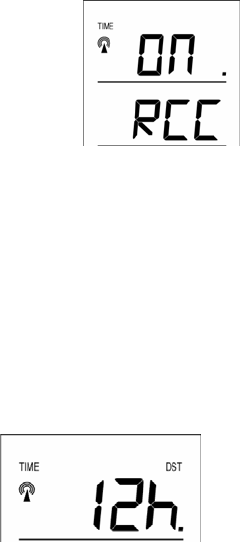
VI. RADIO-CONTROLLED TIME ON/OFF SETTING
1. Press and hold the SET button for 5 seconds.
2. “LCD” will show in the time LCD and the number setting will
flash.
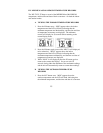
3. Press and release the SET button three times.
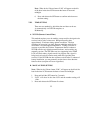
4. “RCC” will appear in the date LCD and “ON” or “OFF” will
flash in the time LCD.
5. Press and release the IN button to select radio-controlled time
on or off.
6. Press and release the SET button to confirm and advance to
the 12/24-hour time setting.
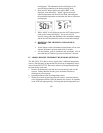
VII. 12 OR 24 HOUR TIME SETTING
1. Press and hold the SET button for 5 seconds.
2. “LCD” will show in the time LCD and the number setting will
flash.
3. Press and release the SET button four times.
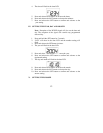
4. “12h” or “24h” will flash in the time LCD.
5. Press and release the IN button to select 12 or 24-hour time
format.