54
PROCEDURE 12 MWD WHEELCHAIRS
M
W
D
W
H
E
E
L
C
H
A
I
R
S
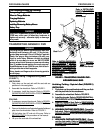
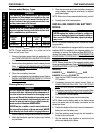
This Procedure Includes the Following:
Transporting Ranger II MWD
When to Charge Batteries
Charging Batteries
Replacing Batteries
Installing/Removing Battery Boxes
Battery Tray
Refer to BATTERY TRAY and
INSTALLING/REMOVING
BATTERY BOXES in this pro-
cedure of the manual.
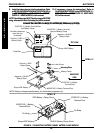
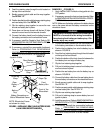
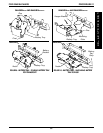
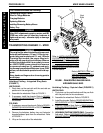
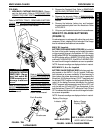
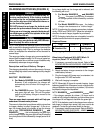
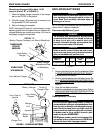
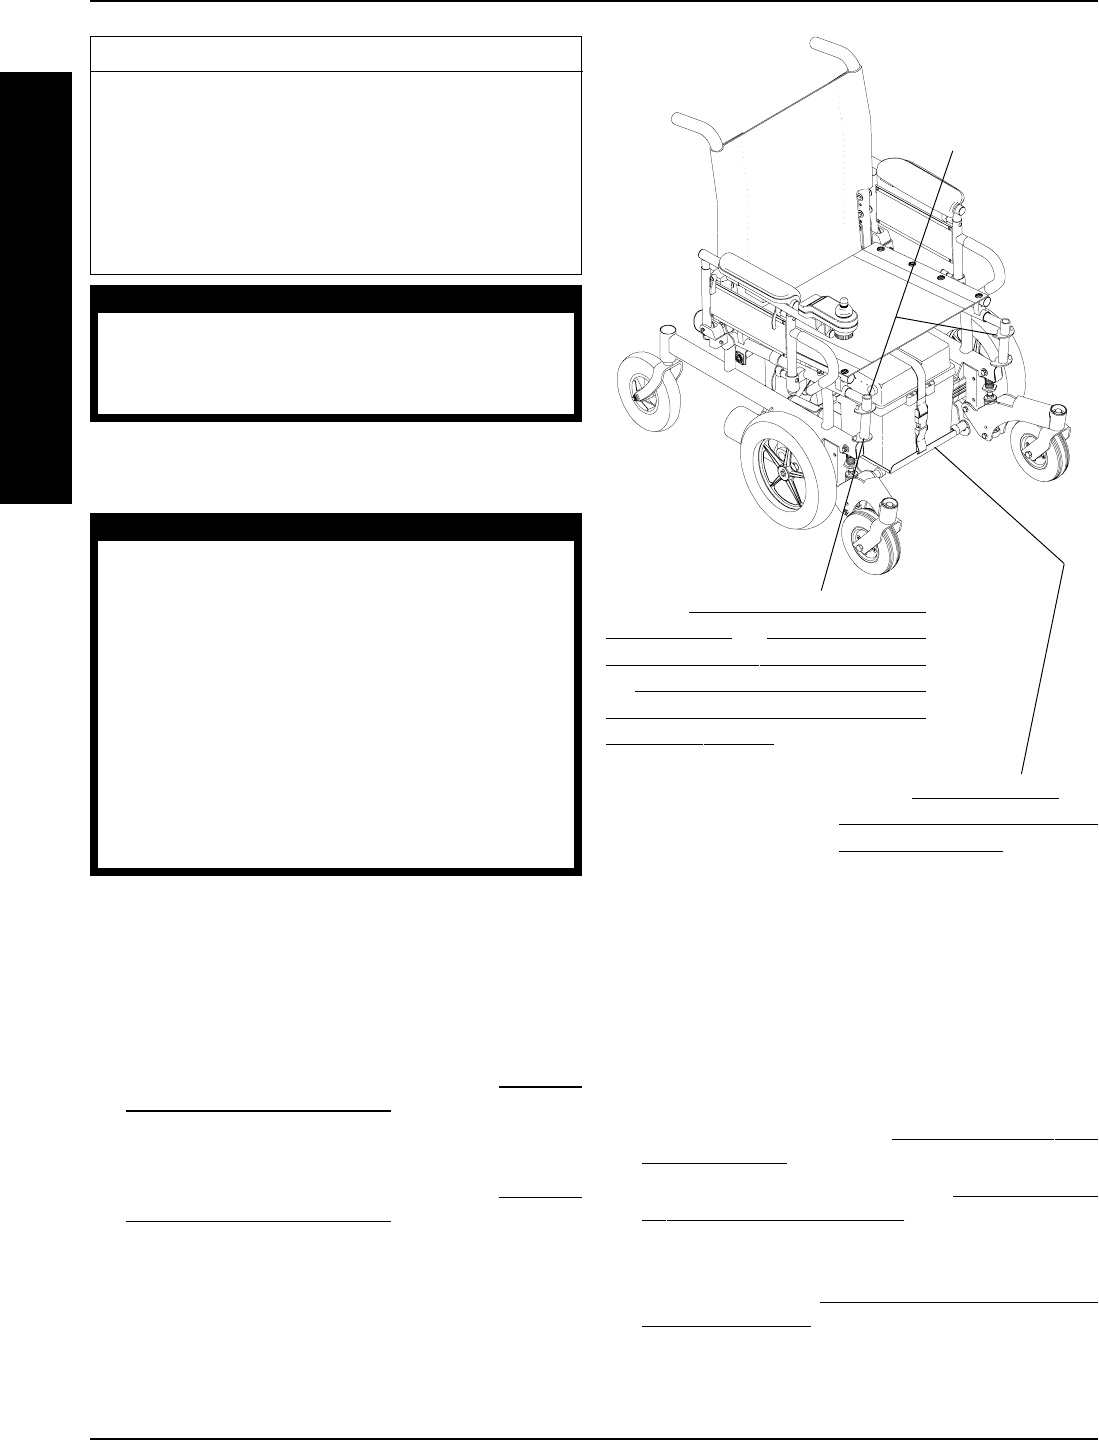
FIGURE 1 - TRANSPORTING RANGER II MWD -
INTEGRATED SLING SEATS
Refer to
INSTALLING/REMOVING
FOOTRESTS or INSTALLING/RE-
MOVING ELEVATING LEGRESTS
or PREPARING REMOVEABLE
FOOTBOARD FOR WHEELCHAIR
TRASPORTATION in PROCEDURE
3 of this manual.
TRANSPORTING RANGER II - MWD
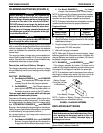
WARNING
The weight of the wheelchair without the user and
batteries is still between 110 and 116 lbs for inte-
grated sling seat models and 131 and 142lbs for
Captain's Seat models. Use proper liftng tech-
niques (lift with your legs) to avoid injury. Extreme
caution is advised when it is necessary to move
an UNOCCUPIED power wheelchair. Invacare
recommends using two (2) assistants and mak-
ing thorough preparations. Make sure to use ONLY
secure, non-detachable parts for hand-hold sup-
ports.
Keep hands and fingers clear of moving parts to
avoid injury.
Unfolding/Folding - Integrated Sling Seats
(FIGURE 1)
UNFOLDING.
1. Push down on the seat rails until the seat rails are
positioned in the seat guides.
2. Assemble the wheelchair. Refer to FIGURE 1.
3. If necessary, install the shrouds. Refer to
REMOV-
ING/INSTALLING SHROUDS in PROCEDURE 9 of
this manual.
FOLDING.
1. If necessary, remove the shrouds. Refer to
REMOV-
ING/INSTALLING SHROUDS in PROCEDURE 9 of
this manual.
2. Remove the batteries, battery tray and footrests/
legrests/footboard plate from the wheelchair. Refer
to FIGURE 1.
3. Lift up on the seat rails of the wheelchair.
WARNING
After ANY adjustments, repair or service and BE-
FORE use, make sure all attaching hardware is
tightened securely - otherwise injury or damage
may result.
Seat
Rails
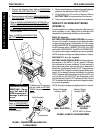
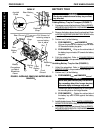
Unfolding/Folding - Captain's Seat (FIGURE 2)
UNFOLDING.
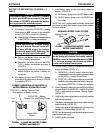
1. Push down on the push brackets until they are flush
with the pivot links on the crossbraces.
2. Assemble the wheelchair. Refer to FIGURE 2.
3. Install the shrouds. Refer to
REMOVING/INSTALL-
ING SHROUDS in PROCEDURE 9 of this manual.
4. Install the Captain's Seat. Refer to
REMOVING/IN-
STALLING CAPTAIN'S SEAT in PROCEDURE 5 of
this manual.
5. HIGH BACK CAPTAIN'S SEATS ONLY - Connect the
limit switch. Refer to
DISCONNECTING/CONNECT-
ING LIMIT SWITCH in PROCEDURE 6 of this manual.


