


!
!
READ AND SAVE ALL INSTRUCTIONS BEFORE USING THIS APPLIANCE
Kill Germs the Safe, Natural Way
™
The Germ Guardian™ Toothbrush Sanitizer is proven to kill up to 99% of germs on toothbrush
bristles by reliably reaching sanitizing temperatures to effectively kill germs in fifty (50)
minutes. Dry heat is used so there is no exposure to chemicals.
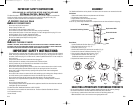
DANGER: Electrical Shock
UNDER ANY CIRCUMSTANCES:
· Do not pour any liquid into product.
· Always unplug unit after use.
· Do not place or drop into water or other liquid.
· Do not reach for a product that has fallen into water, unplug immediately.
· Never operate this product if it has been damaged, if it has a damaged cord or plug, if it is not
working properly, or if it has been dropped into water.
· Do not operate if aerosol (spray) products are being used.
· No user serviceable parts except for the light bulb.
WARNING:
TO REDUCE THE RISK OF INJURY
WARNING: THE CORDS, WIRES AND/OR CABLES SUPPLIED WITH THIS PRODUCT CONTAINS CHEMICALS,
INCLUDING LEAD OR LEAD COMPOUNDS, KNOWN TO THE STATE OF CALIFORNIA TO CAUSE CANCER AND
BIRTH DEFECTS OR OTHER REPRODUCTIVE HARM. WASH HANDS AFTER USING.
IMPORTANT SAFETY INSTRUCTIONS:
· This product has a polarized plug (one blade is wider than the other). To reduce the risk of electric
shock, this plug is intended to fit in a polarized outlet only one way. If the plug does not fit fully in
the outlet, reverse the plug. If it still does not fit, contact a qualified electrician. Do not modify the
plug in any way.
· This product should not be left unattended when plugged in.
· Close supervision is necessary when operated near children and pets.
· Use this product only for its intended use as described in this manual.
· Keep the cord away from heated surfaces.
· Never block the air openings of the product or place it on a soft surface such as a bed or couch,
where the openings may become blocked. Keep the air openings free from lint and hair.
· Never drop or insert an object into any opening of this product other than the designated
sanitizing chamber.
· Do not touch hot surfaces or remove the lid while sanitizing cycle is taking place. Always wait for
the full 50-minute cycle to complete and wait for the indicator light to come on.
· Do not let the cord hang off the counter or table edge where it may be pulled down.
· Before each use, inspect toothbrush products for any damage or choking hazards. Discard if
necessary.
· Do not use with extension cord.
· The physiological effects of the operation of this appliance beneficial or otherwise have not been
investigated by CSA international.
The Germ Guardian Toothbrush Sanitizer is NOT A DRYER.
This product is not for outdoor or commercial use. The Germ Guardian Toothbrush Sanitizer
is for household use only.
Use as directed.
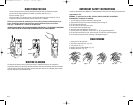
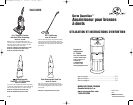
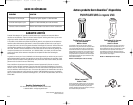
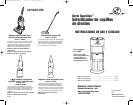
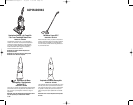
On/Off Button
Removable Sanitizing Chamber
Removable Basket
Base
E-3E-2
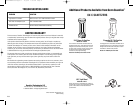
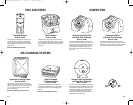
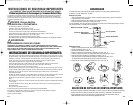
The Toothbrush Sanitizer can be placed in its base to store on counters or mounted to the wall.
Wall Mount
1 Select wall location. Mark screw placement and drill holes.
2 If necessary, install anchors.
3 Align sanitizer (base not needed) with holes.
4 Install screws to secure unit to wall.
Once set up, remove tape and labels from unit placed to secure door and basket in shipping.
ASSEMBLY
Screws
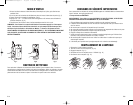
· Do not sanitize electronic or battery operated toothbrush bases as the heat may damage
the sensitive electronics. Remove toothbrush head and place in sanitizer.
· If you have any questions about what items to select for sanitizing please call
1-866-603-5900 or visit us on the web at www.germguardian.com.
SELECTING APPROPRIATE TOOTHBRUSH PRODUCTS
IMPORTANT SAFETY INSTRUCTIONS
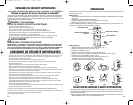
Replacement Bulb
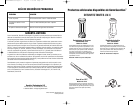
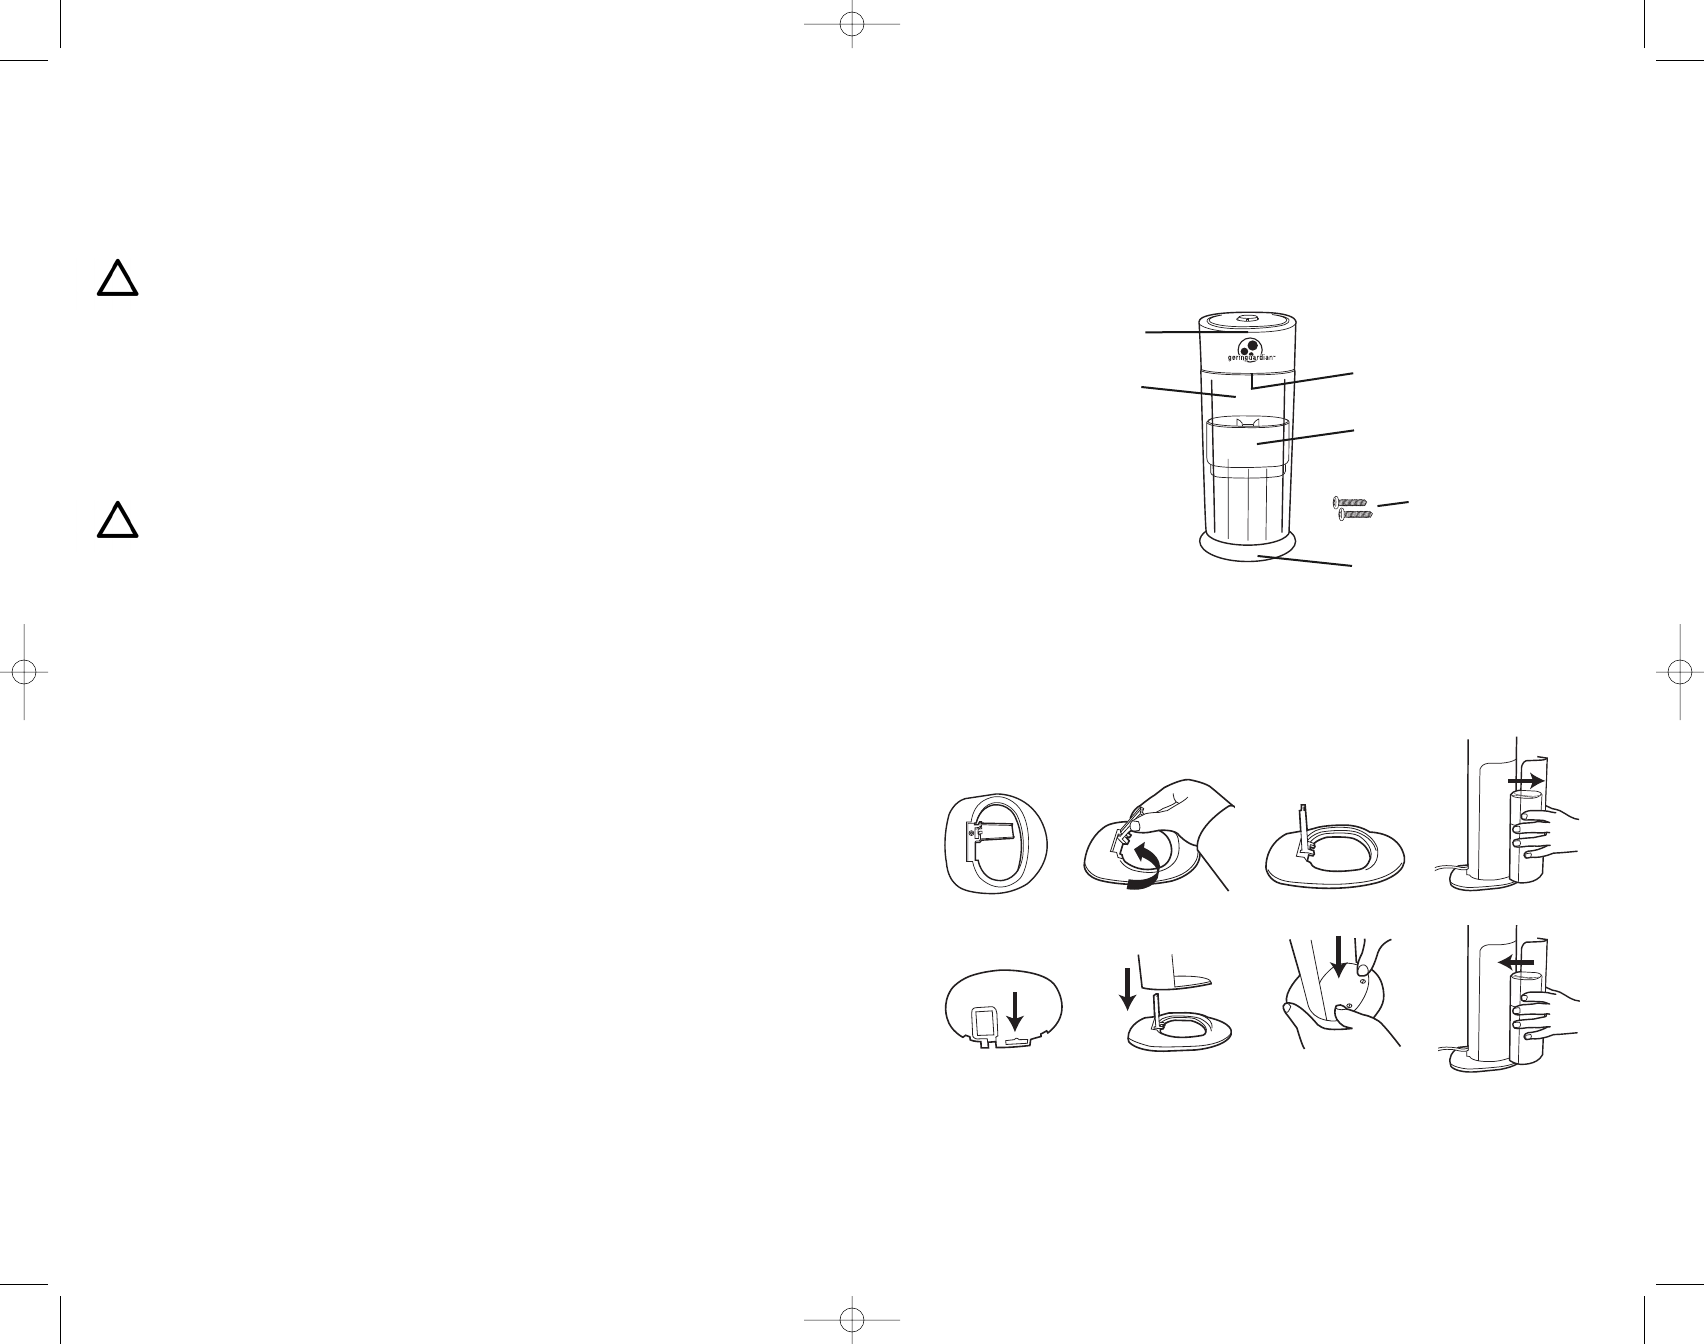
Base Mount
1 Locate Toothbrush Sanitizer Base. (Fig. 1)
2 Take hold of tab and pull up. (Fig. 2)
3 Snap tab in place. (Fig. 3)
4 Remove blue basket from product and set aside. (Fig. 4)
5 Locate hole in base of Toothbrush Sanitizer. (Fig. 5)
6 Line up hole in base with tab and insert. (Fig. 6)
7 Snap Toothbrush Sanitizer onto base. (Fig. 7)
Toothbrush sanitizer is secured onto base.
8 Replace blue basket before use. (Fig. 8)
Fig. 1
Fig. 2 Fig. 3
Fig. 5
Fig. 6
Fig. 8
Fig. 7
Fig. 4
TS3000REV1007:Layout 1 11/6/07 1:29 PM Page 2