


LF1030-INS-LAB-RevB10
11
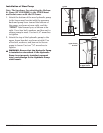
Note: Steps 10-13 apply to LF1040 Electric Patient
Lift only.
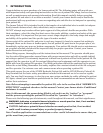
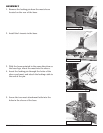
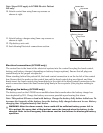
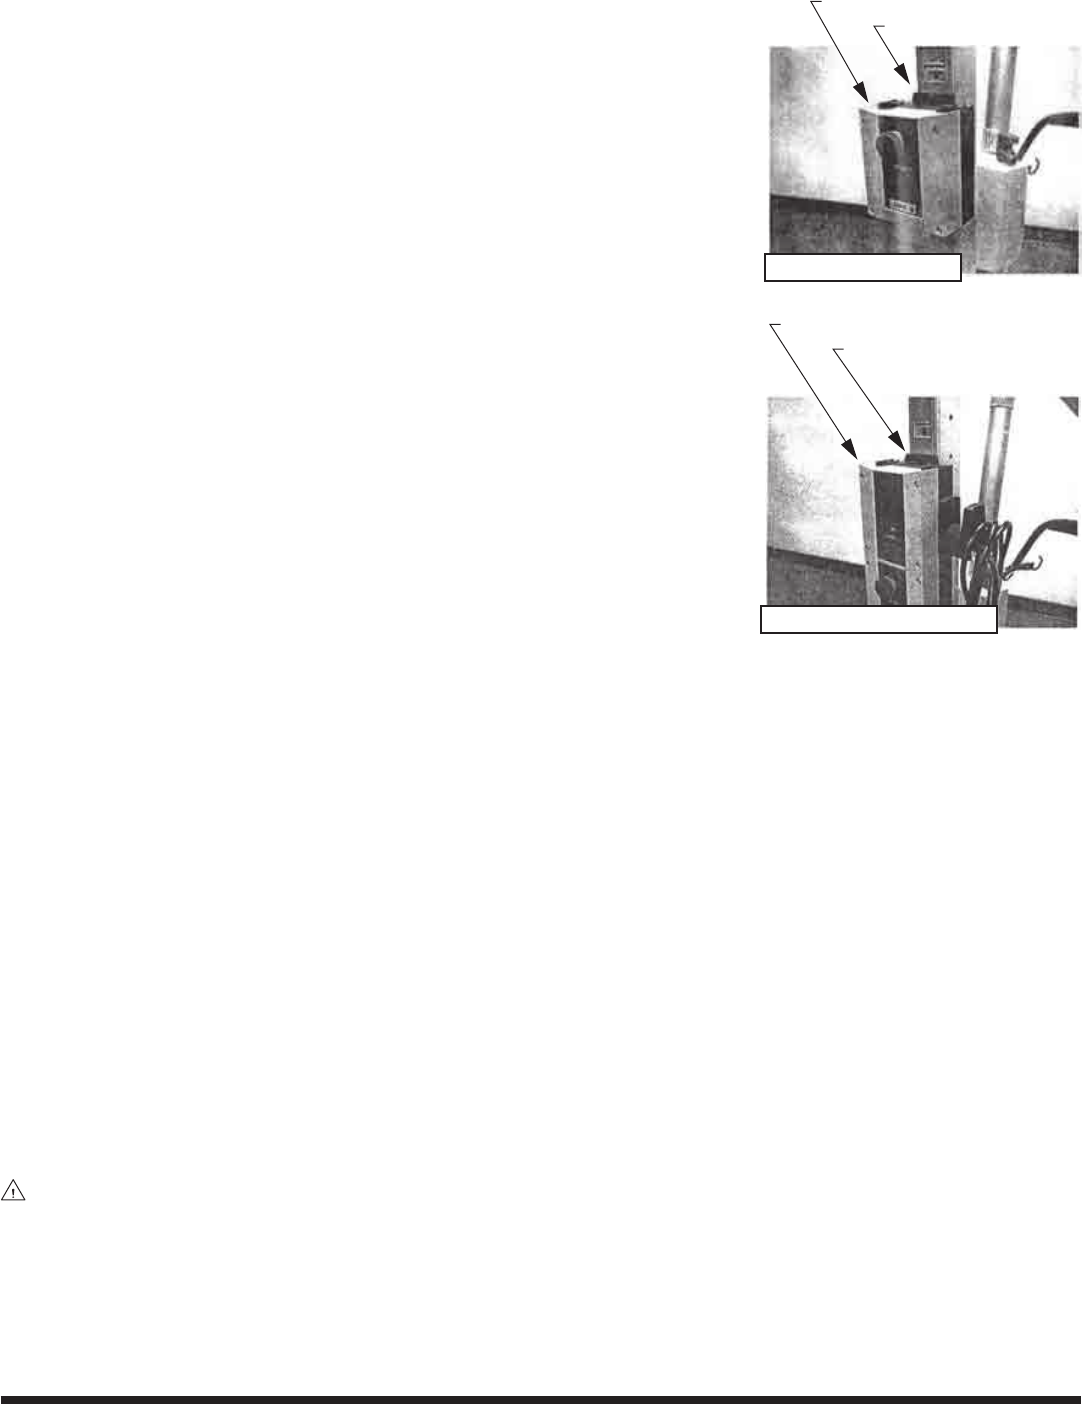
10. Attach control box using 5mm cap screws as
shown at right.
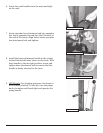
11. Attach battery charger using 5mm cap screws as
shown at right.
12. Clip battery onto unit.
13. See following Electrical connections section.
Electrical connections (LF1040 only)
The control box is the heart of the electrical system; into the control box plug the hand control,
battery, and battery charger (depending on battery charger options). Ensure that all plugs are
seated rmly in the proper receptacles.
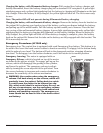
When standing behind the patient lift, the hand control connection is on the far left of the control
box. Ensure that the marks on the control box and the hand control plug are aligned, and then
rmly insert the hand control plug. Immediately to the right of the hand control connection is the
motor connection. Insert the hand control plug rmly in its receptacle (this plug has nothing to
align).
Charging the battery (LF1040 only)
The battery used on the LF1040 has an audible alarm that sounds when the battery charge has
been depleted by 50%. Charge the battery as soon as possible upon hearing this alarm.
Note: This patient lift uses a lead acid battery. Charge the battery fully before initial use. To
increase the longevity of the battery, keep the battery fully charged when not in use. Battery
charging time is approximately four hours.
WARNING:Afterthealarmsounds,therecouldstillbesufcientbatterypowerleftto
lift a patient. Be aware that a lifted patient cannot be lowered when the battery is dis-
charged. Refer to the Emergency Procedures section that follows for discharged battery
operation.
attach control box
Control box
Cap screw
Battery charger
Cap screw
attach battery charger