


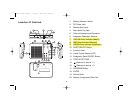
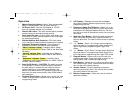


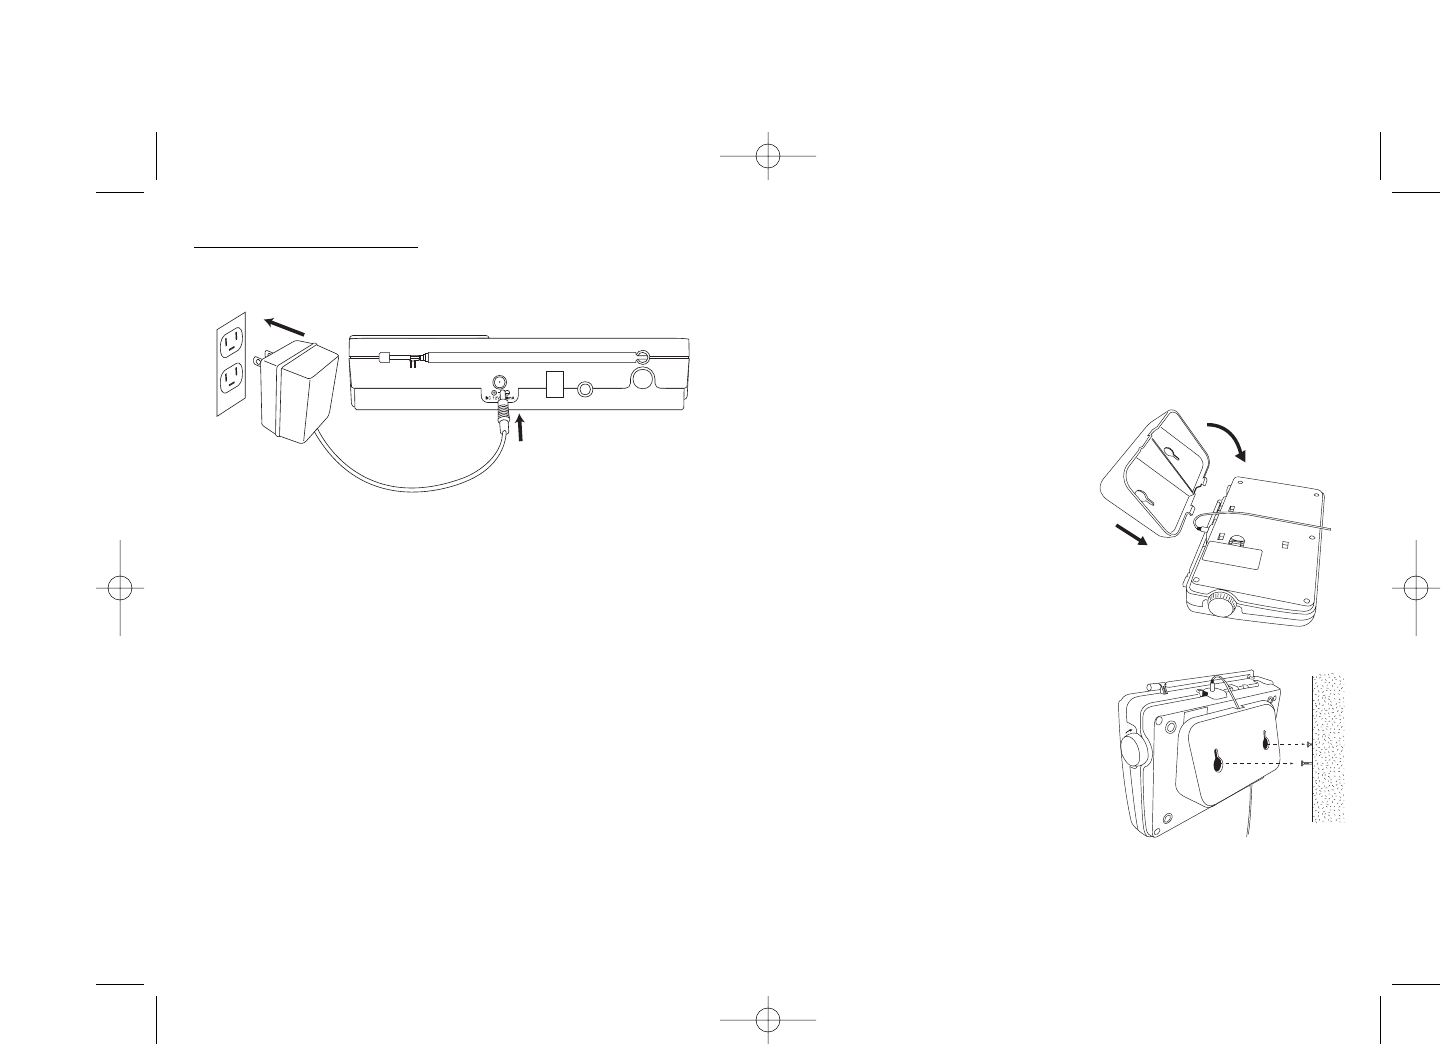
Connecting the power
USING STANDARD 120V AC OUTLET
Plug the AC adapter cord into the 12V DC input jack on the back of
the unit. Then plug the adapter into the wall outlet. Once plugged in,
the internal battery charger will automatically charge the battery if a
rechargeable battery is installed, and the “Rechargeable” (RB) setting
is selected. Keep the unit plugged in at all times. Then your unit will
be ready to use in the event of a power failure.
VEHICLE USE (12V DC)
Use an optional 12V DC car adapter (not included). Plug the adapter
cord into the 12V DC input jack on the back of the unit. Plug other
end into vehicle’s cigarette lighter or accessory outlet.
TO TURN ON/OFF THE RADIO
The radio will be operative once power is connected. The radio
must remain connected to the power source in order to receive
any emergency alert broadcasts. To turn off the radio, just unplug
the power source and disconnect the back up batteries.
OTHER CONNECTIONS – External Antenna, Audio Output
and Remote Alert.
Connect other accessories to the radio if needed.
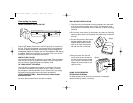
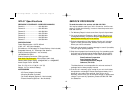
WALL MOUNT INSTALLATION
1. Take the wall mount bracket from the package. hold the brack-
et at the mounting location and, using it as a template, mark
the positions for the screw holes on the wall or other mounting
surfaces.
2. Drill the two screw holes, fix the screws onto the wall, leaving a
space of about 3mm (1/8”) between the head of the screw and
the wall.
3. Put the radio and the wall mount
bracket together with the AC
adapter plug installed. Make
sure all the clips are properly
set and the radio is secured.
4. Hang the radio with the wall
mount onto the two screws on
the wall, make sure the installa-
tion is secure. Connect the AC
adapter to power outlet to acti-
vate the radio.
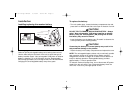
USING THE INTEGRATED
TELESCOPIC ANTENNA
For best reception at all times, lift up the built in telescopic
antenna and fully extend it vertically.
5
Step 4
Step 3
WX-67 Large Manual 3/12/02 10:25 AM Page 7