11 Chapter 1—Getting Started
Studio Manager—Owner’s Manual
Setting up OMS
OMS Studio Setup files for the DM2000 are supplied on the included CD-ROM. The setup
files are used for setting up OMS when using the serial or USB ports.
1 Turn off the DM2000 and use a USB cable to connect the USB port of the
computer (or the USB hub) to the TO HOST USB port of the DM2000.
2 Turn on the DM2000 and start the computer.
3 Insert the included CD-ROM into the CD-ROM drive of your Mac.
The CD-ROM icon appears on the desktop.
4 Double-click the CD-ROM icon, “OMS_”, and “OMS Setup for YAMAHA.”
Three files “DM2000-Modem,” “DM2000-Printer,” and “DM2000-USB” appear. Copy
these to the hard disk on your computer.
5 Double-click one of “DM2000-Modem” or “DM2000-Printer” or
“DM2000-USB” to start OMS Setup.
The setup files are used as follows.
DM2000-Modem: Used when connecting the modem port of your Mac to the DM2000.
DM2000-Printer: Used when connecting the printer port of your Mac to the DM2000.
DM2000-USB: Used when connecting the USB port of your Mac to the DM2000.
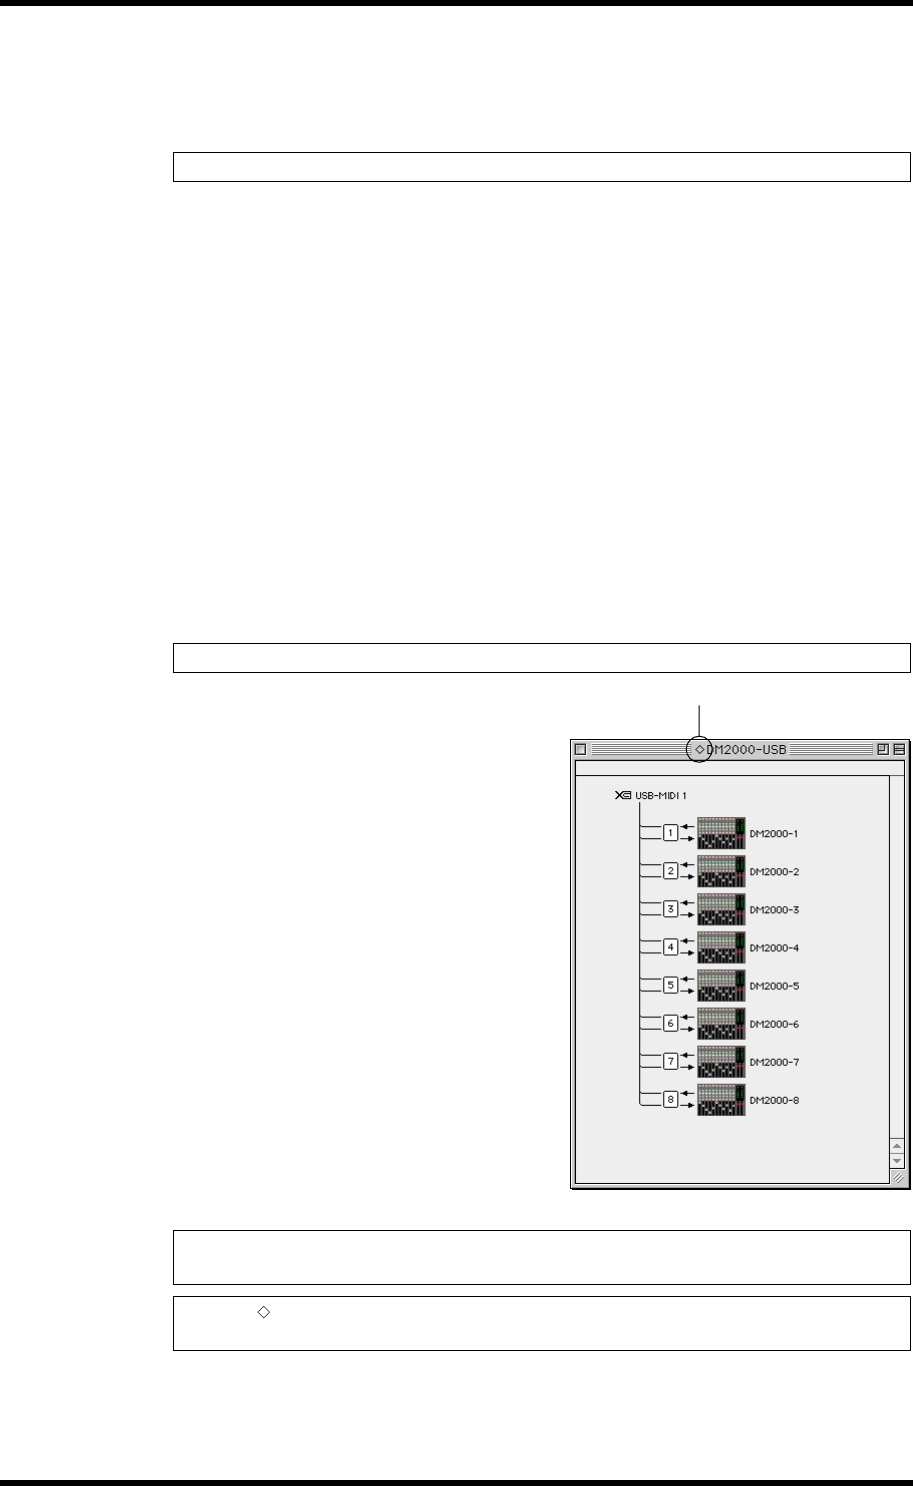
After starting the OMS Setup, the selected
Studio Setup file opens. The
DM2000-USB version is shown on the
right.
Note: When using USB, OMS and the USB MIDI driver should be installed before proceeding.
Note: A USB hub is necessary when several DM2000s are connected to the computer.
Note: When using either of the serial ports (modem or printer), go to OMS Setup Preferences
and deselect “Use Apple DMA driver when available.”
Note: If “ ” is not indicated next to the setup file name, choose Make Current from the File
menu, and then Save.
Indicates this setup is available


