Installation Instalación
•
•
•
•
Precauciones
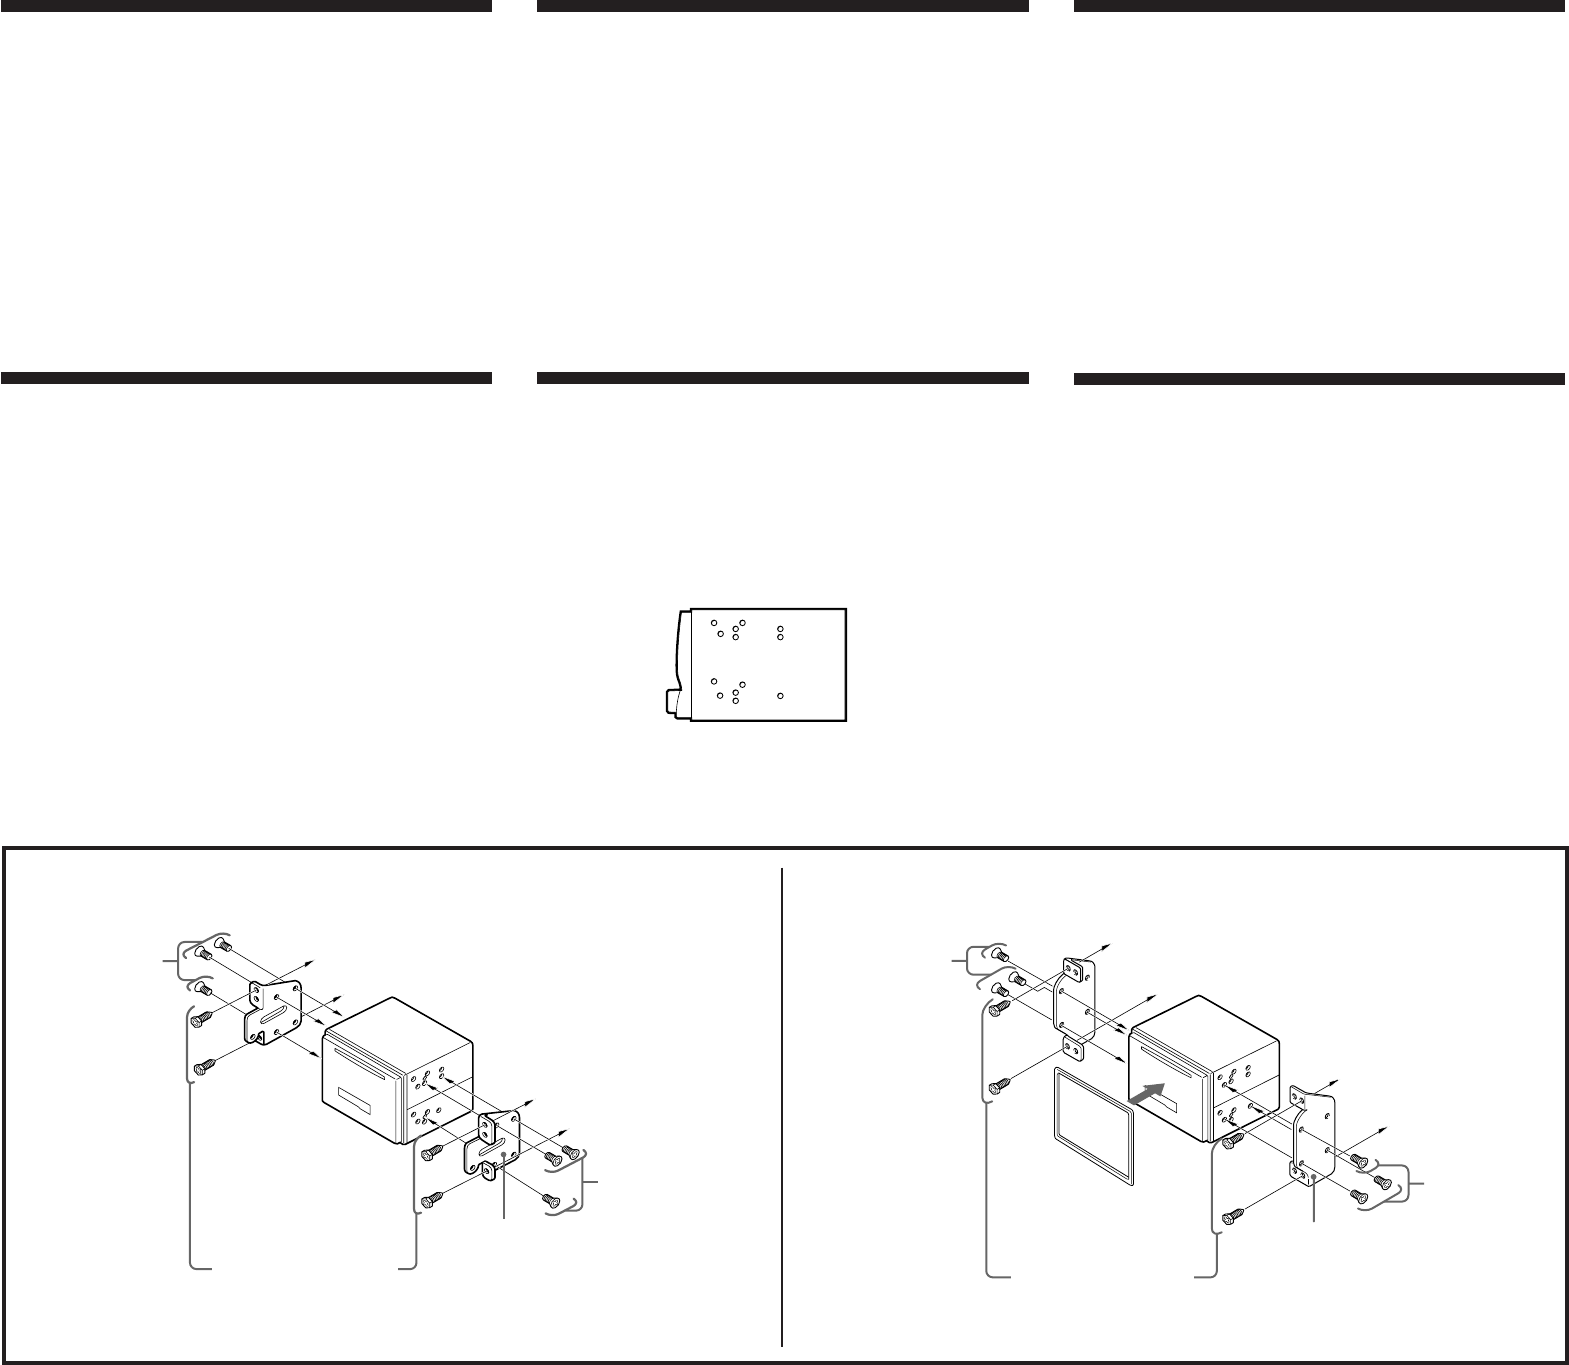
•No toque los cuatro orificios de la superficie superior de la unidad.
Estos orificios son para ajustes del sintonizador que solamente
deberán realizar técnicos de reparación.
•Elija cuidadosamente el lugar de montaje de forma que la unidad
no interfiera las funciones normales de conducción.
•Evite instalar la unidad donde pueda quedar sometida a altas
temperaturas, como a la luz solar directa o al aire de calefacción, o a
polvo, suciedad, o vibraciones excesivas.
•Para realizar una instalación segura y firme, utilice solamente la
ferretería de montaje suministrada.
Ajuste del ángulo de montaje
Ajuste el ángulo de montaje a menos de 20°.
Precautions
•Do not tamper with the four holes on the upper surface of the unit.
They are for tuner adjustments to be done only by service
technicians.
•Choose the installation location carefully so that the unit will not
hamper the driver during driving.
•Avoid installing the unit where it would be subject to high
temperatures, such as from direct sunlight or hot air from the
heater, or where it would be subject to dust, dirt or excessive
vibration.
•Use only the supplied mounting hardware for a safe and secure
installation.
Mounting angle adjustment
Adjust the mounting angle to less than 20°.
Mounting the unit in a Japanese car
You may not be able to install this unit in some makes of Japanese
cars. In such a case, consult your Sony dealer.
When you mount the supplied bracket to this unit, use the supplied
screws 1 from this unit and mount to the appropriate mount holes
for your vehicle: T (for TOYOTA), M (for MITSUBISHI) and N (for
NISSAN).
TOYOTA/MITSUBISHI
1 max. size
5 × 8 mm
Tamaño máx.:
5 × 8mm
to dashboard/center console
al salpicadero/consola central
Bracket
Soporte
1 max. size
5 × 8 mm
Tamaño máx.:
5 × 8mm
NISSAN
1 max. size
5 × 8 mm
Tamaño máx.:
5 × 8mm
to dashboard/center console
al salpicadero/consola central
1 max. size
5 × 8 mm
Tamaño máx.:
5 × 8mm
Bracket
Soporte
Note
To prevent malfunction, install only with the supplied screws 1.
Montaje de la unidad en un automóvil
japonés
Es posible que no pueda instalar esta unidad en algunos automóviles
japoneses. En tal caso, consulte a su proveedor Sony.
Para montar el soporte suministrado en la unidad , utilice los
tornillos suministrados 1 de esta unidad y móntelo en los orificios
de montaje adecuados para el vehículo: T (para TOYOTA), M (para
MITSUBISHI) y N (para NISSAN).
1
Existing parts supplied to
your car
Piezas existentes
suministradas con su
automóvil
2
Existing parts supplied to
your car
Piezas existentes
suministradas con su
automóvil
Nota
Para evitar que se produzcan fallos de funcionamiento, realice la
instalación solamente con los tornillos suministrados 1.
1
T
N
T
M
N
M
T
N
M
N
T
N
T
This illustration for
TOYOTA cars.
Esta ilustración es
para automóviles
TOYOTA.
Notes
• Do not use excessive force on the buttons of the unit.
• Do not push on the display window.
• Before mounting, make sure there is nothing on top of the unit.
Notas
• No emplee los botones de la unidad con excesiva fuerza.
• No ejerza presión sobre el visor.
• Antes de realizar el montaje, asegúrese de que no hay nada sobre la
unidad.
•
•
•


