18
13
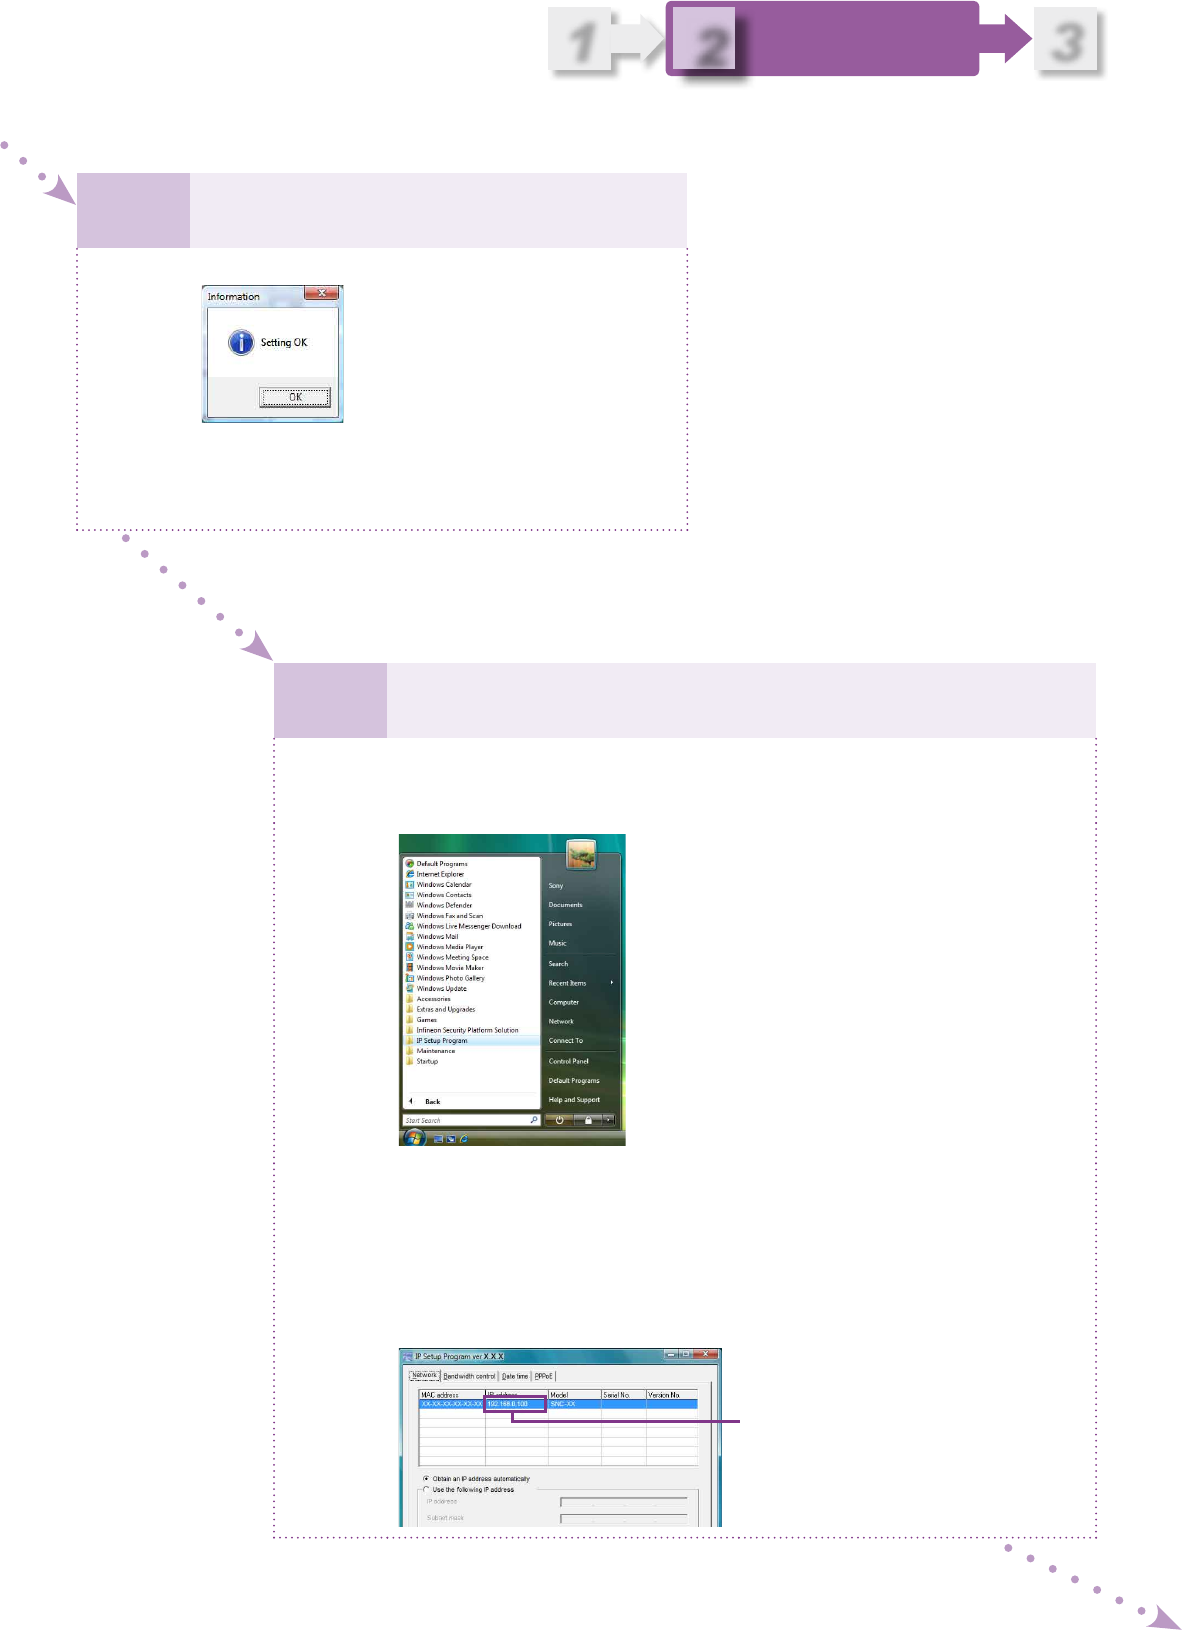
If “Setting OK” is displayed, click [OK], and
close all dialog boxes opened.
You have nished the IP address setting process.
Go to the next step to conrm that you have successfully assigned
the IP address of the camera.
3
1
2
Setting the IP Address
of the Camera
14
Conrm that you have assigned the IP address
of the camera correctly.
Close any windows and dialogs opened in step 2 to 13.
Select [All Program], [IP Setup Program], and then click [IP Setup Program]
from the [Start] menu.
Message “User Account Control – An unidentied program wants access to
your computer” may appear. In this case, click [Allow].
The IP Setup Program starts.
The Network tab window appears.
The program detects the network cameras connected to the local network
and lists them.
When the IP address set (or set
automatically) is displayed in the
IP address column, the IP address
of the camera has been assigned
correctly.


