10
Getting Started
Notes
• Refer to the instructions supplied with the component to be
connected.
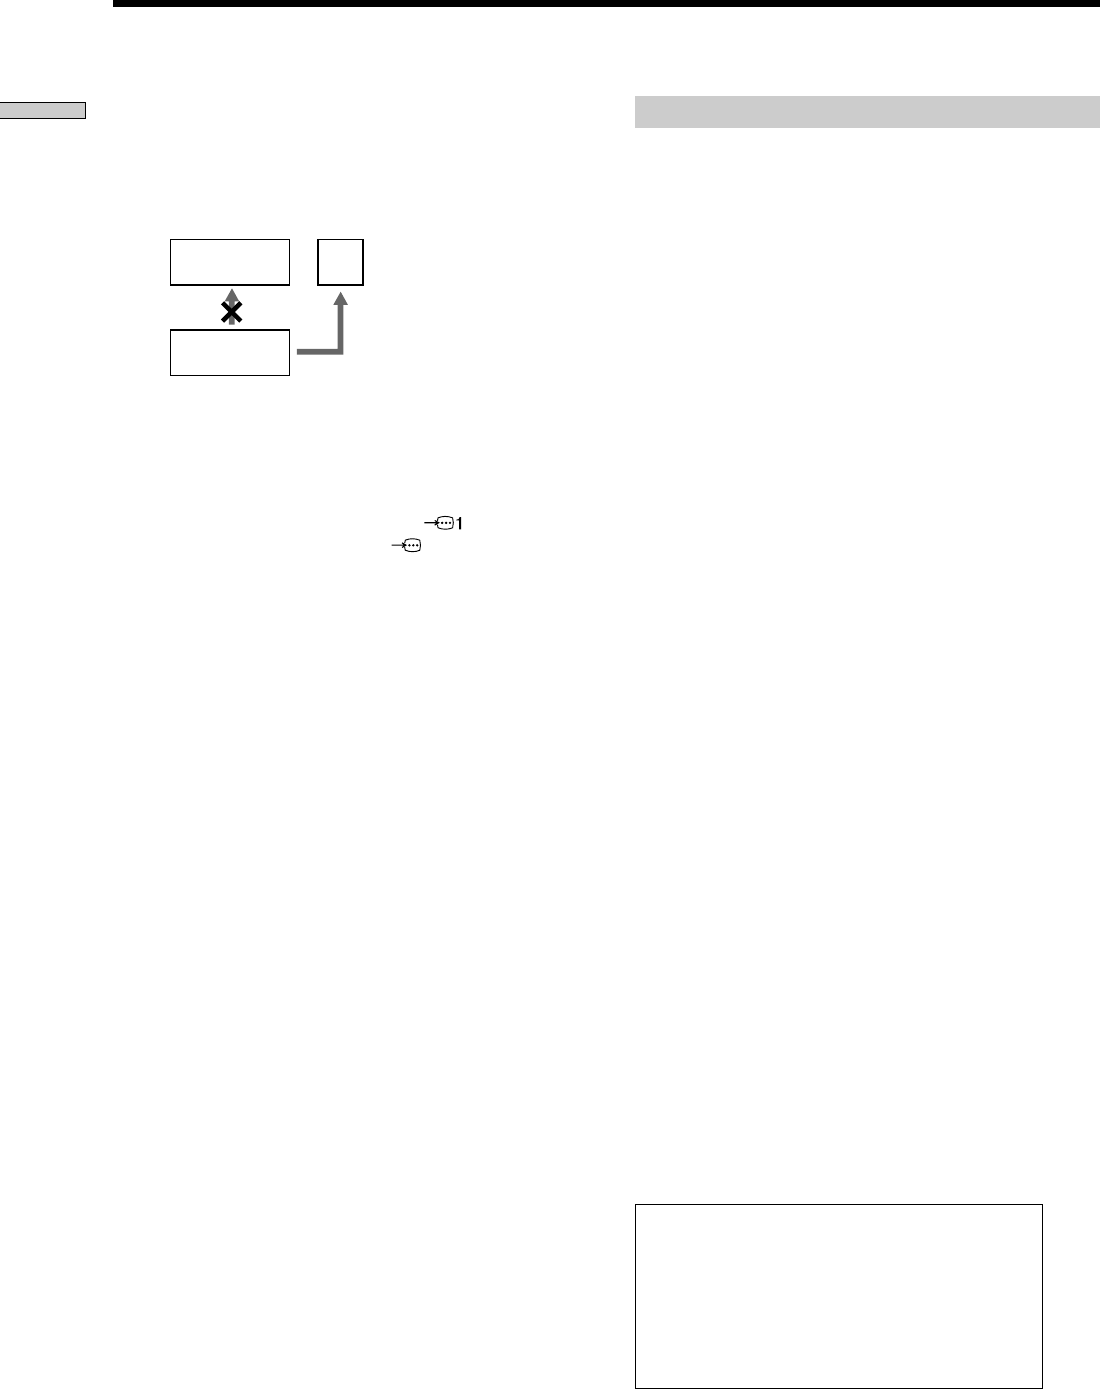
• Do not connect this player to a video deck. If you view the
pictures on your TV after making the connections shown
below, a picture noise may appear.
• Depending on the TV or receiver (amplifier), sound distortion
may occur because the audio output level is high. In this case,
set “AUDIO ATT” in “AUDIO SETUP” to “ON” in the setup
display. For details, see page 51.
• If you cannot view the pictures from a VCR through this player
which is connected to a TV with RGB, set to …(Audio/
Video) on your TV. When you select (RGB), the TV cannot
receive the signal from the VCR.
• If you want to use SmartLink function of a VCR, connect the
VCR to a TV with the connector conformed to SmartLink
function and connect the CD/DVD player to the TV with
another connector.
This player conforms to the PAL color system.
When you play a disc recorded in the NTSC
color system, the player outputs the video
signal or the setup display etc. in the NTSC
color system and the picture may not appear
on the TV screen. In this case, open the disc
tray and remove the disc.
TV Hookups
Setups for the player
Some setups are necessary for the player depending on
the TV or other components to be connected.
Use the setup display to change the various settings.
For details on using the setup display, see page 43.
• To connect the player to a wide-screen TV
In the setup display, set “TV TYPE” in “SCREEN
SETUP” to “16:9” (default setting). For details, see page
47.
• To connect the player to a normal TV
In the setup display, set “TV TYPE” in “SCREEN
SETUP” to “4:3 LETTER BOX” or “4:3 PAN SCAN.”
For details, see page 47.
• To connect the player to a TV or VCR via EURO AV
connector that conforms to the S video signals or
RGB signals
In the setup display, set “EURO AV OUT” in “CUSTOM
SETUP” to “S VIDEO” or “RGB.” For details, see page
48.
VCR
TV
CD/DVD
player
Connect
directly.


