Wireless network setup
168
2. Using a Network-Connected Machine
5
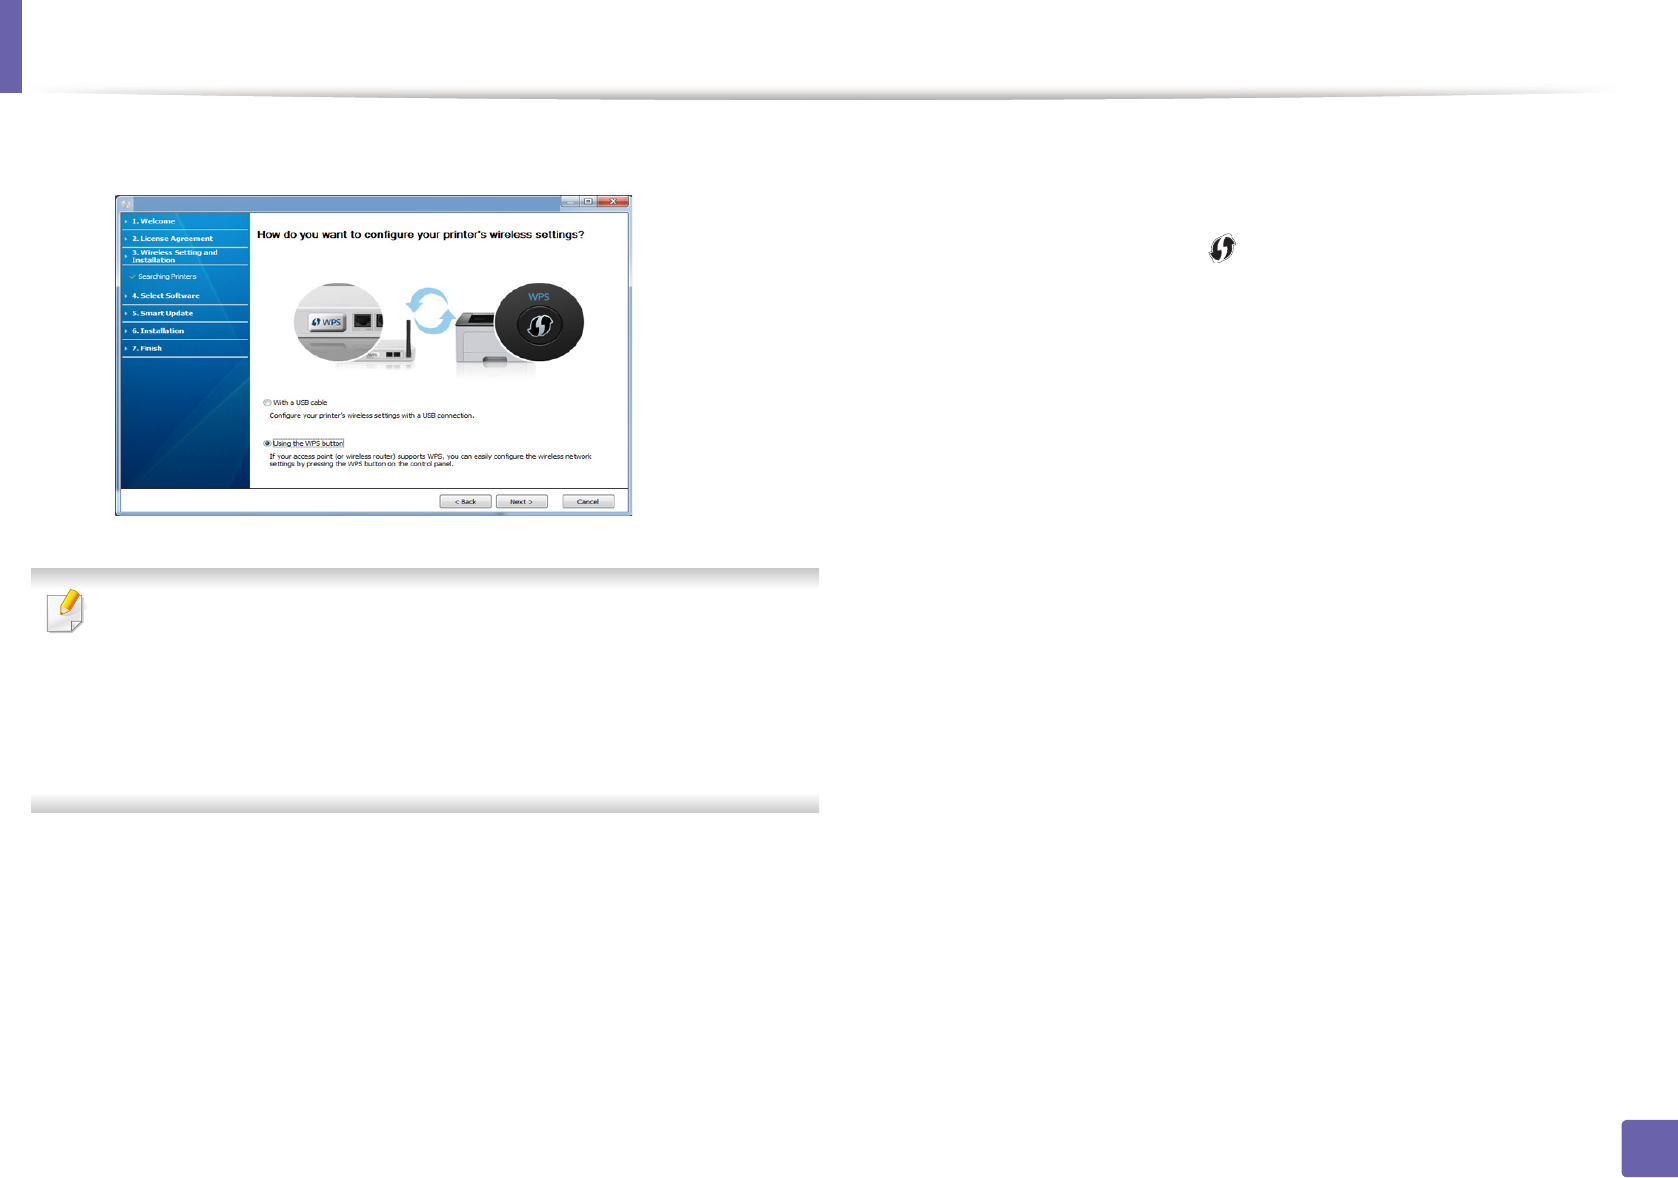
Select Using the WPS button and click Next.
• For models that support WPS button, the above window appears.
• If your machine is connected with a USB cable, the above window does
not appear. Disconnect the USB cable if you want to set up the wireless
network using the WPS button.
• If you want to set up the wireless network using the USB cable, refer to
"Access point via USB cable" on page 163.
6
The next window asks you to check if your access point (or wireless
router) supports WPS or not.
If the access point (or wireless router) has a WPS button, select Yes and
click Next.
7
Follow the instructions on the window to set up the wireless network.
• For models with a display screen, follow the steps below.
a Press and hold the (WPS) button on the control panel for
about 2-4 seconds.
The machine waits up to 2 minutes for the WPS button on the
access point (or a router) to be pressed.
b Press the WPS (PBC) button on the access point (or wireless
router).
The messages are displayed on the display screen in the order
below:
- Connecting: The machine is connecting to the access point
(or wireless router).
- Connected: When the machine is successfully connected to
the wireless network, the WPS LED light stays on.


