Using the Menu System
28 Chapter 4
Graphics contained within this publication are for representation only.
Setup
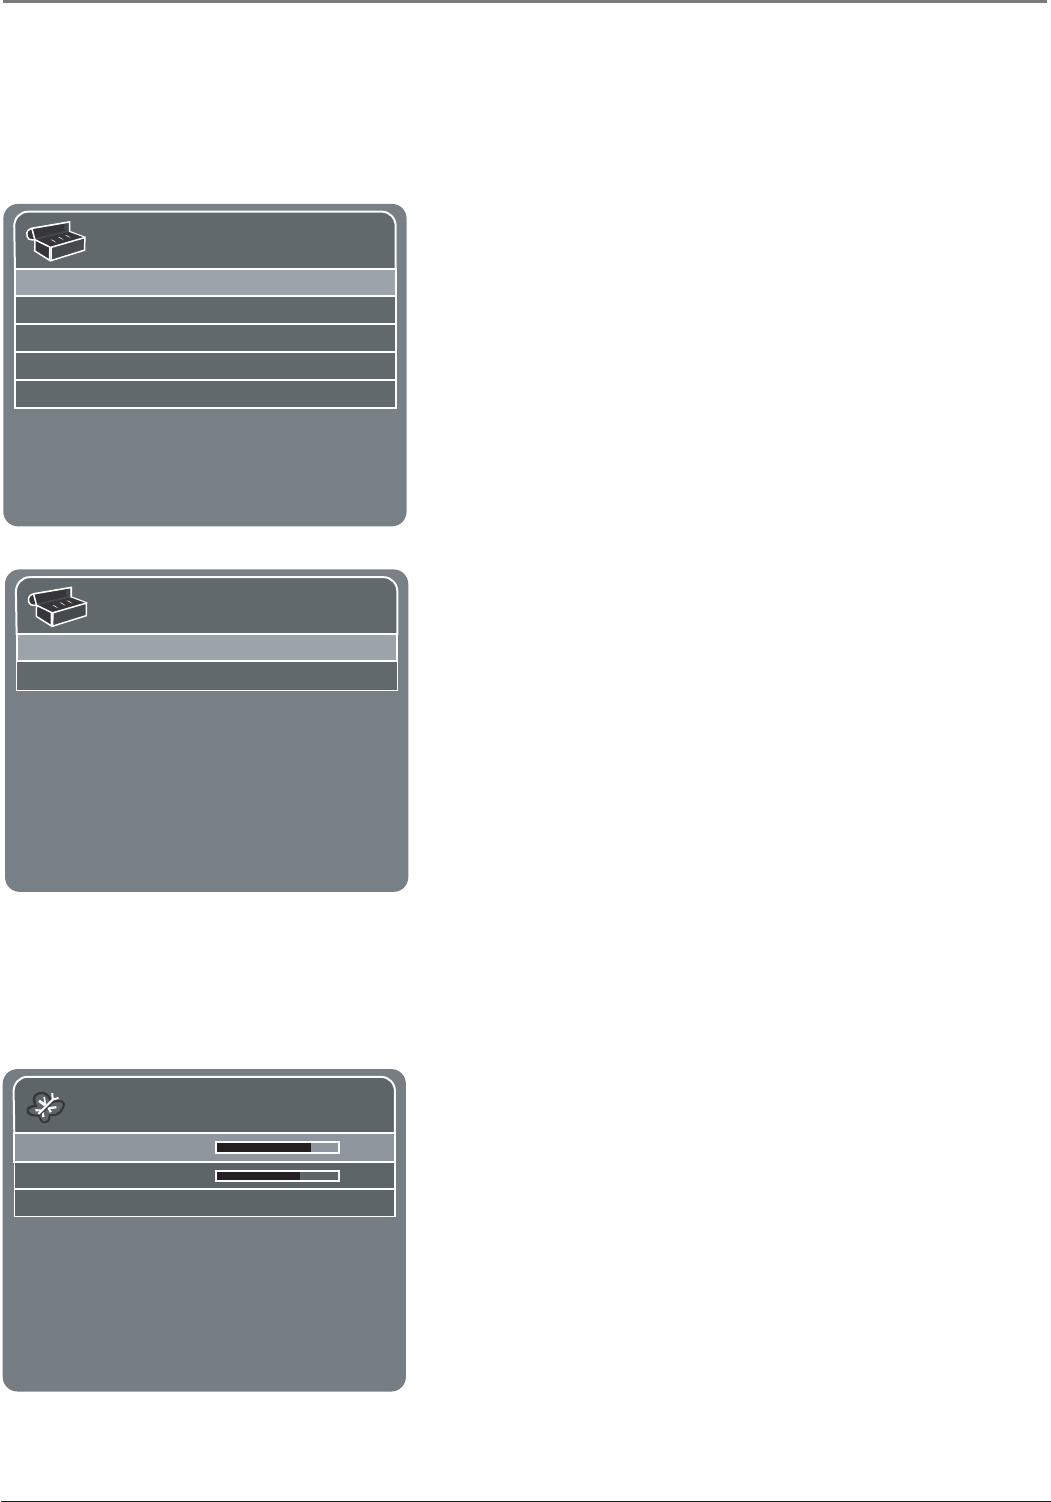
Signal Type Cable. . .
Auto Channel Search Start. . .
Autotuning. . .
Channel List. . .
Set VID2 Source PC. . .
Press </> to select.
Press MENU to go to Main Menu.
Menu Background Select the appearance of menu background: Opaque for a solid
background; Translucent for a see-through background.
Sleep Timer Lets you set the TV to turn off after a given time. Press the right arrow button to
add 30 minutes to the clock (up to two and a half hours).
Channel List
Channel number _ _ _
In List Yes. . .
Press digit keys to enter a channel number.
Press MENU to go to Setup menu.
Setup Menu
Signal Type Press the left or right arrow button to select the signal
your TV is receiving. Choose Cable if you are currently using cable or
a cable box for TV signals. Choose Antenna if you are currently using
an off-air antenna for TV signals.
Auto Channel Search Searches for channels the signal is receiving
and stores them in the TV’s channel list. Go to page 9 for more
information.
Autotuning Displays a choice list that lets you set up the TV to
automatically tune to the correct video input channel when you press a
component button (VCR or DVD) on the remote. Go to Chapter 3 for
details about the autotuning feature.
Channel List Allows you to enter channels you want to delete or add
to your channel list.
Channel number Use the number buttons to enter the channel
number. To enter a one-digit channel, enter two zeros first. To
enter a two-digit channel, enter one zero first. For example, if you
want to add channel 7 to your list, press the number 0, 0, then
press 7.
In List If you’ve entered a channel you want to add to the
channel list, highlight In List and press the right arrow button to
select Yes. If you’ve entered a channel you want to delete from the
channel list, press the right arrow button to select No.
Set VID2 Source If you have a component connected to the VID2
RGB/YPbPr jack, press the right arrow button to choose which jacks
it’s using: Y Pb Pr or PC.
Note: If you have a DVD connected, for example, to the TV’s
RGB/YPbPr, and you connect a PC, you need to change the Set
VID2 Source to PC.
PC Picture Quality Menu
To access these menus, press the INPUT button on your remote until
VID2-PC appears on-screen.
Brightness Adjusts the brightness of the picture.
Contrast Adjusts the difference between the light and dark areas of
the picture.
Color Warmth Press the right arrow button to scroll through the color
adjustments: Cool for a more blue palette of picture colors; Normal;
and Warm for a more red palette of picture colors.
Picture
Brightness
Contrast
Color Warmth Cool. . .
Press </> to adjust.Press MENU to go to Main Menu.
16278150.04 Menu 12/11/03, 2:04 PM28


