81
Troubleshooting
CHAPTER 5
2. A Problem Exists in the Preparation Stage and During a Print Cycle
9
13
To Be Continued
10
11
12
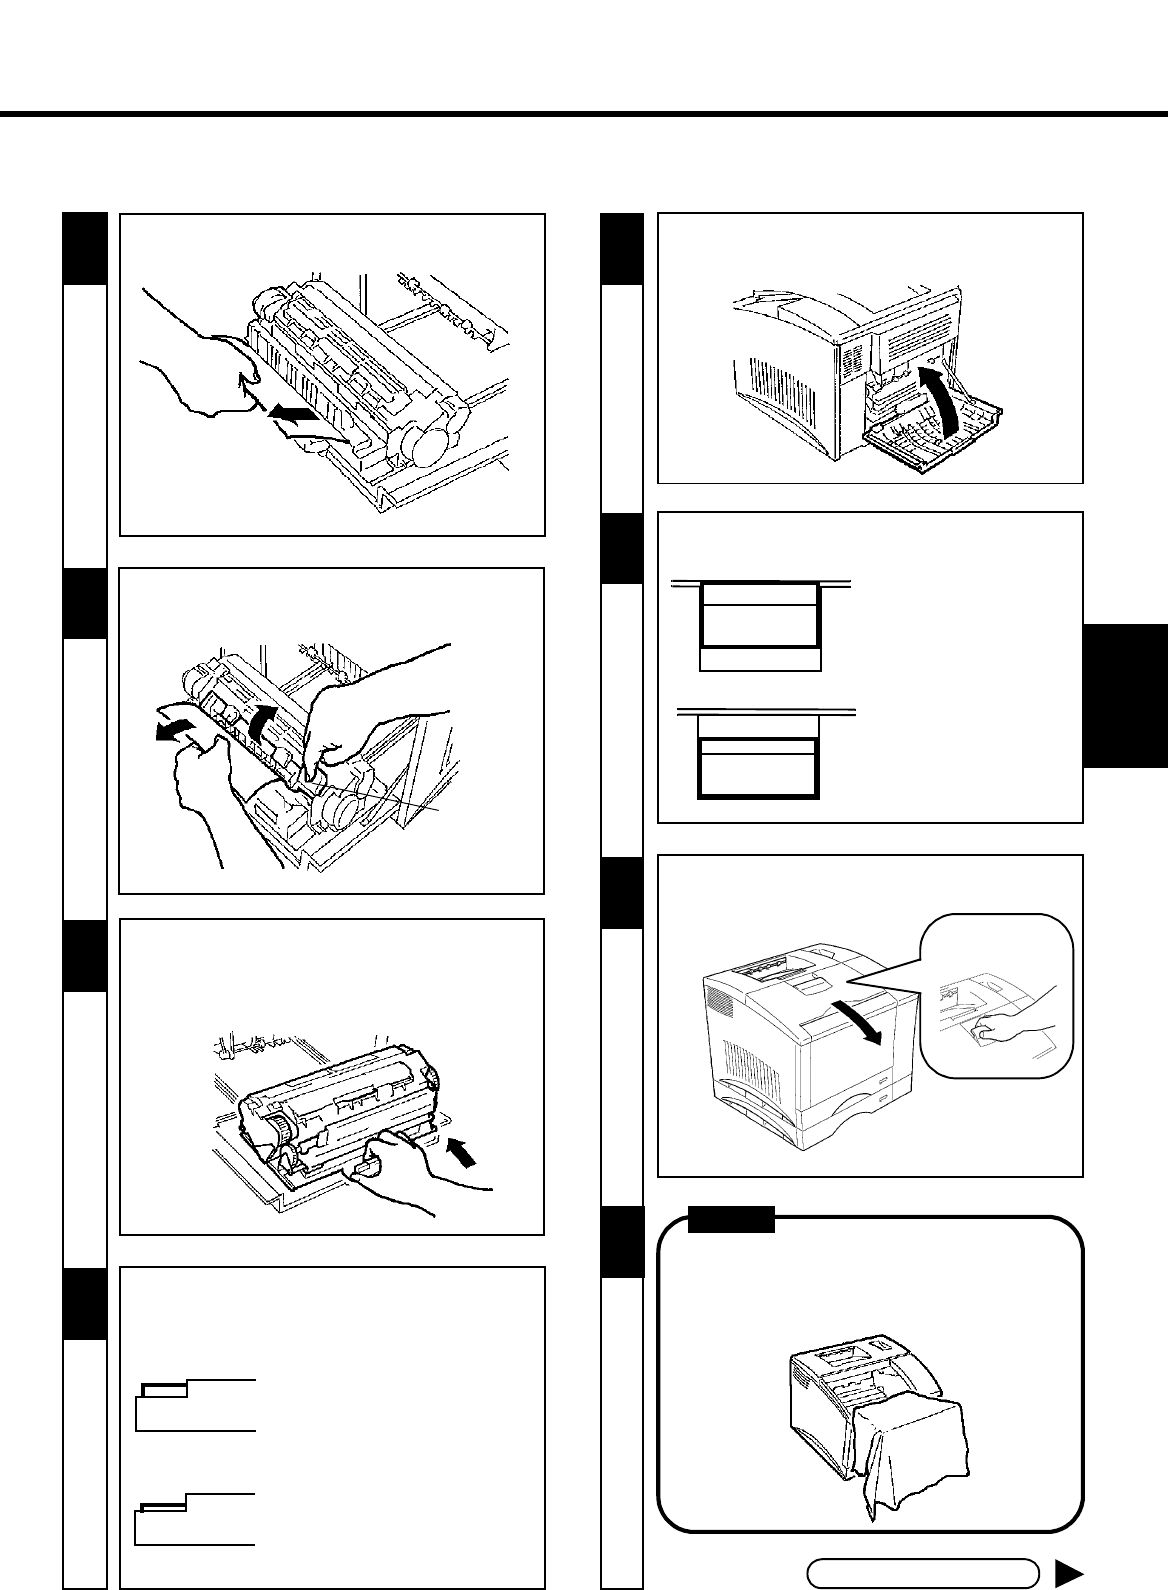
- Make sure that the button of the Rear Cover Lock
Release Lever is pushed up as shown.
- Grasp and pull down the Front Cover Lock Release
Lever to swing open the Front Cover
NOTE
- Whenever the printer is opened, wrap the Front
Cover with a cloth or the like so that the Drum
Cartridge is not exposed to light.
14
- Hold the Lock Release Lever Button and push the
Fusing Unit in.
- The Fusing Unit will click into place when it is
installed correctly.
- Make sure that the button of the Fusing Unit Lock
Release Lever is pushed up as shown.
- Close the Rear Cover.
- The Rear Cover will click when it is closed correctly.
Front Cover Lock
Release Lever
OK (LOCKED)
NG (UNLOCKED)
OK
NG
(LOCKED)
(UNLOCKED)
8
- Lift the Misfeed Clearing Guide of the Fusing
Unit and pull out the paper misfed in the Fusing Unit.
7
- Pull out the paper misfed in the Fusing Unit.
Misfeed
Clearing
Guide


