12
ENG
ENGLISH
CUSTOMIZING SETTINGS
Customizing Settings
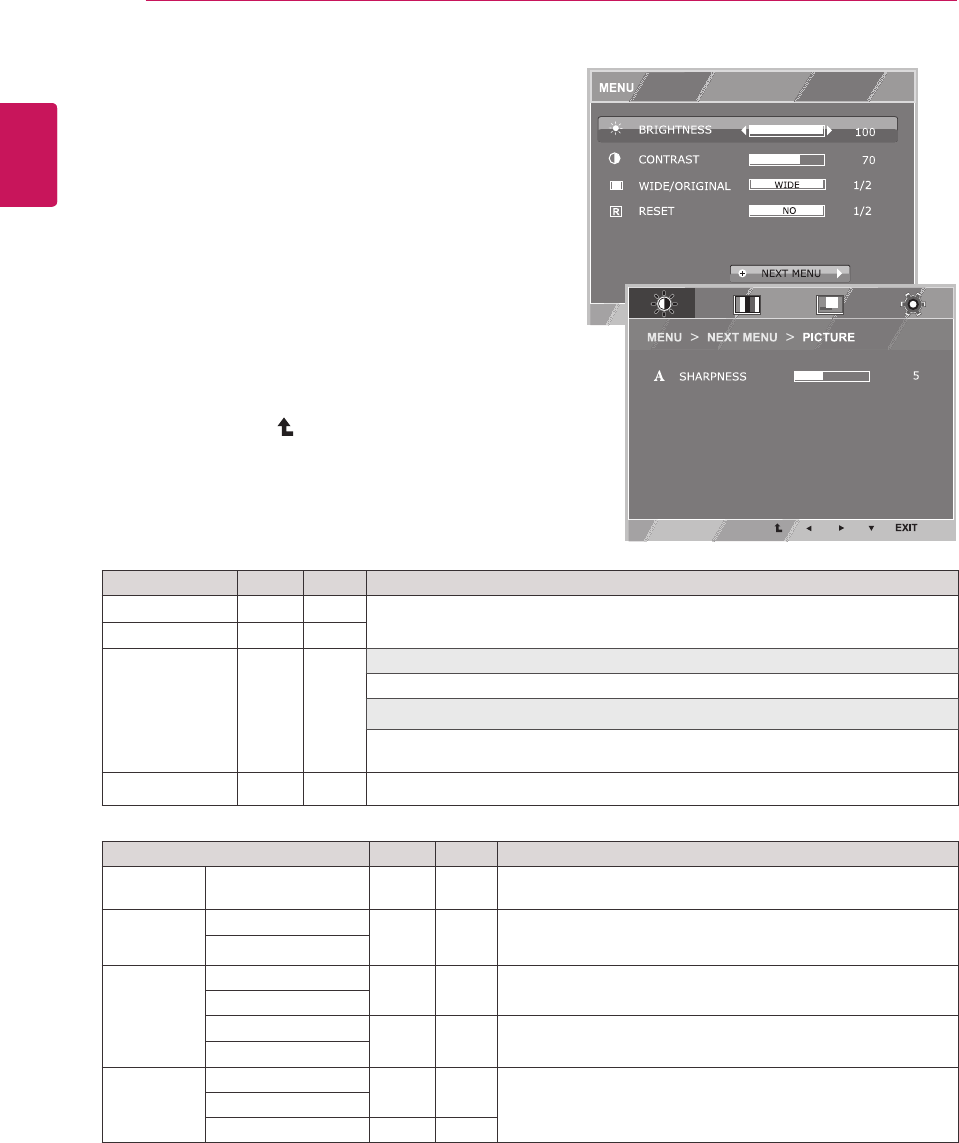
Menu Settings
1
Press MENU button on the bottom of the Monitor set
to display the MENU OSD.
2
Set the options by pressing the ◄ or ► or ▼
buttons.
3
Select the "NEXT MENU" button to enter the more
option settings.
4
Select EXIT to leave the OSD menu.
To return to the upper menu or set other menu items,
use the up arrow ( ) button.
Each option is explained below.
MENU > NEXT MENU Analog Digital Description
PICTURE
SHARPNESS ● ● To adjust the clearness of the screen .
COLOR GAMMA
● ● To customize the color of the screen
COLOR TEMP
DISPLAY HORIZONTAL
● To adjust the position of the screen
VERTICAL
CLOCK
● To improve the clarity and stability of the screen
PHASE
OTHERS LANGUAGE
● ●
To customize the screen status for a user's operating
environment
POWER INDICATOR
WHITE BALANCE ●
y
Analog: D-SUB(Analog signal) input.
y
Digital: DVI-D(Digital signal) input.
MENU Analog Digital Description
BRIGHTNESS
● ●
To adjust the brightness, contrast of the screen
CONTRAST ● ●
WIDE/ORIGINAL
● ●
WIDE
Switch to full screen mode according to input image signal.
ORIGINAL
Change the input image signal ratio to original.
* This function works only if input resolution is lower than Monitor set ratio (16:9).
RESET
● ●
Restore all factory default settings. Press the
◄
,
►
buttons to reset immediately.


